Monuments
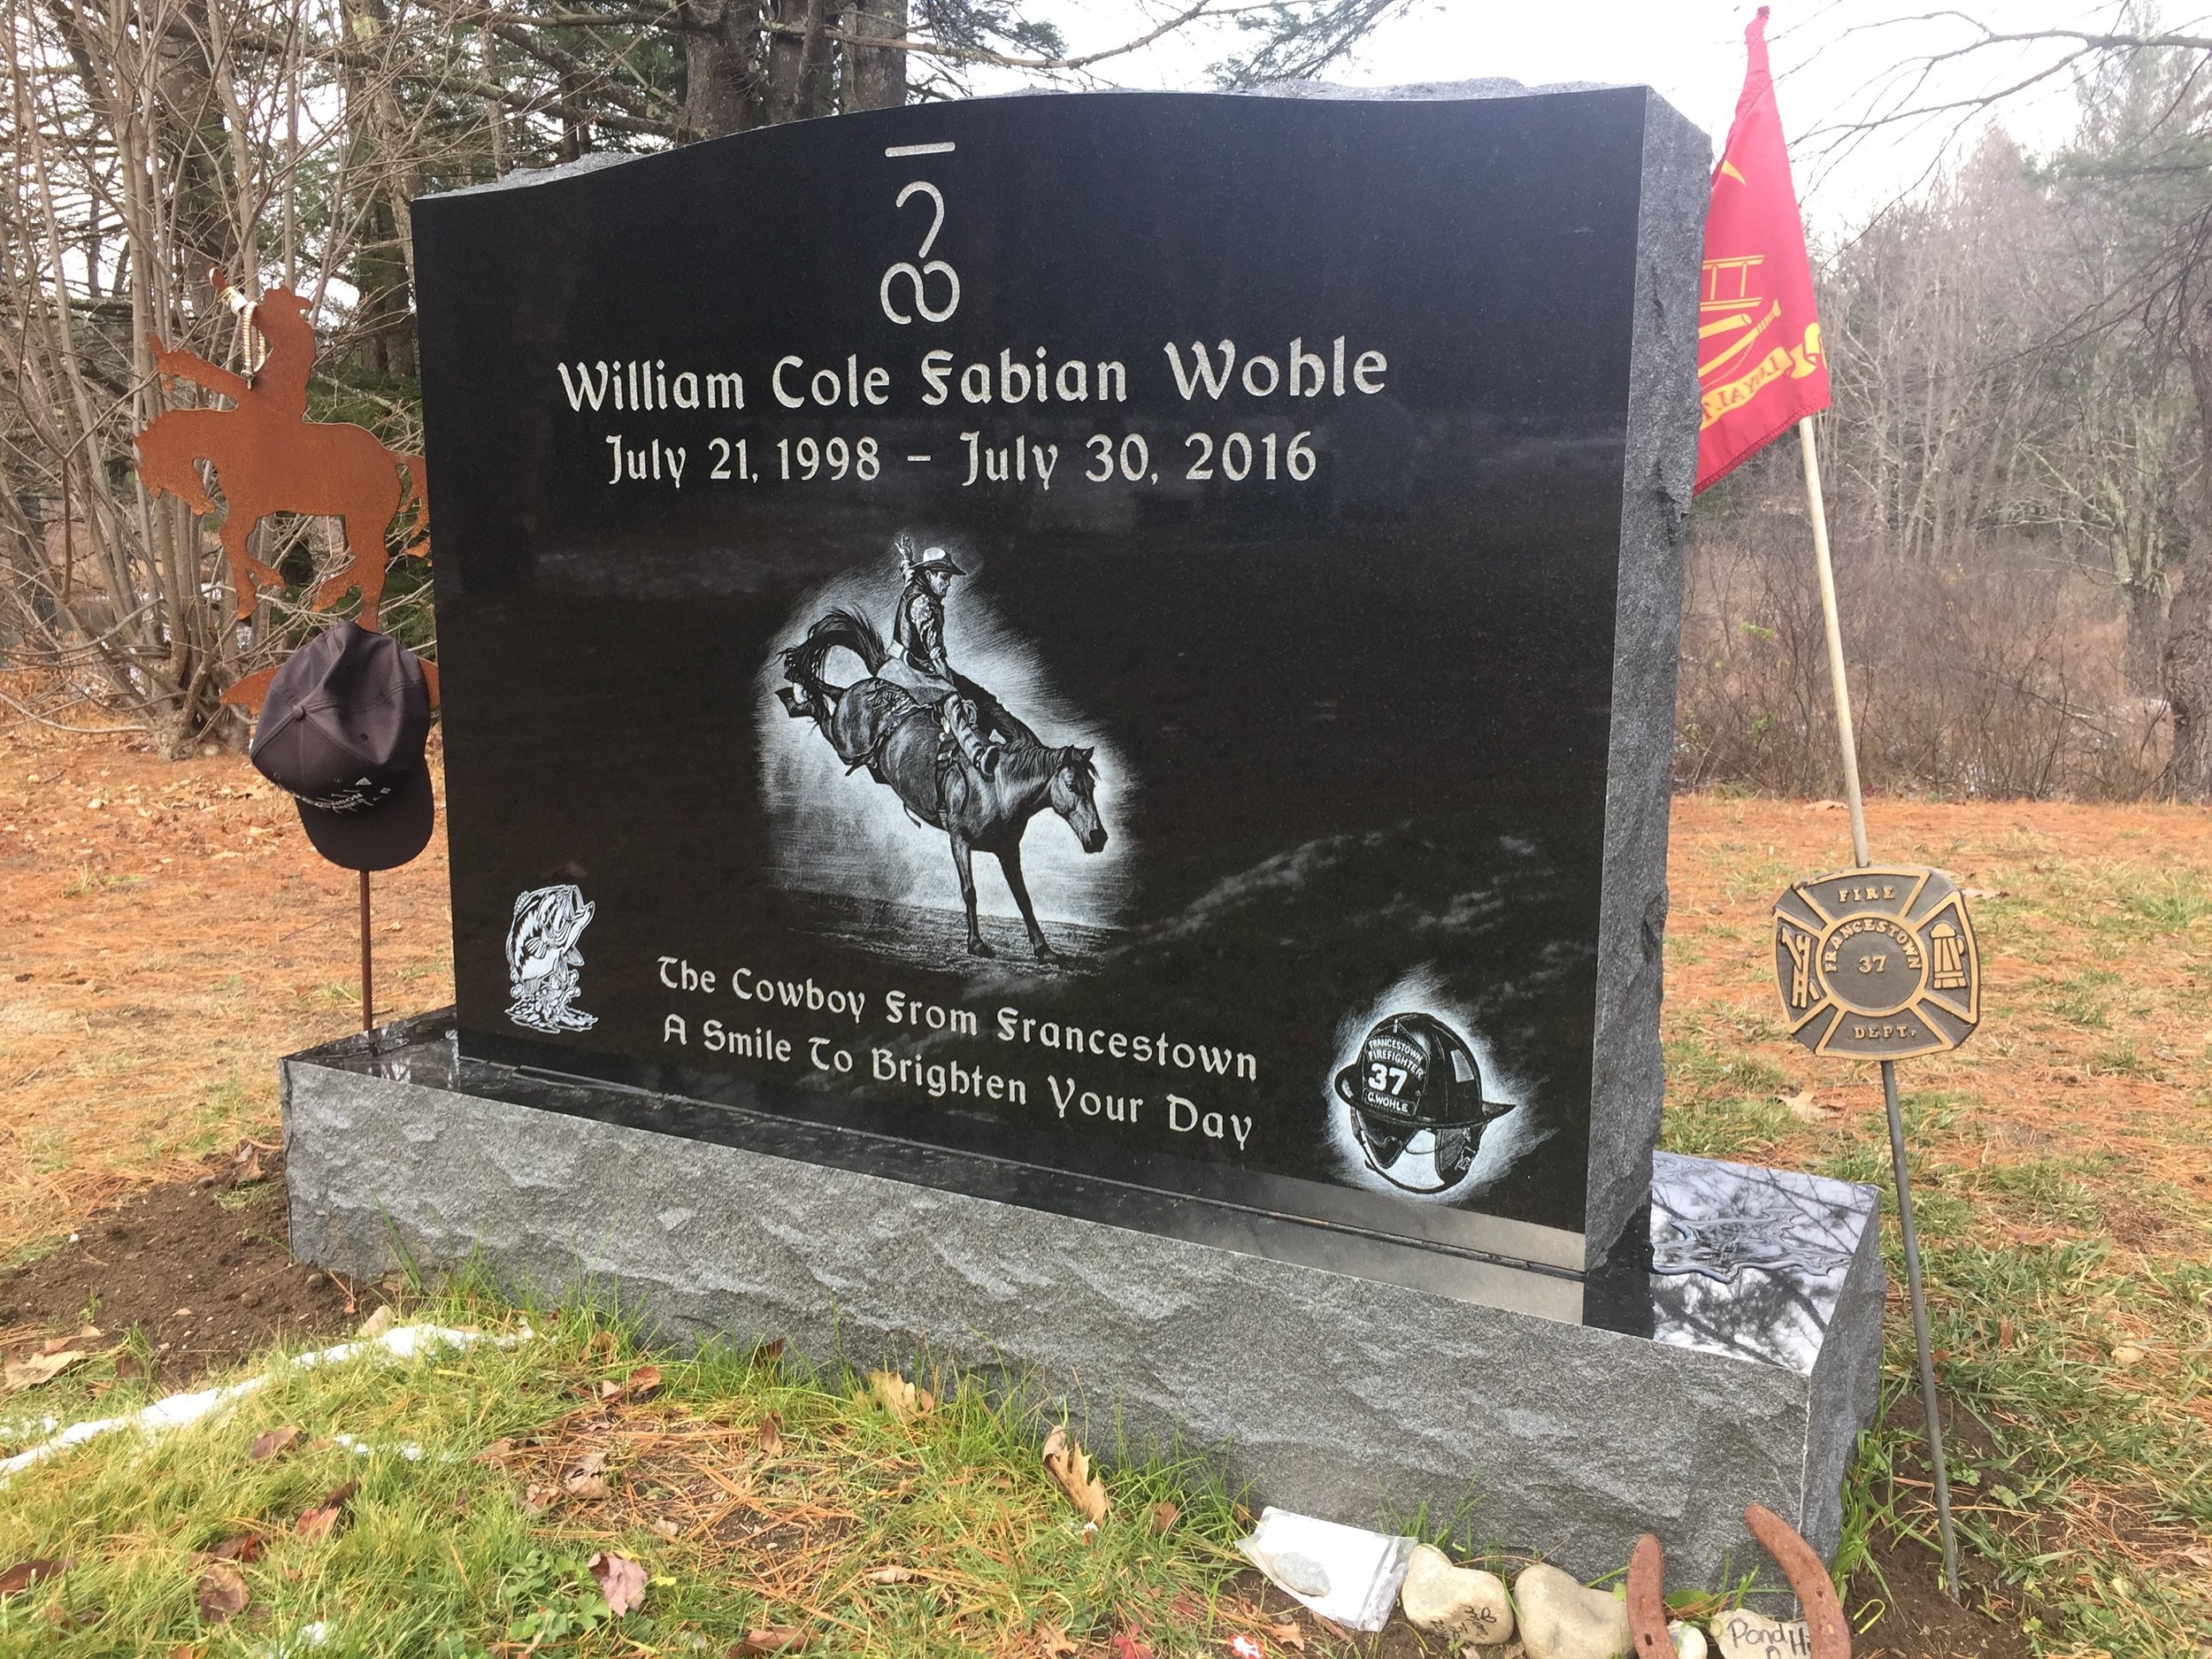
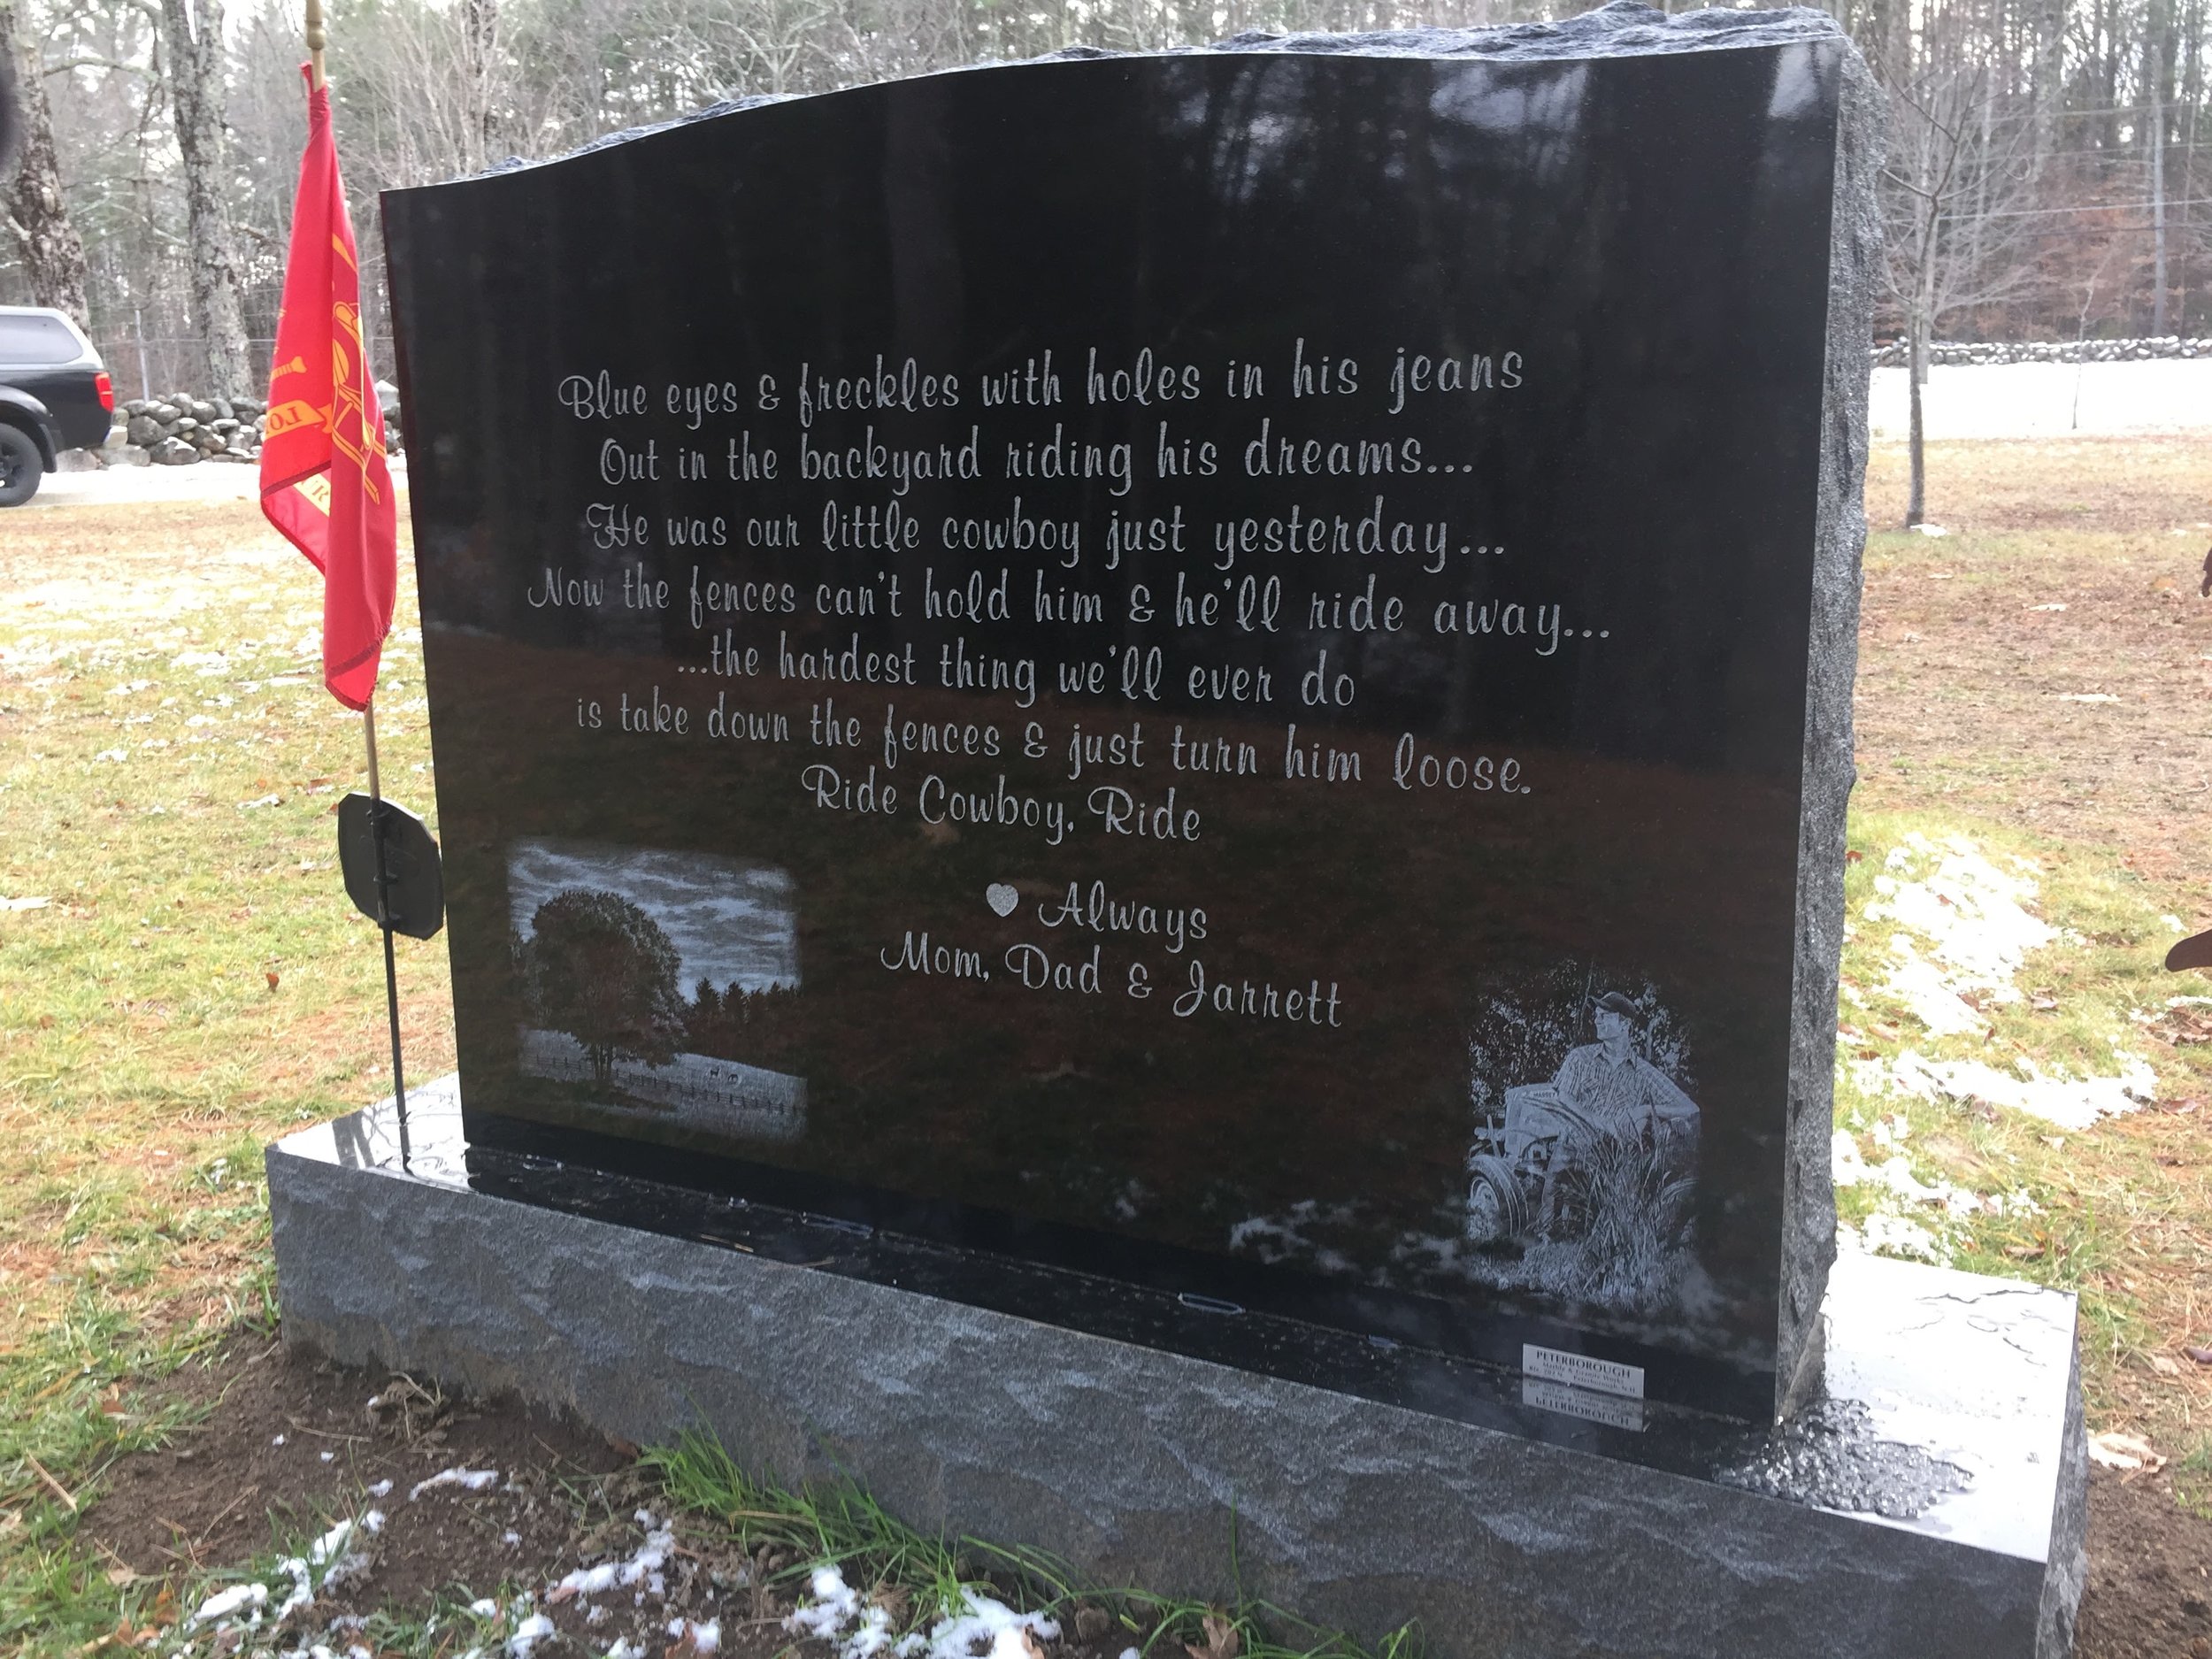
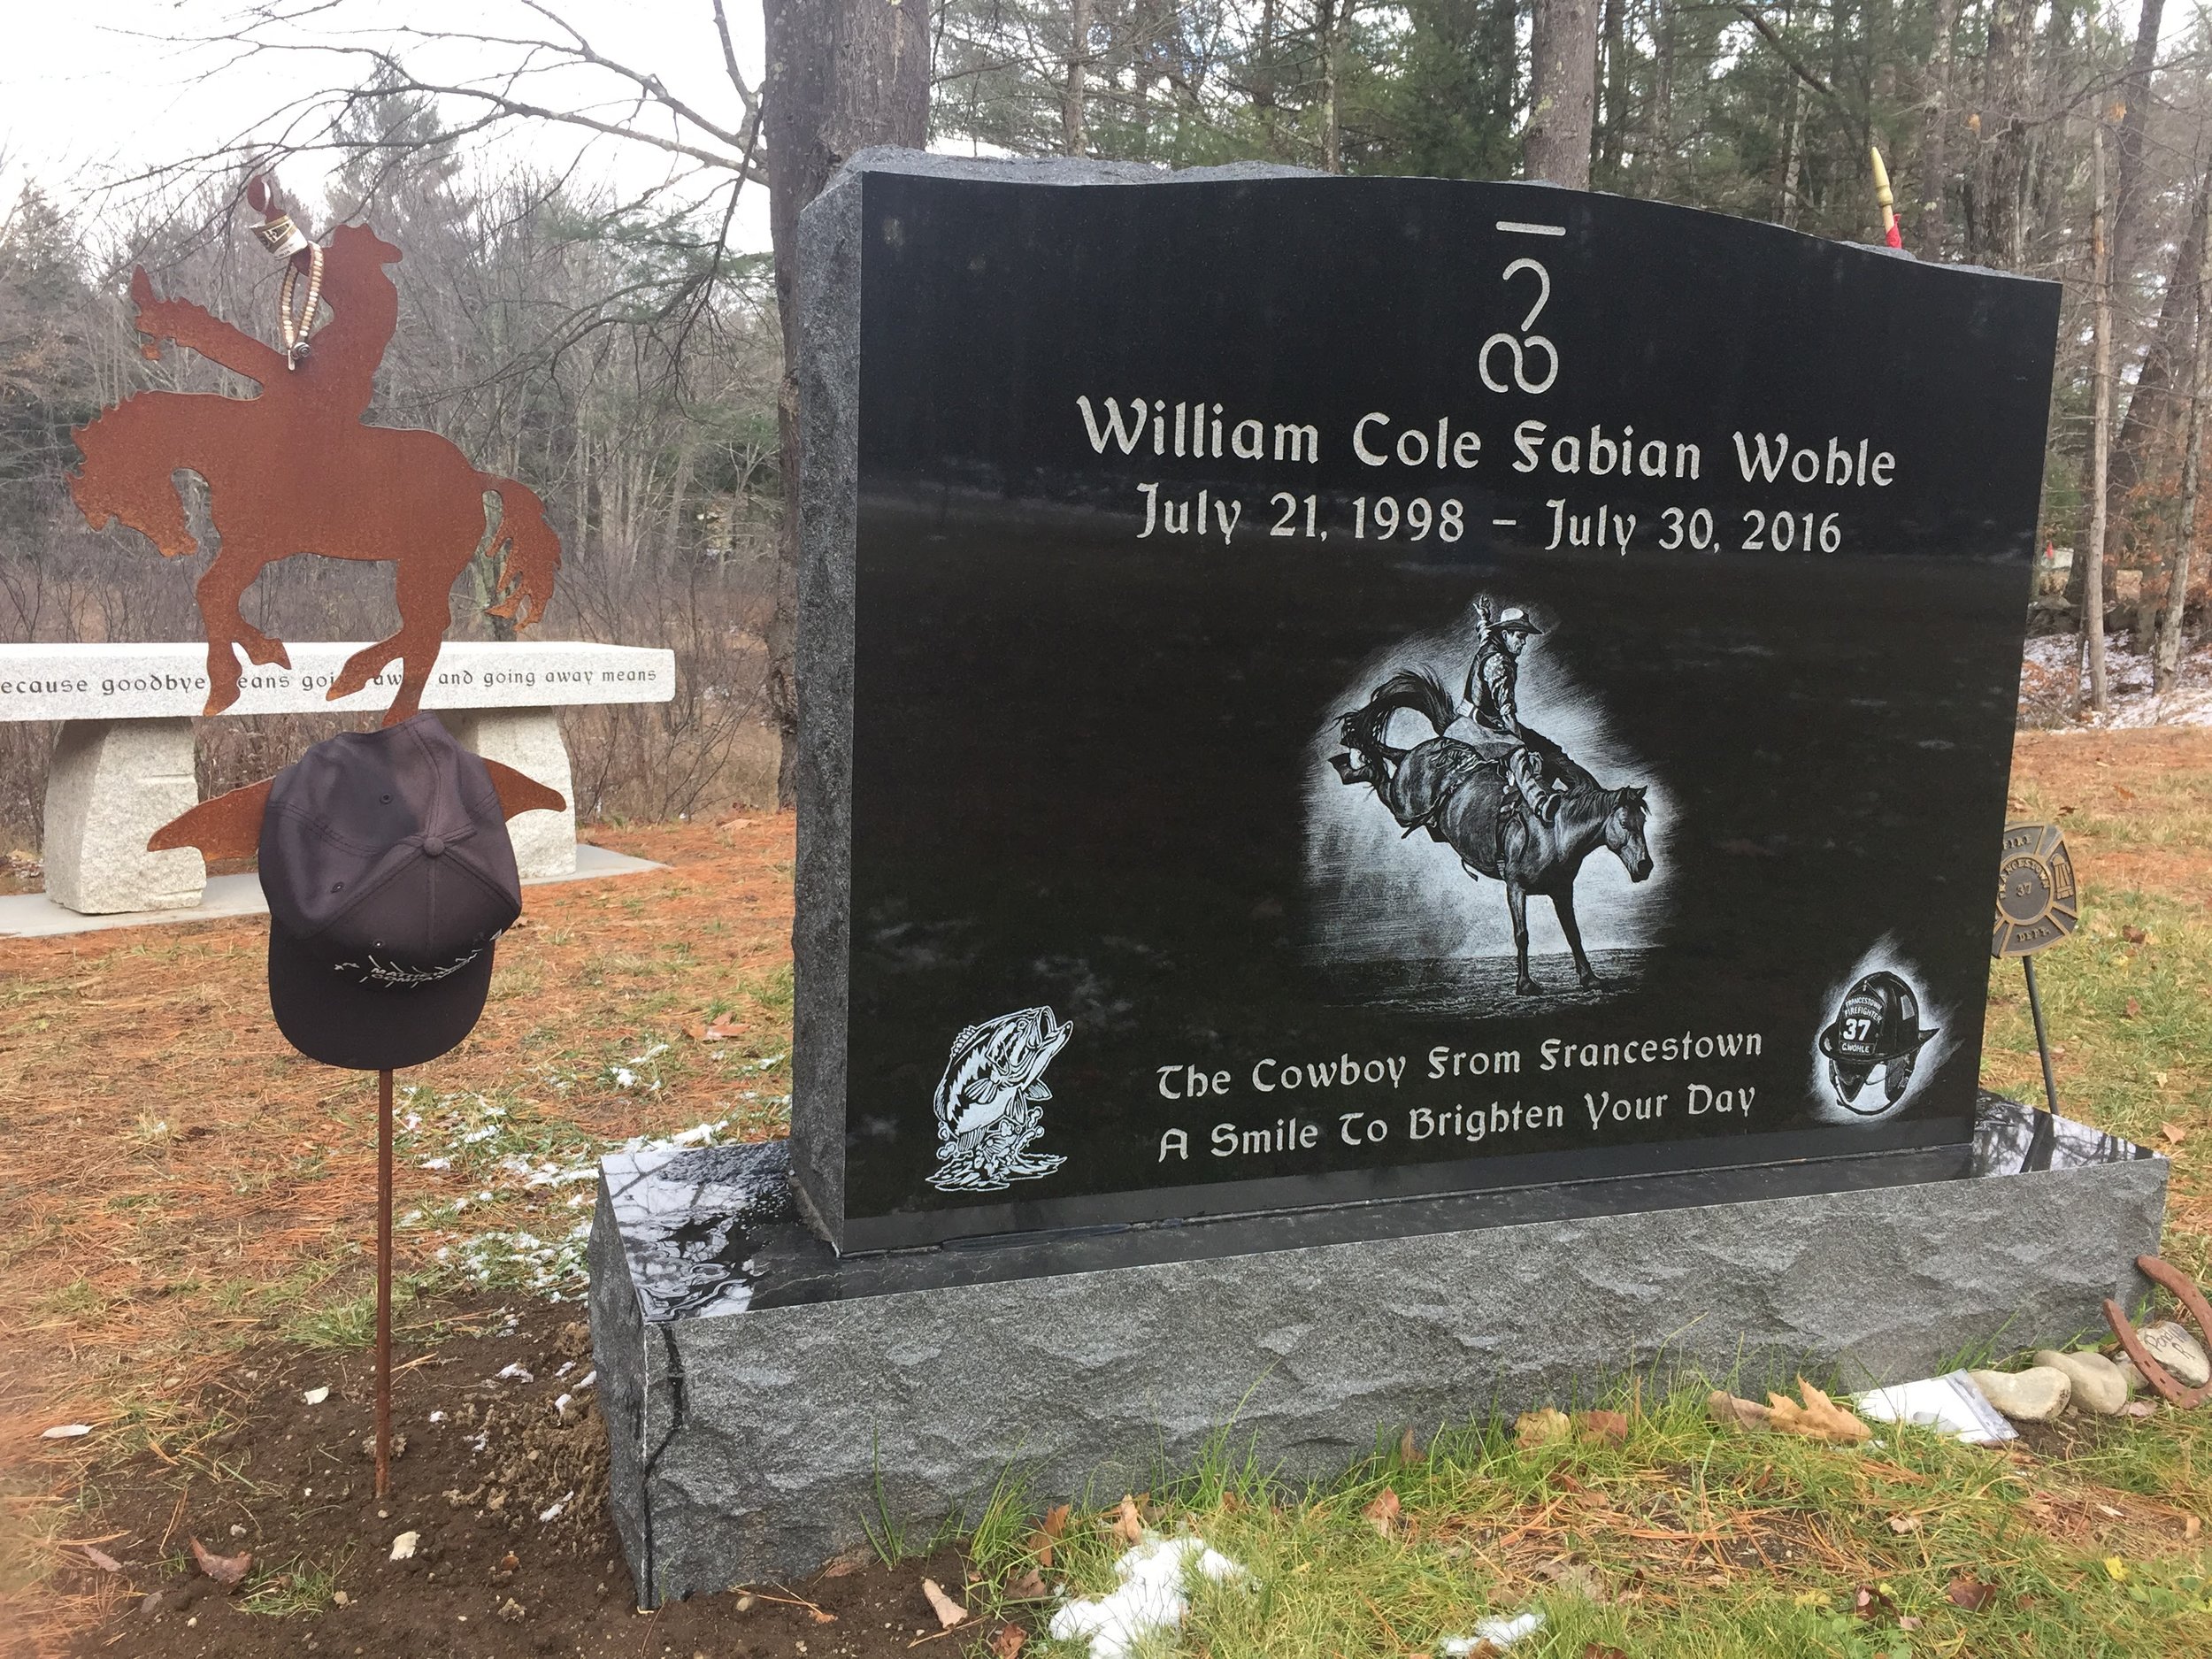
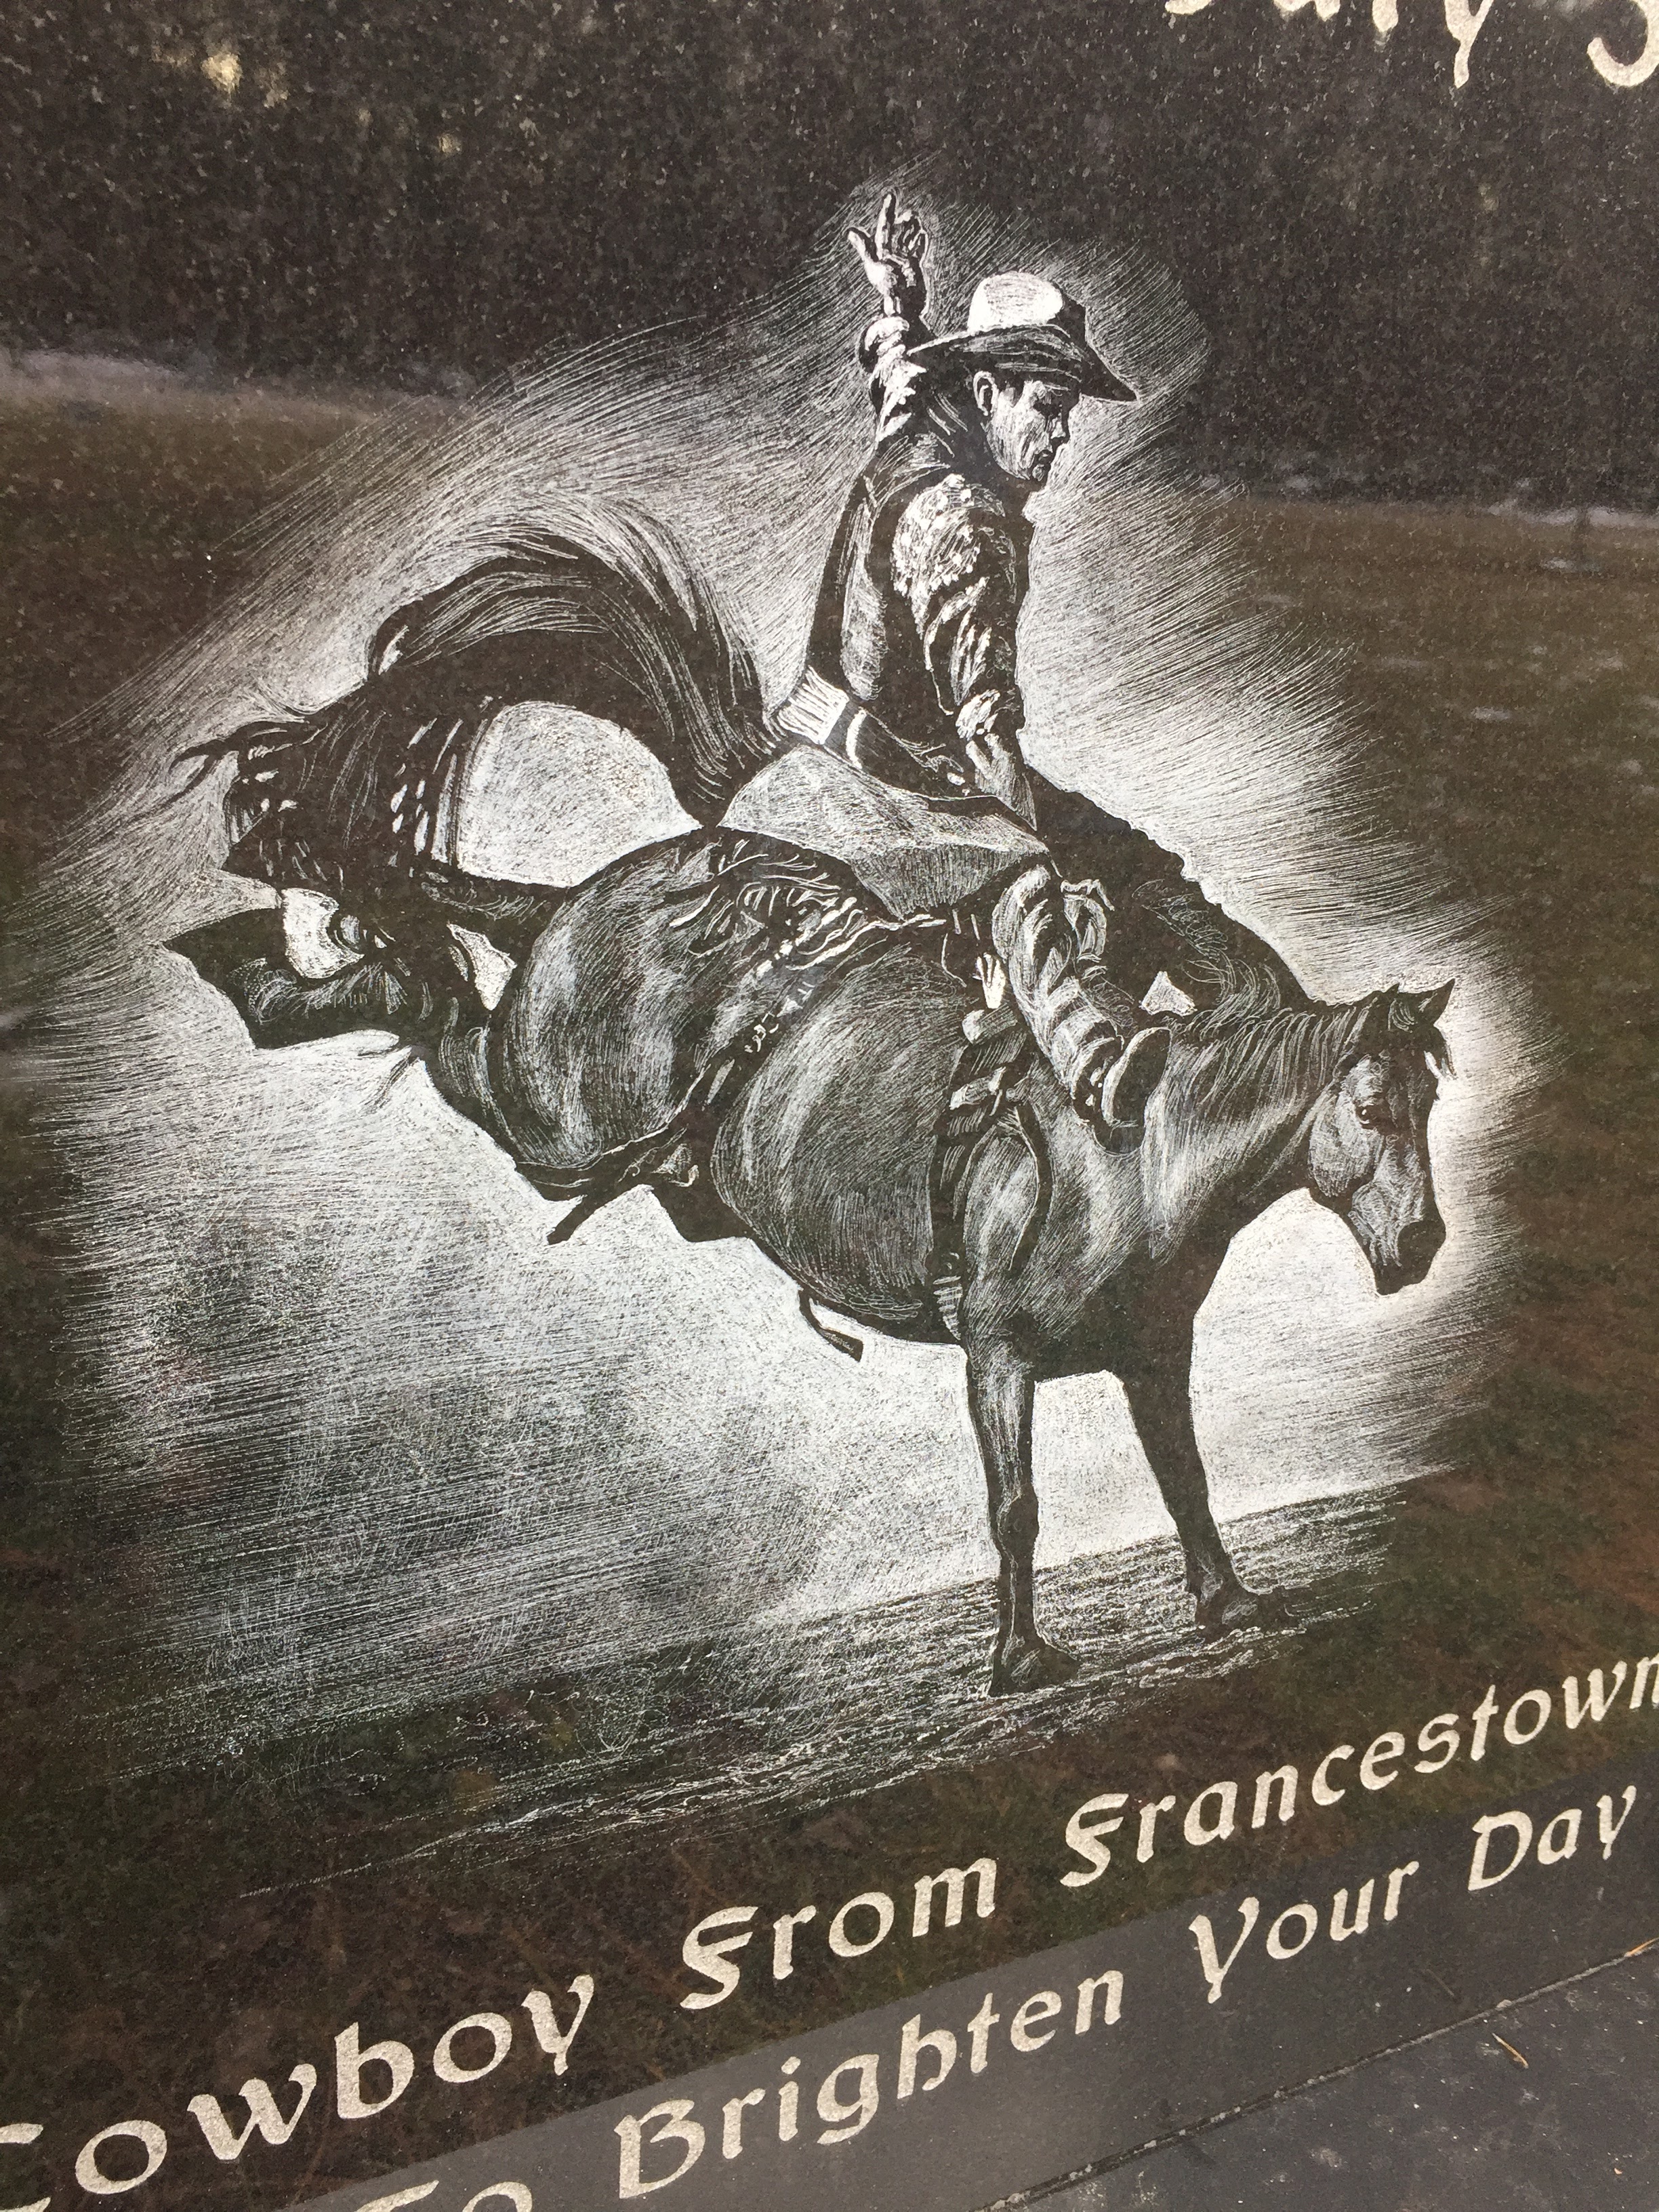
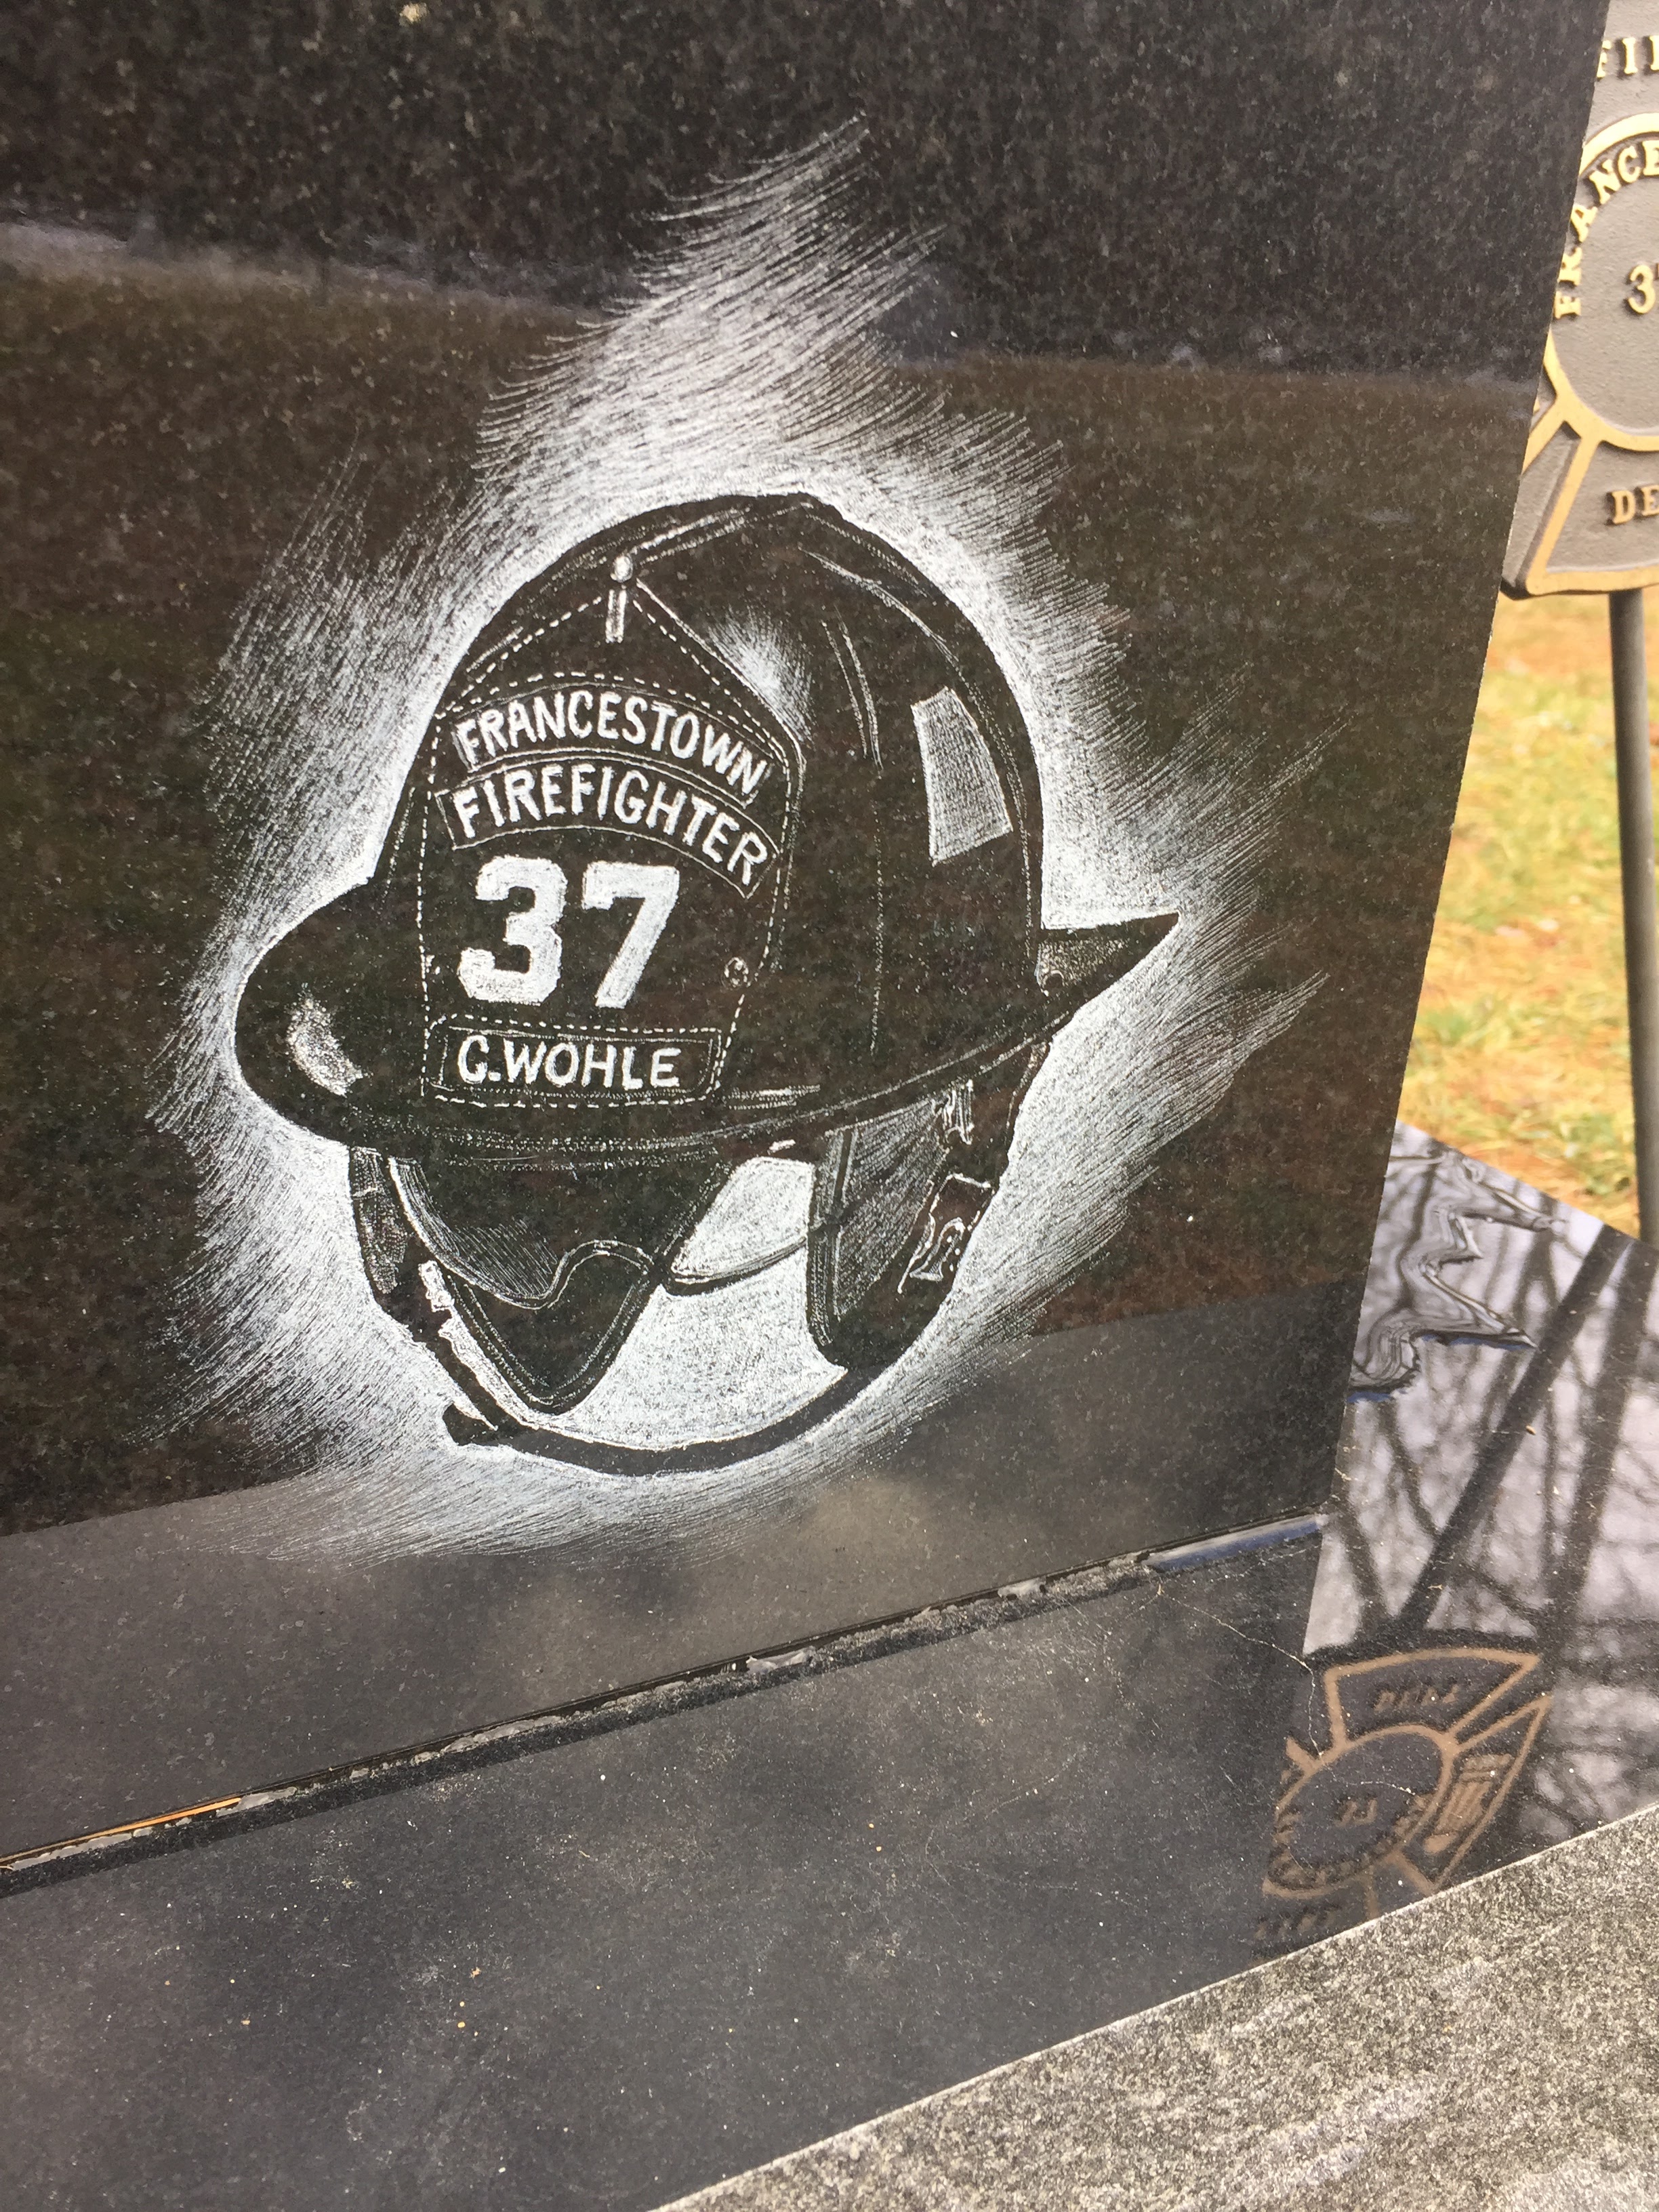
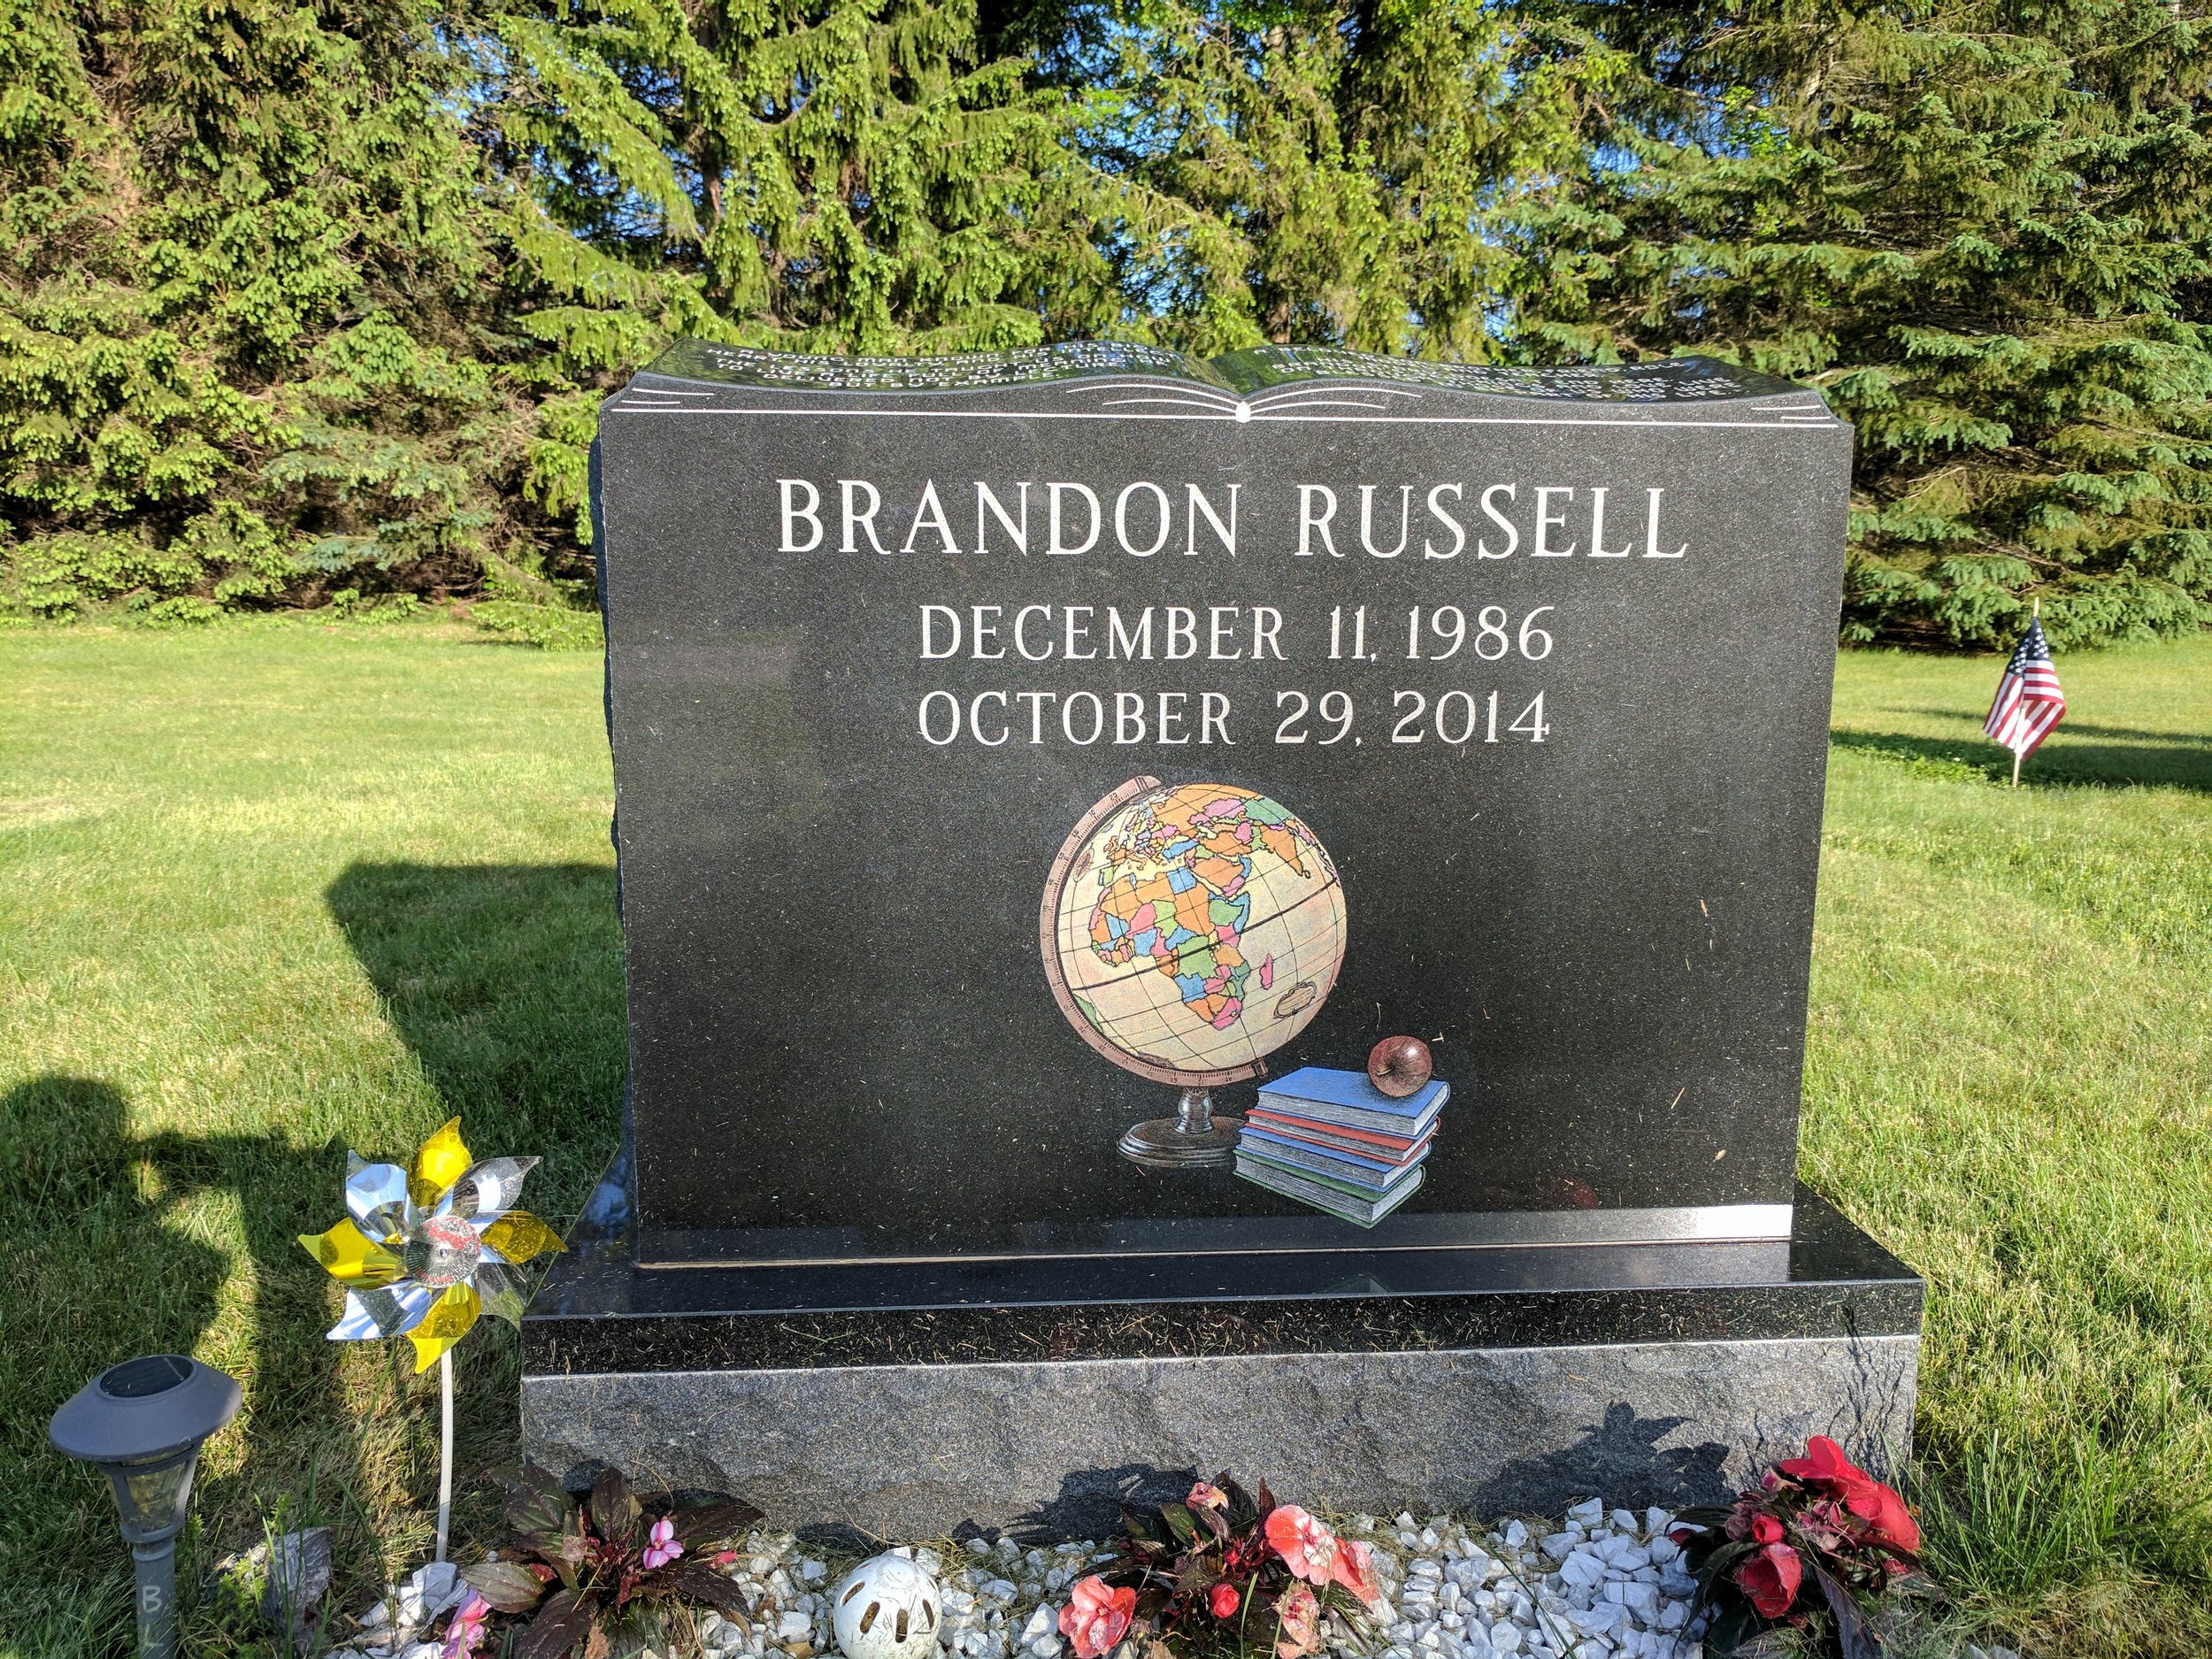
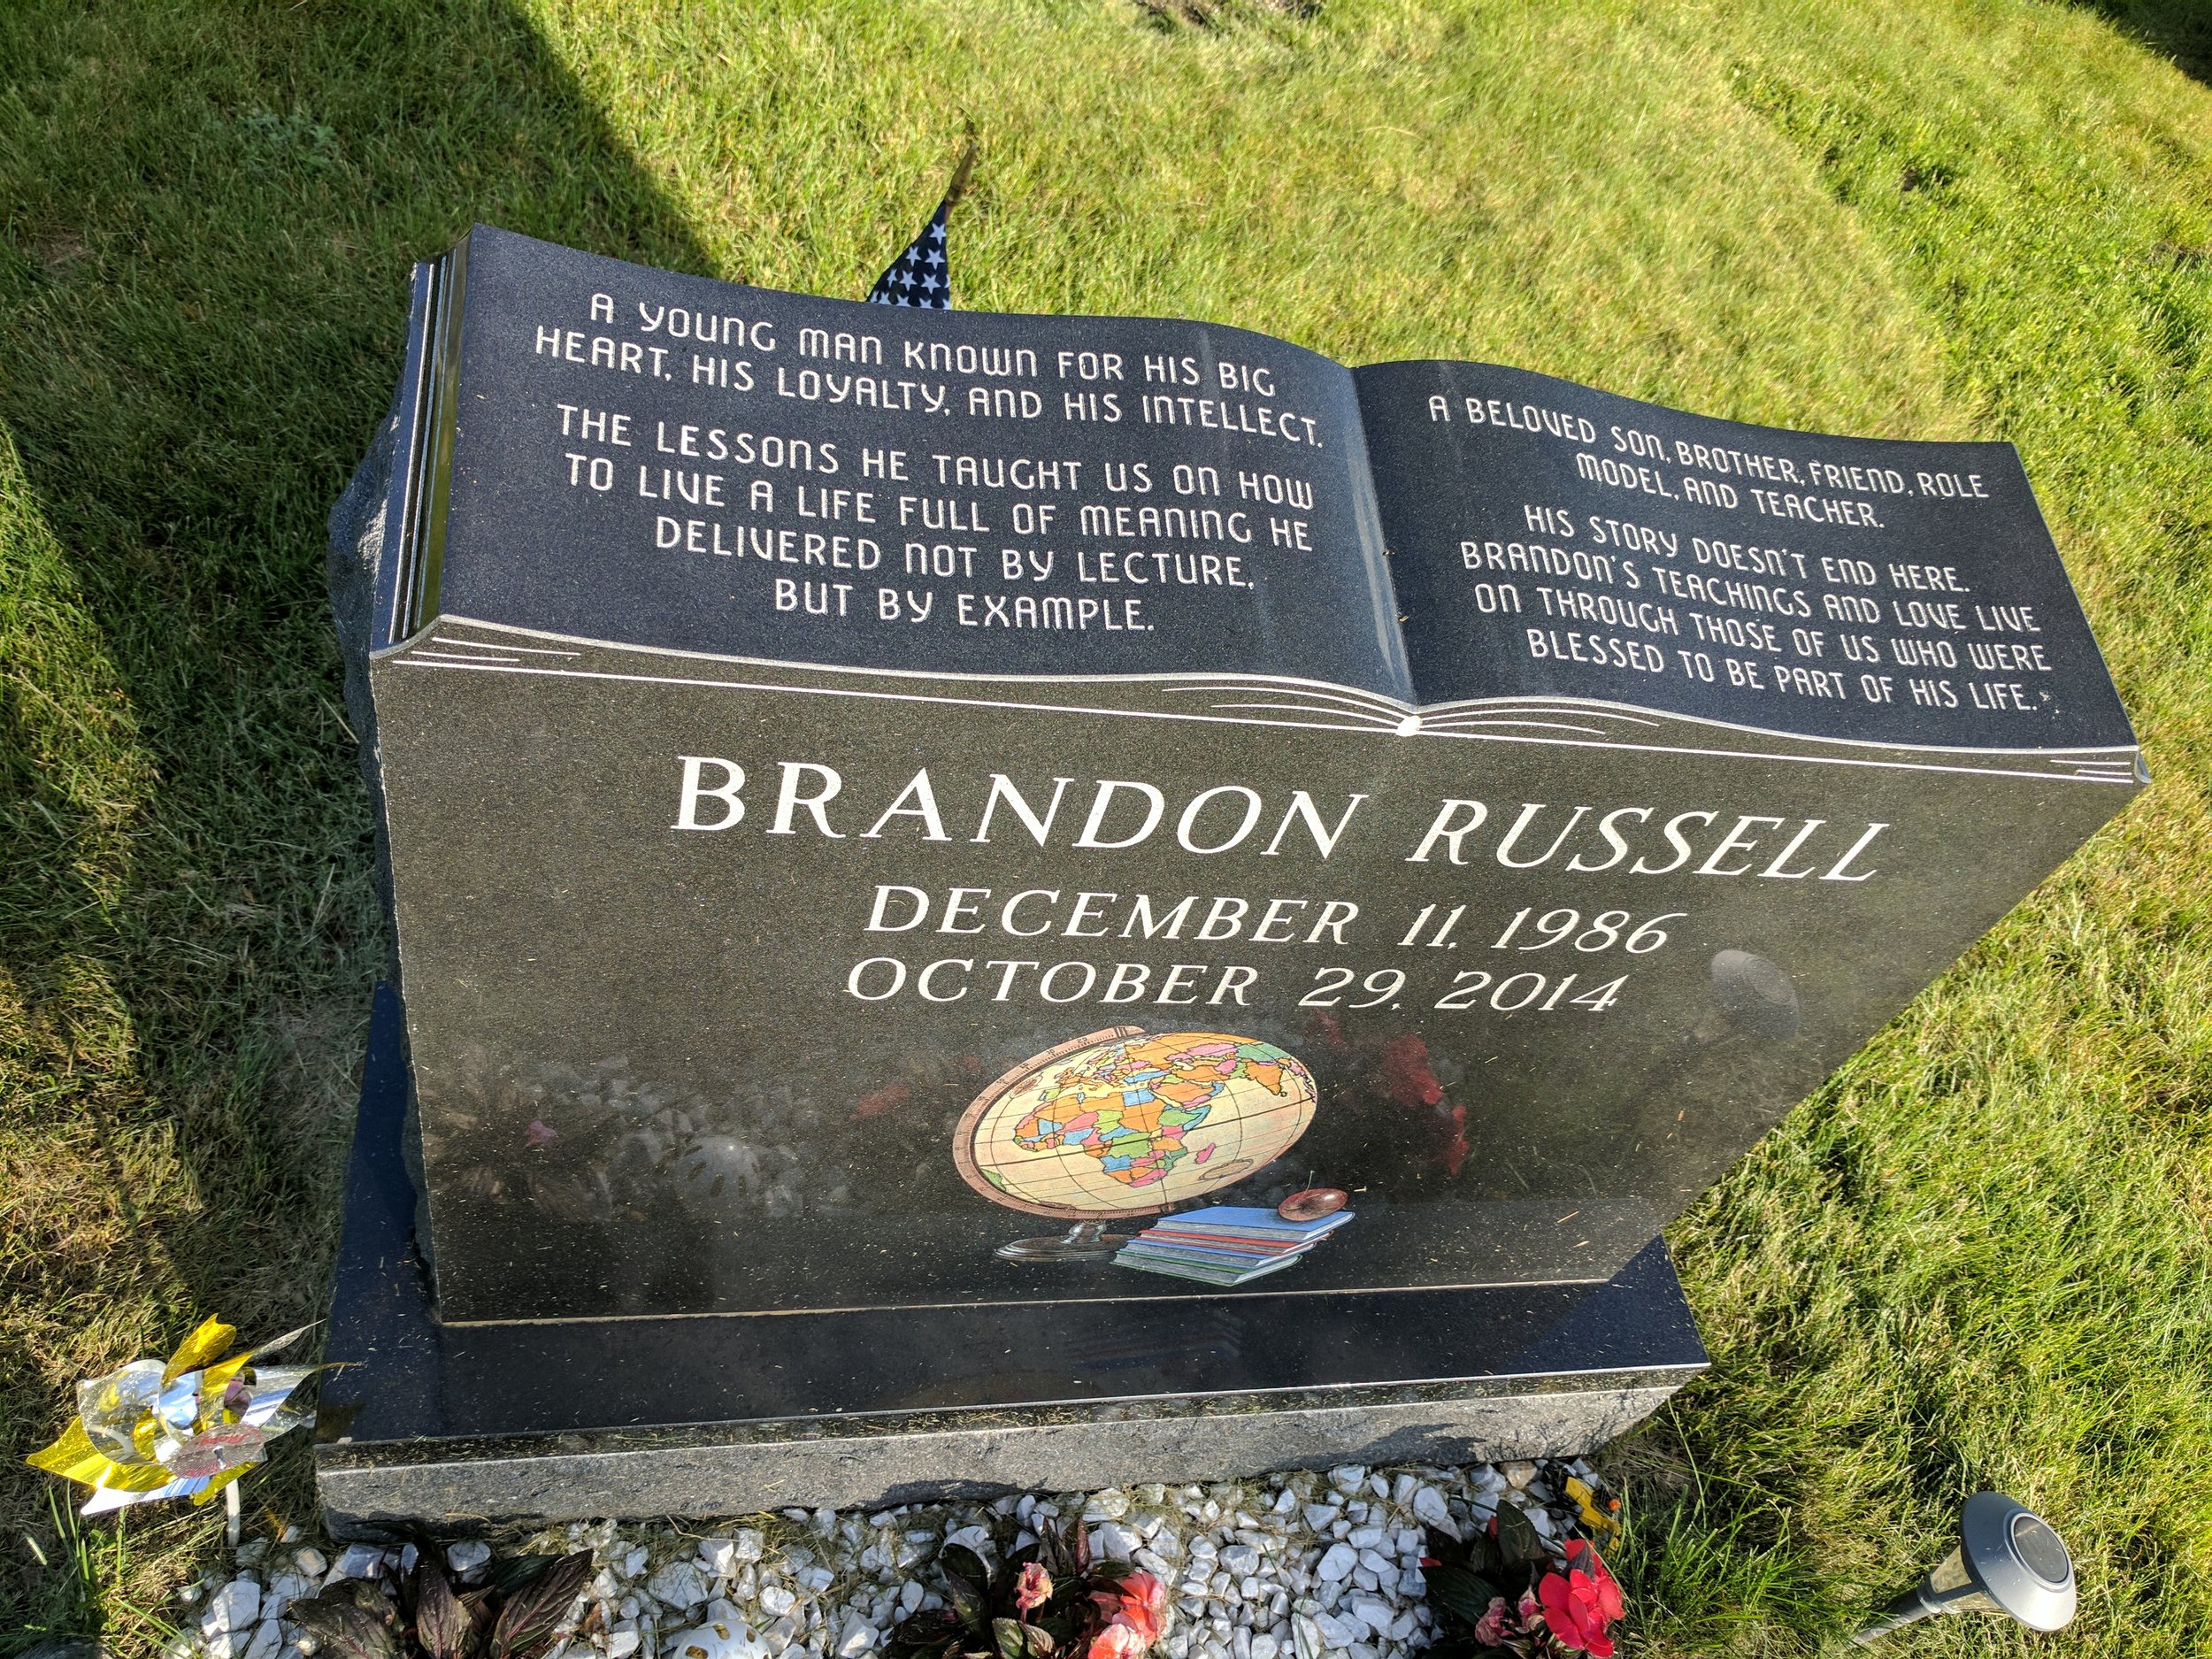
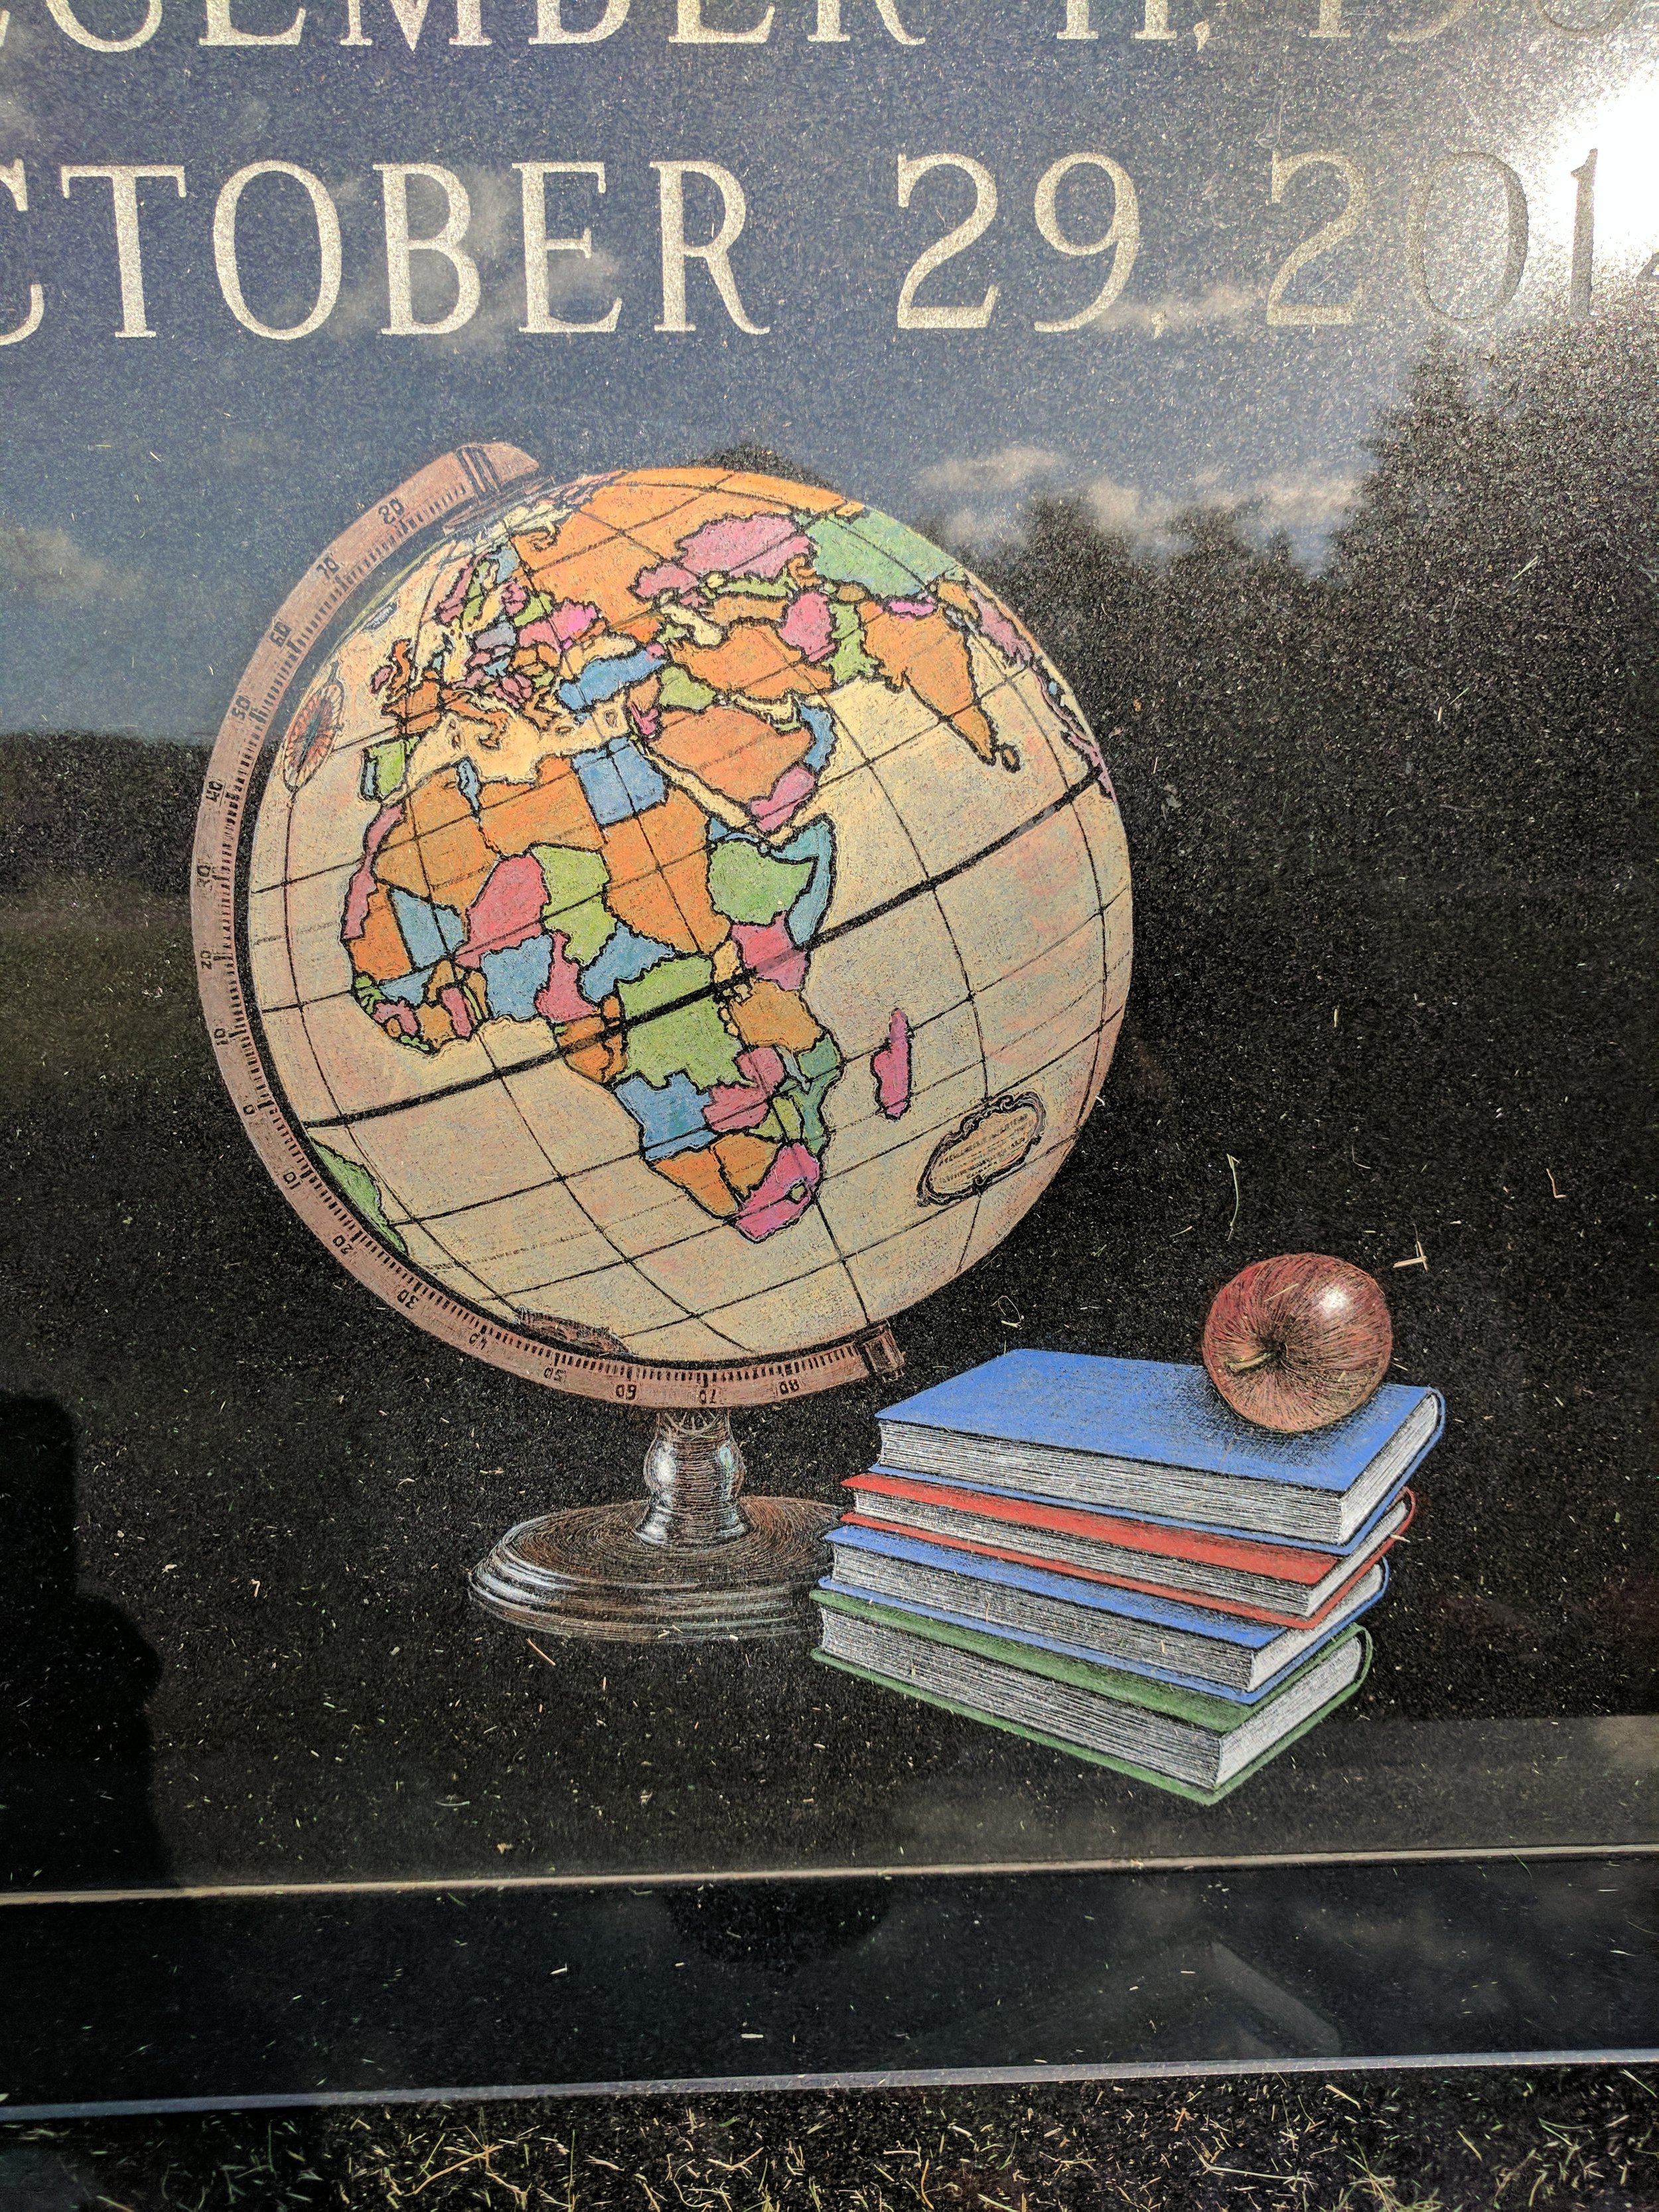
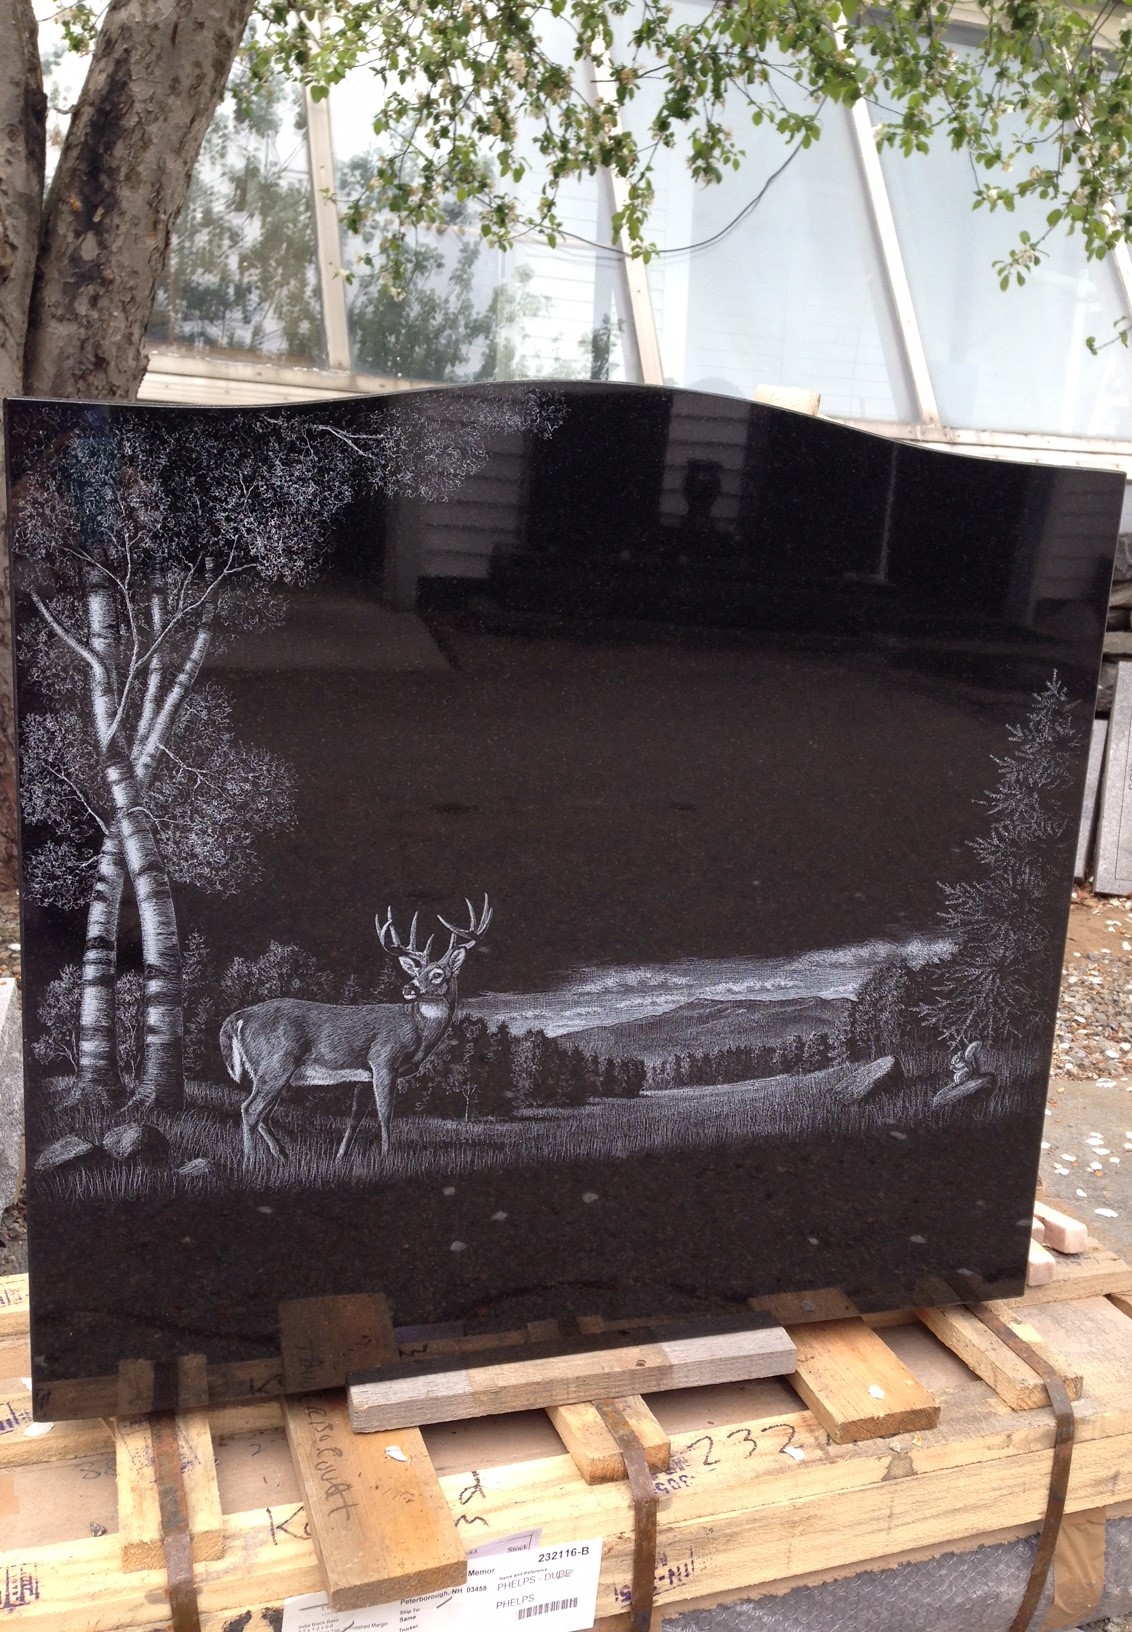
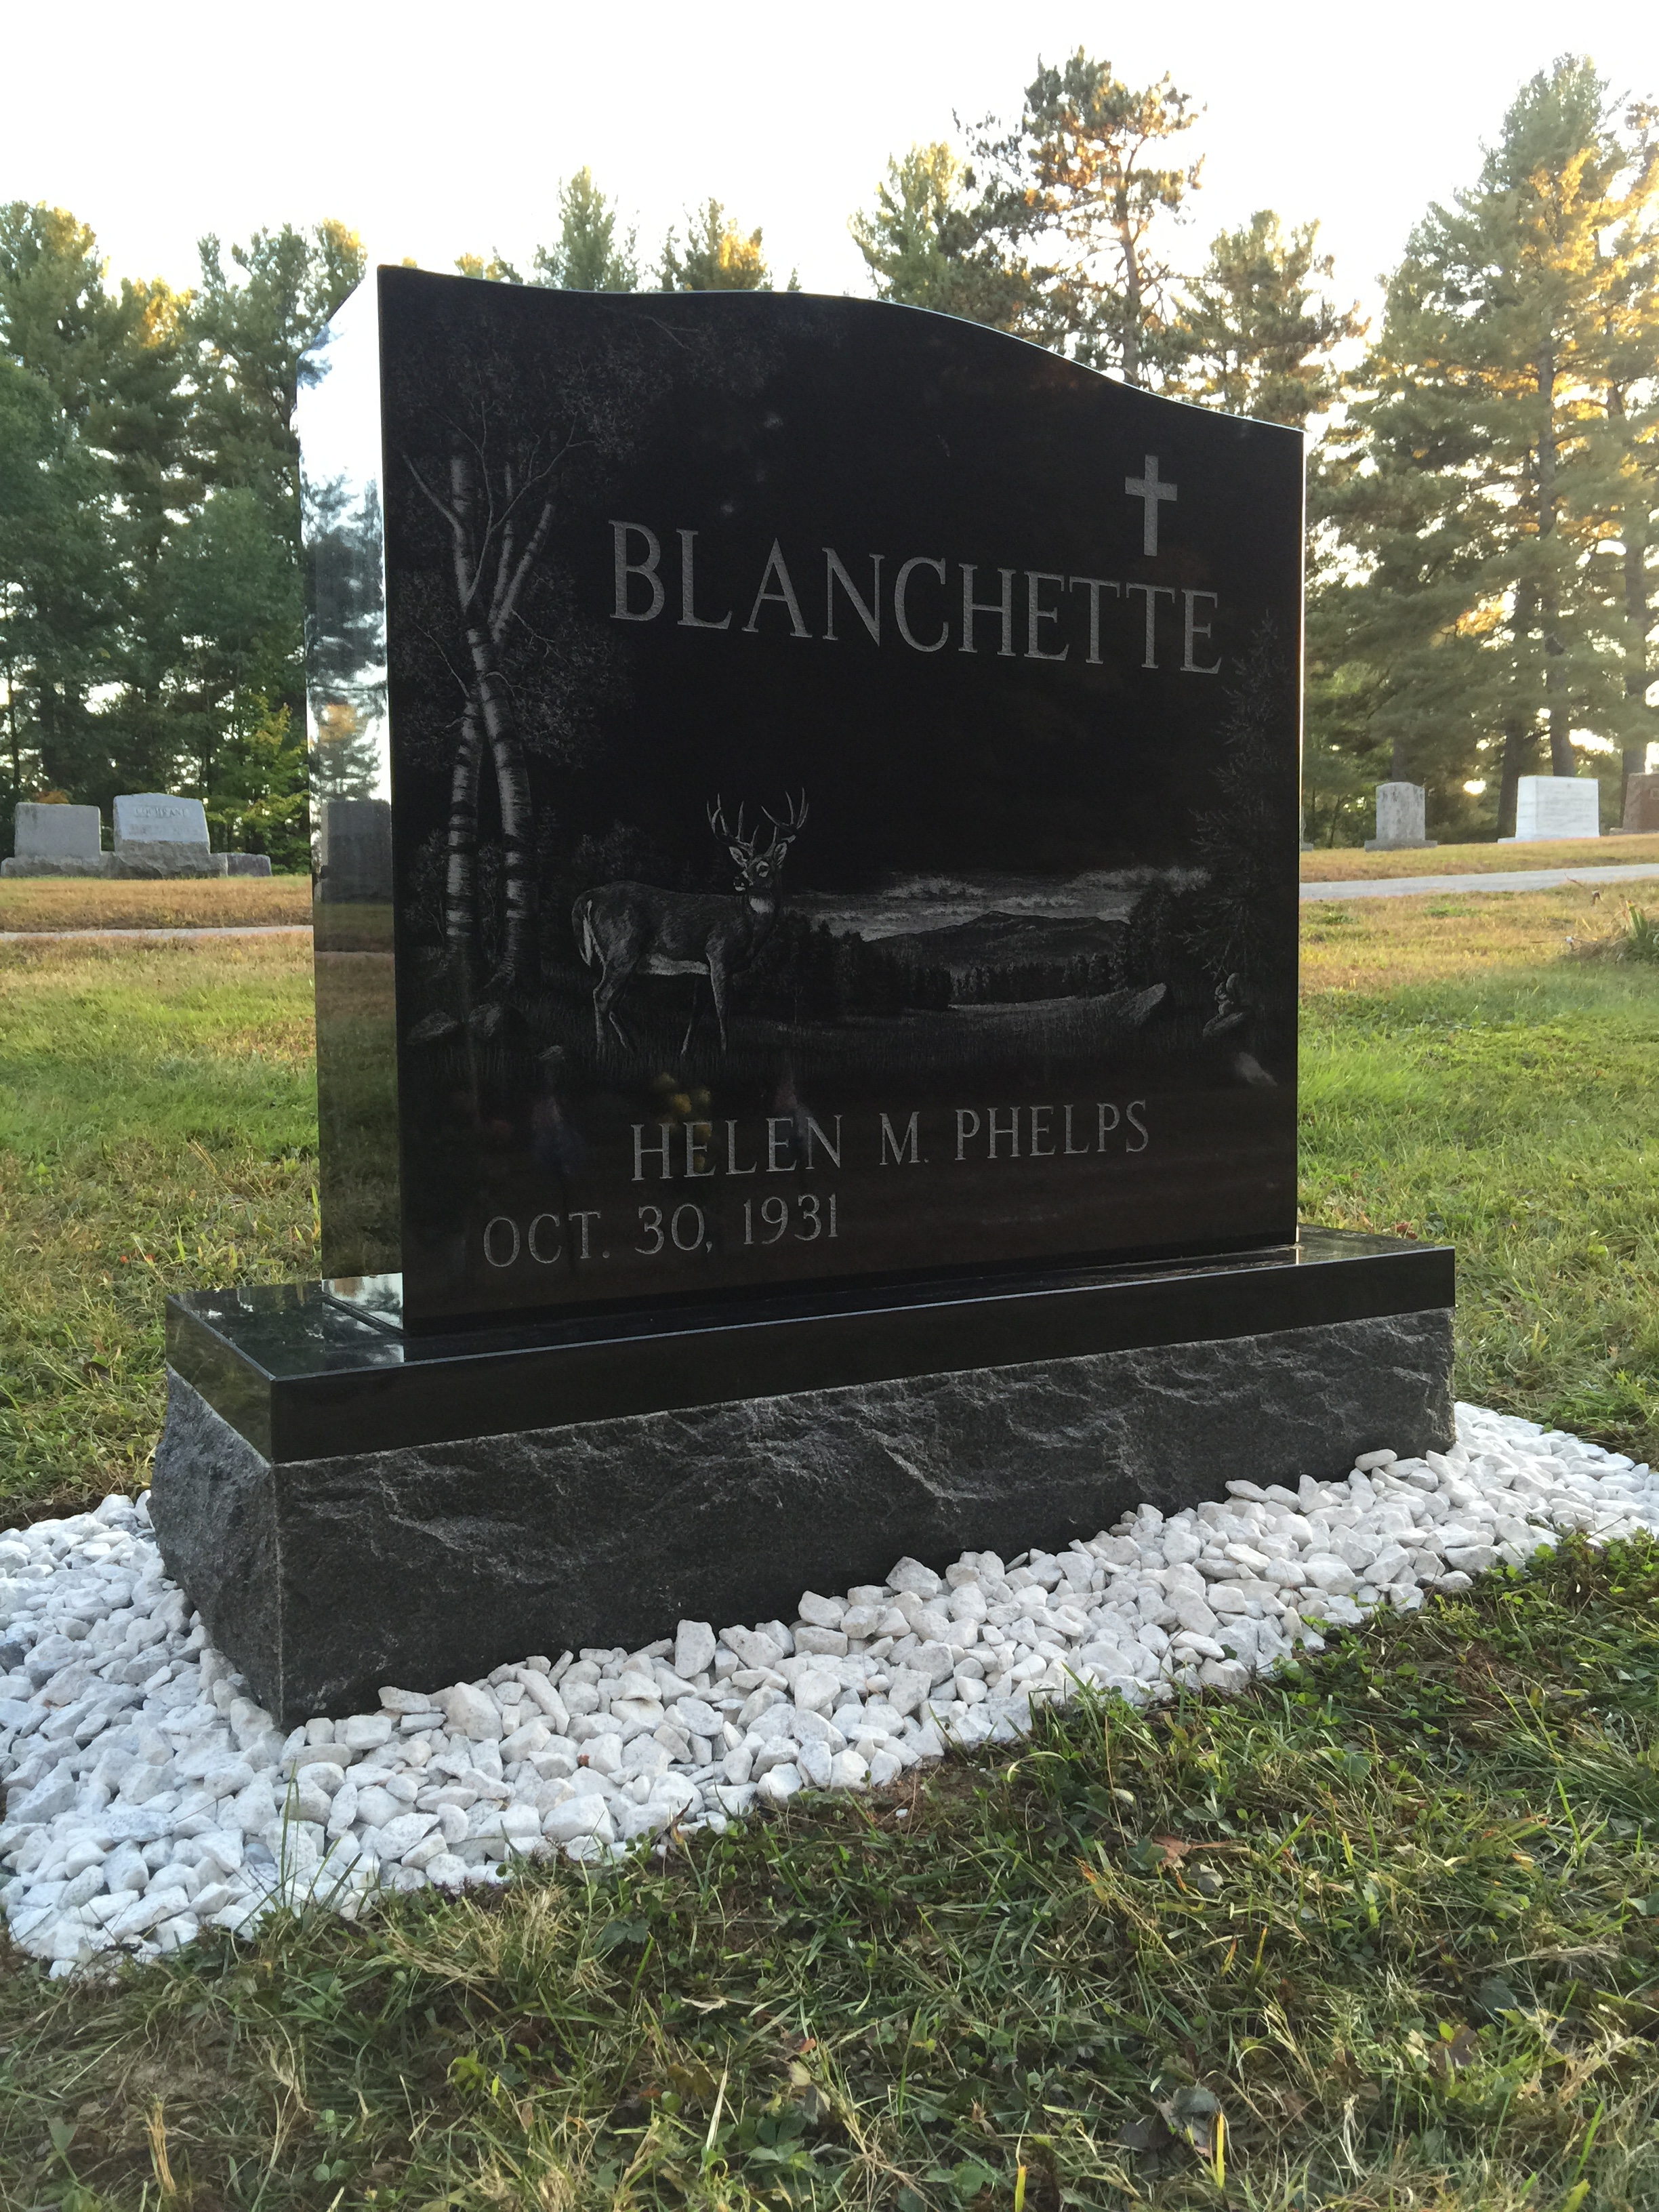
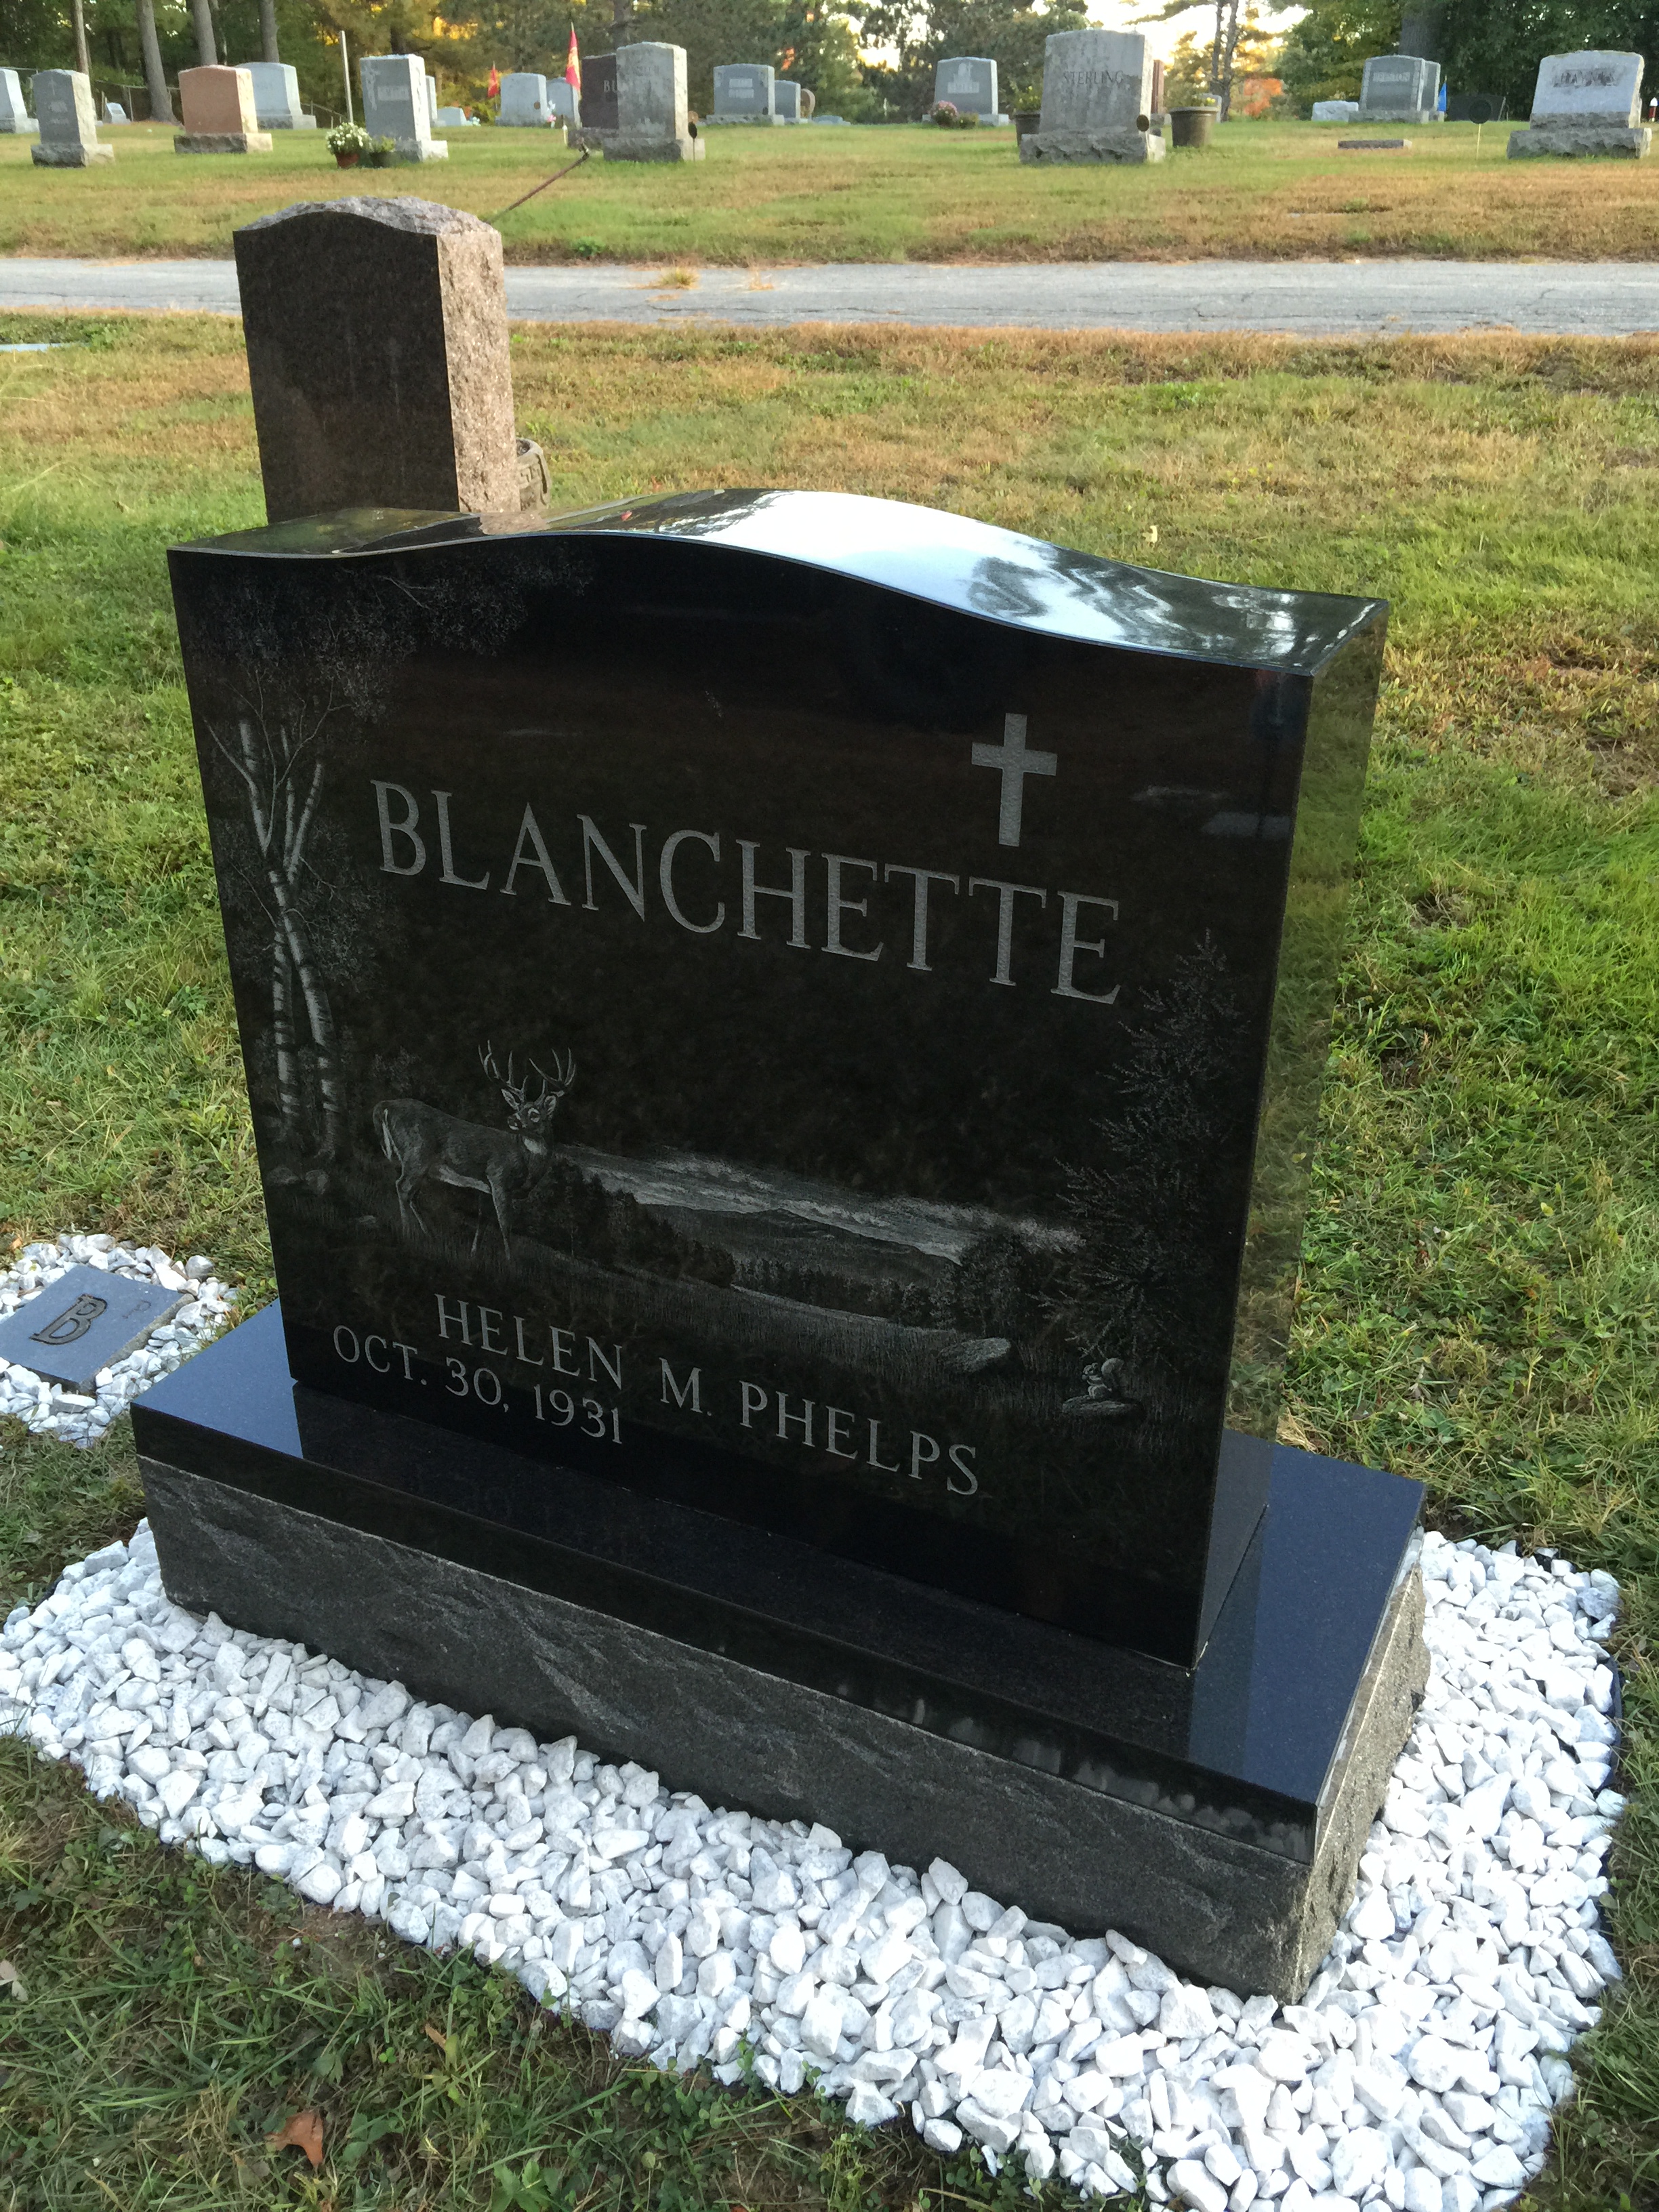
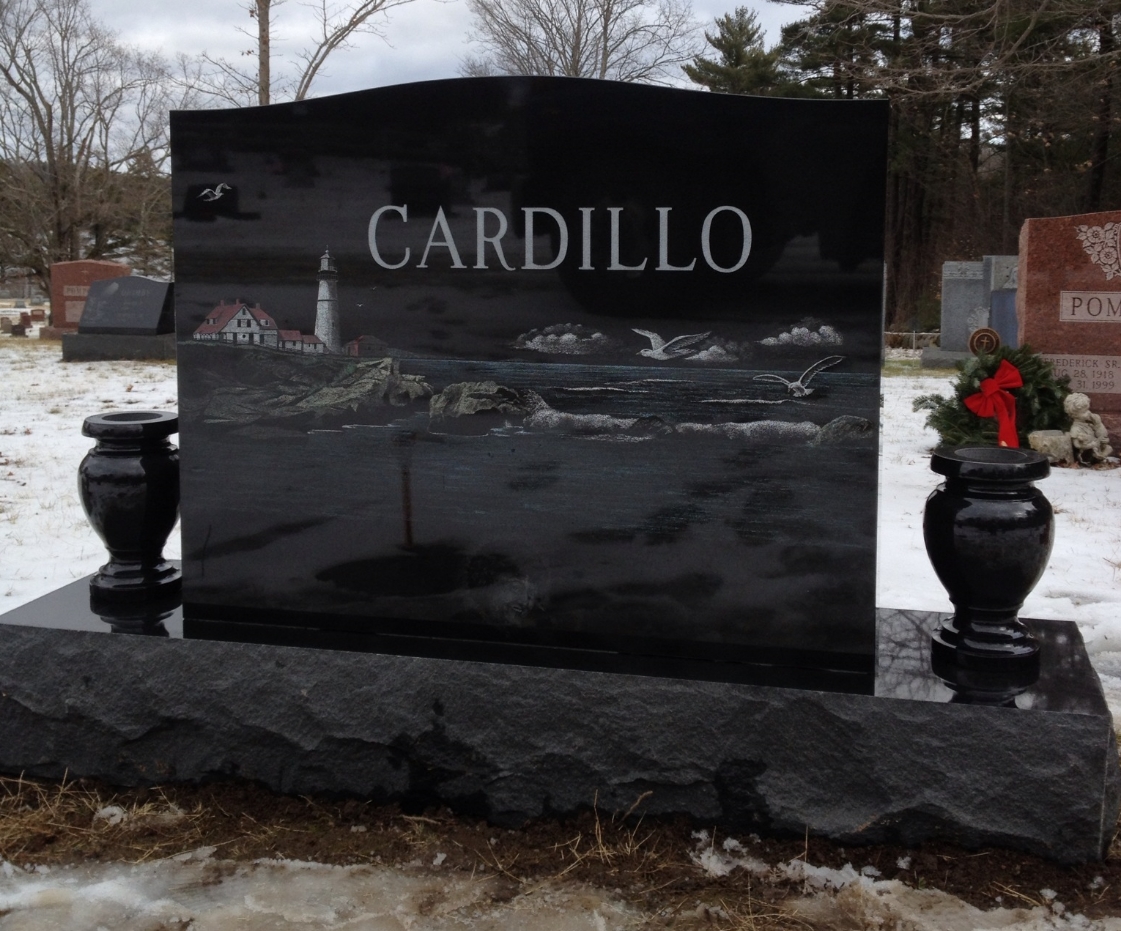
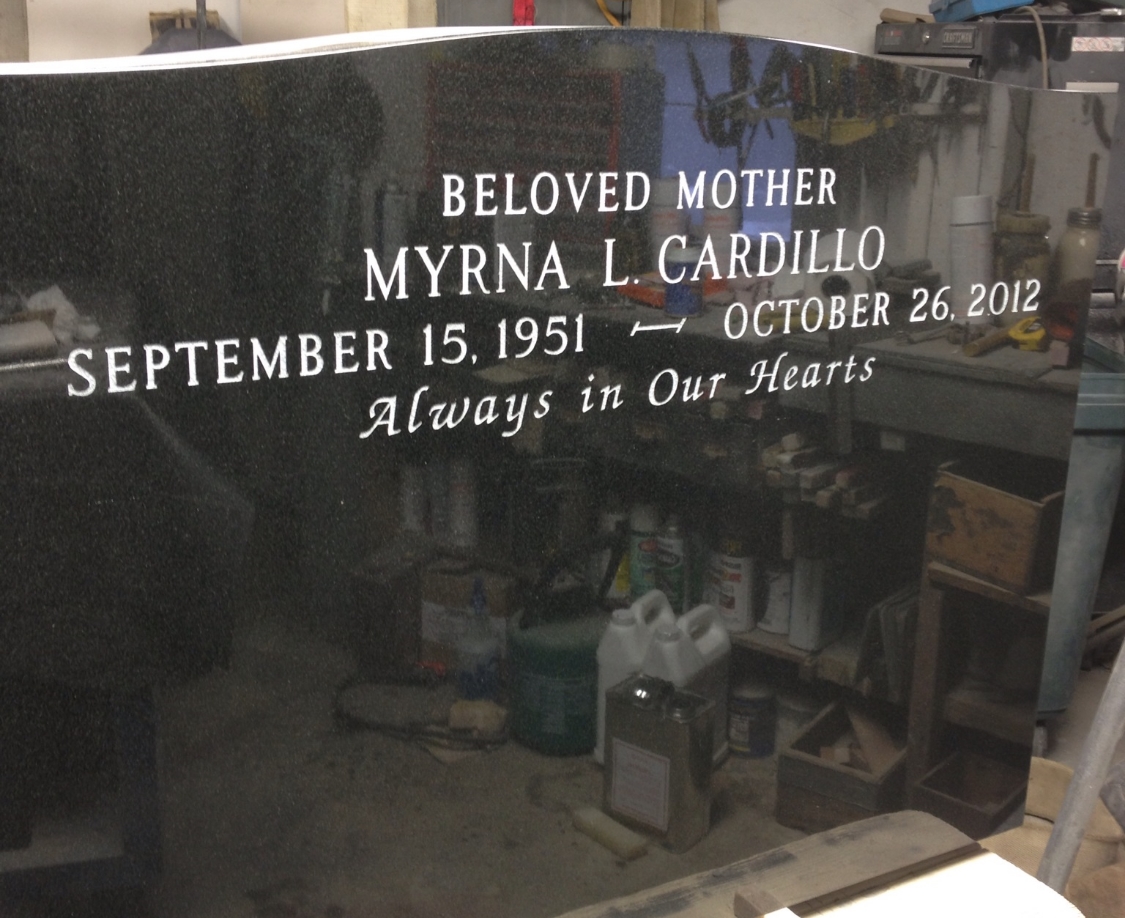
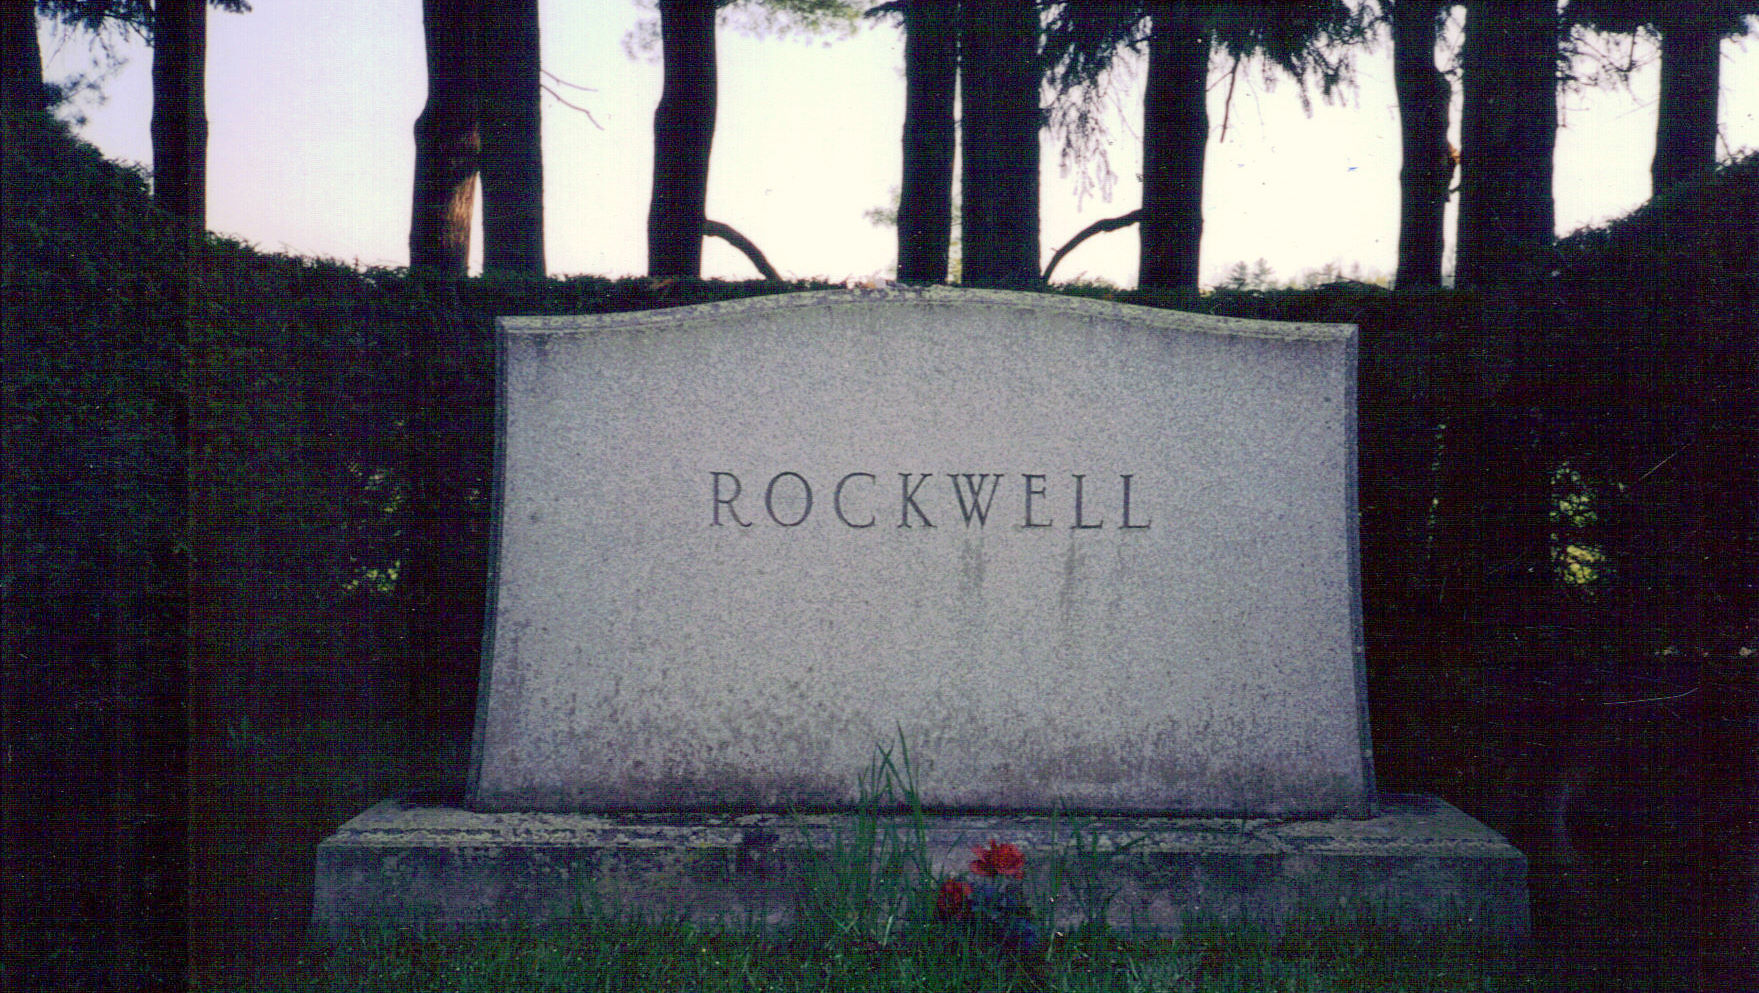
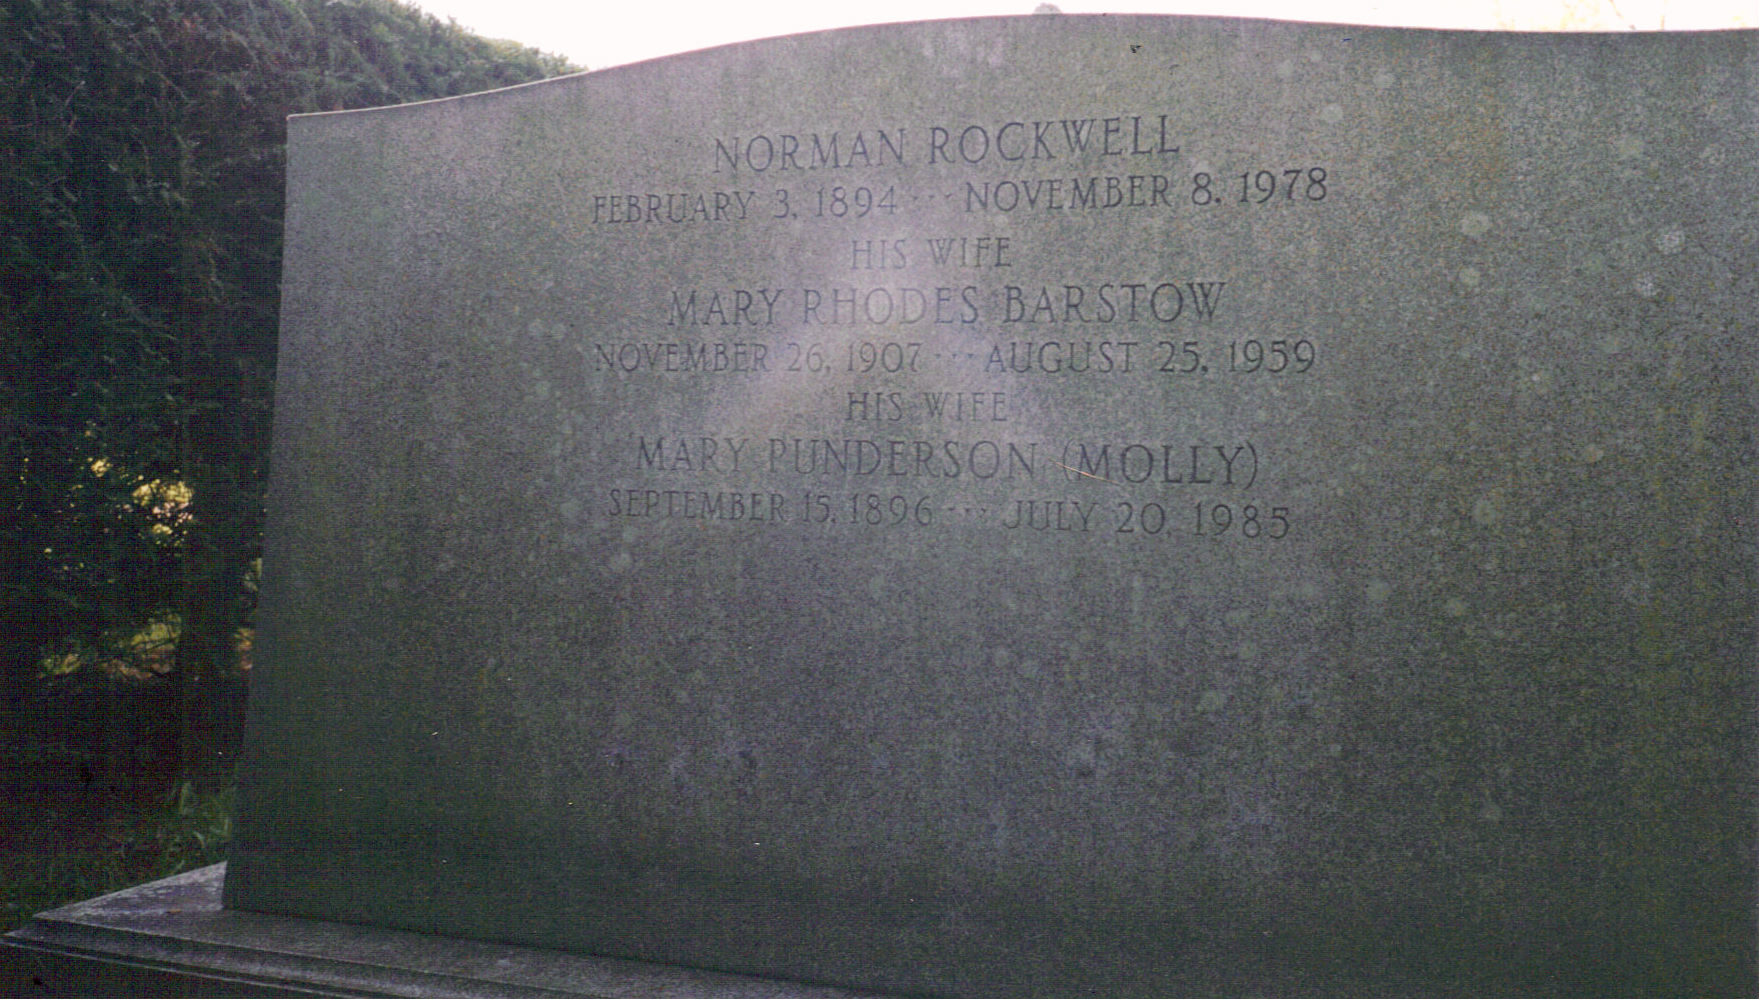
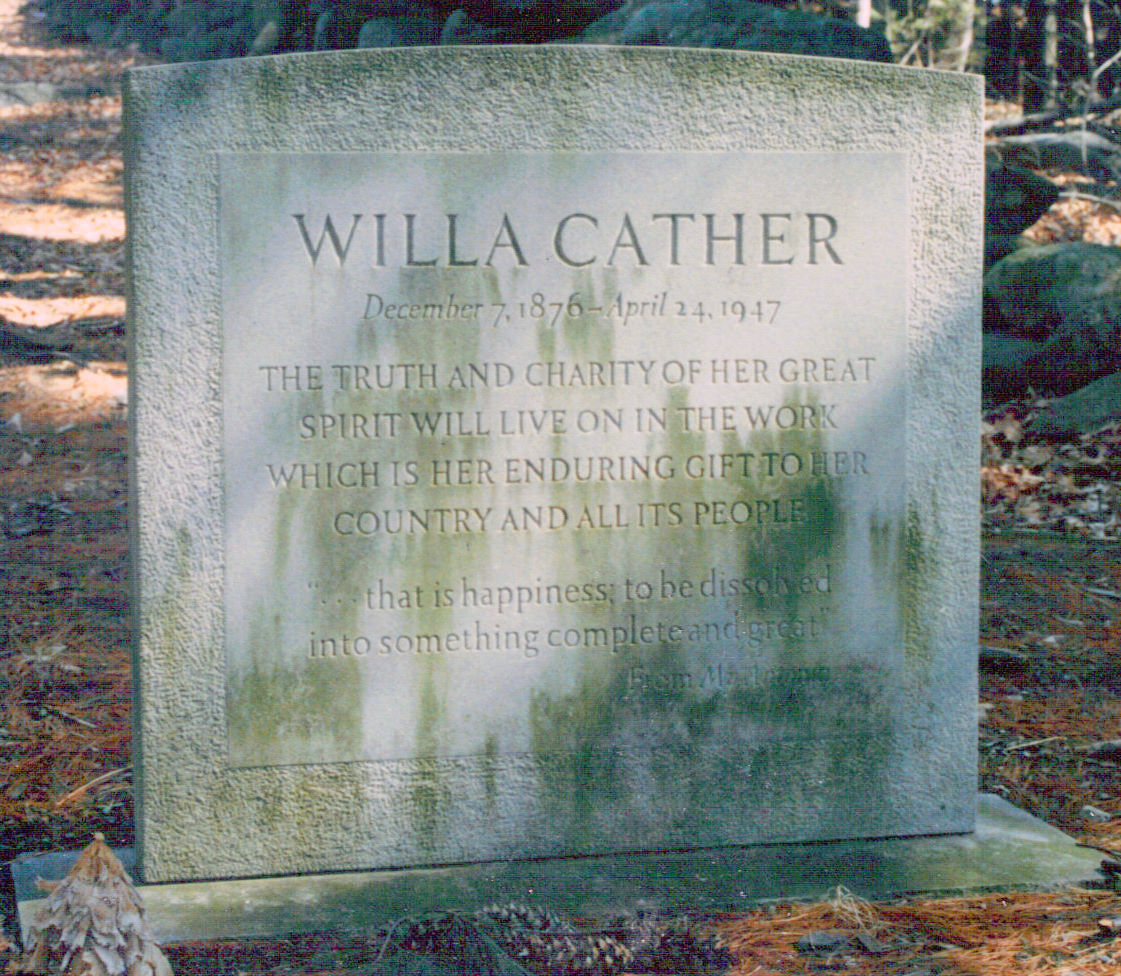
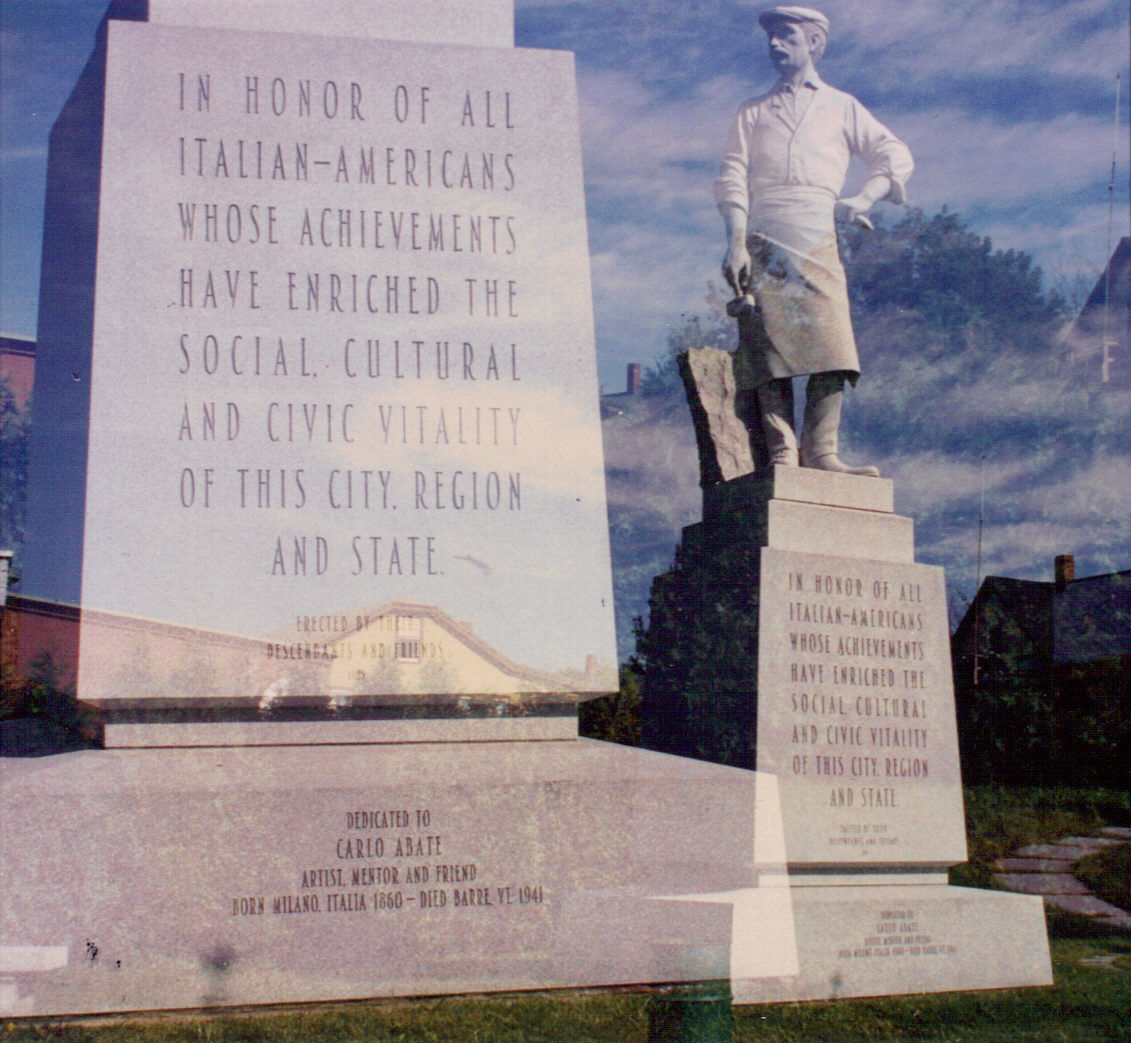
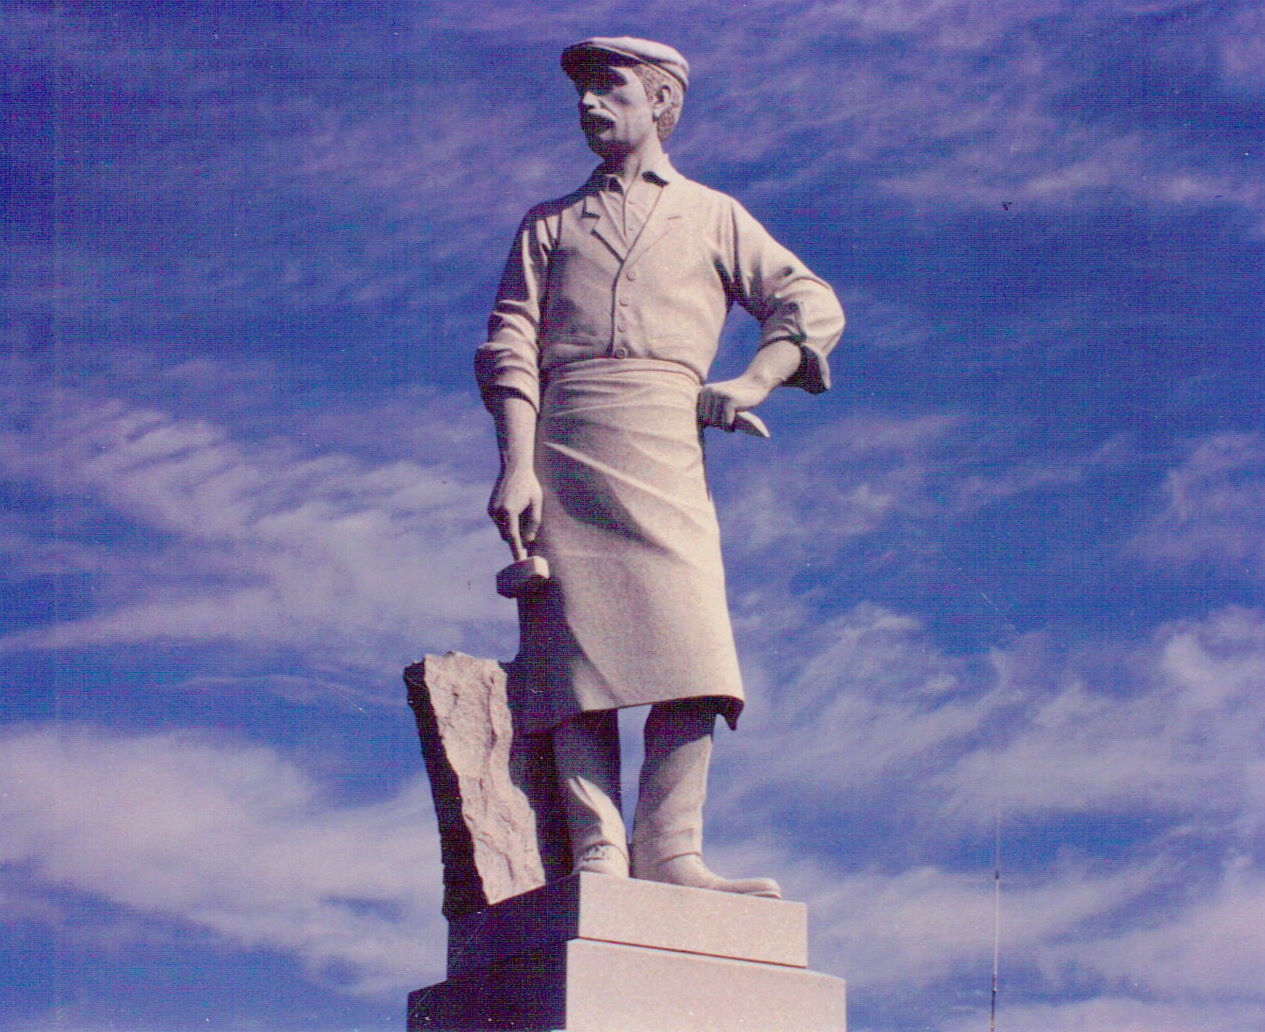
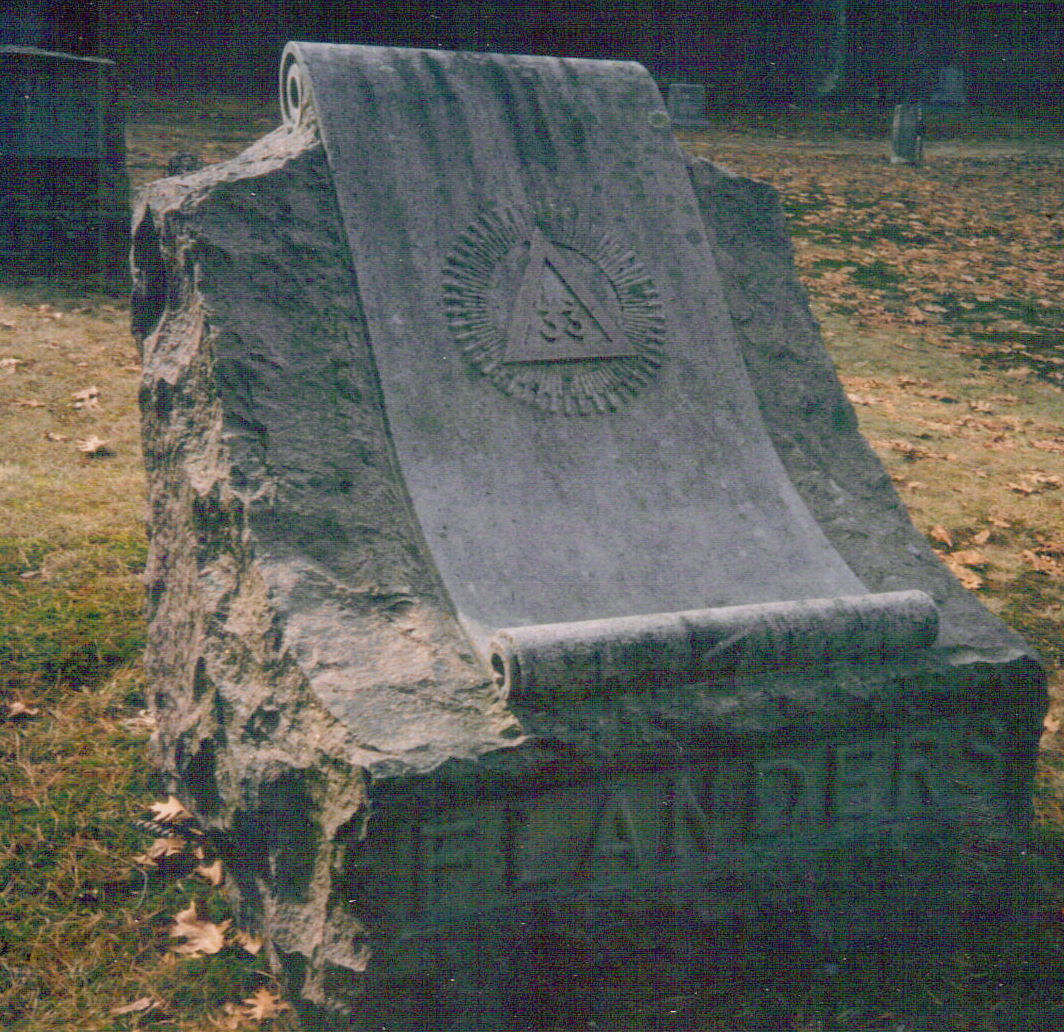
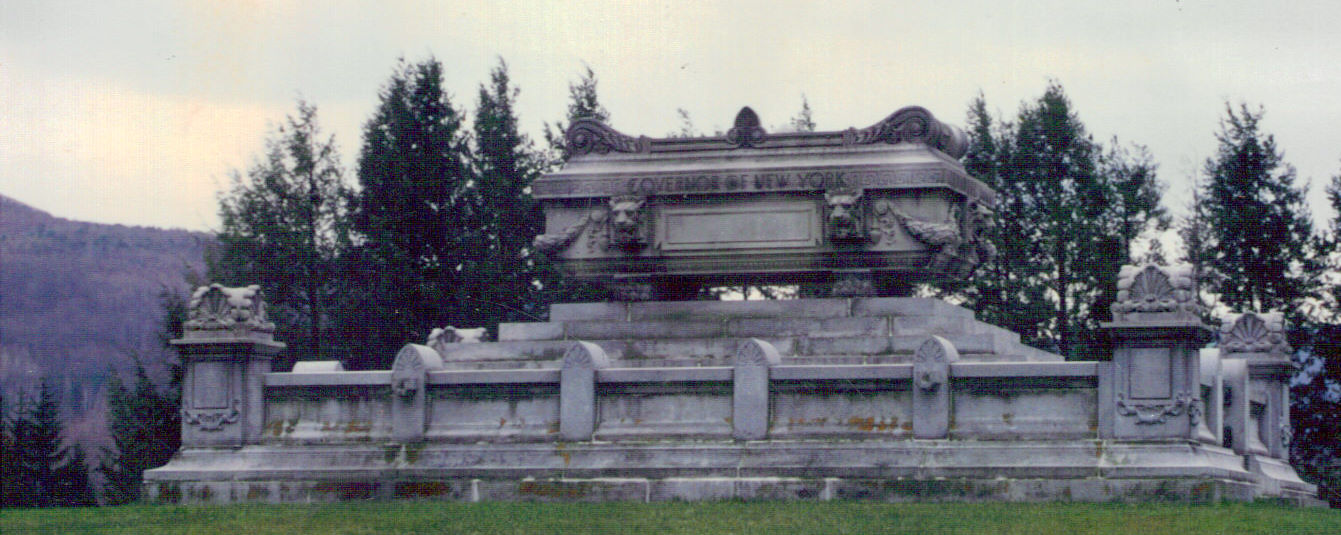
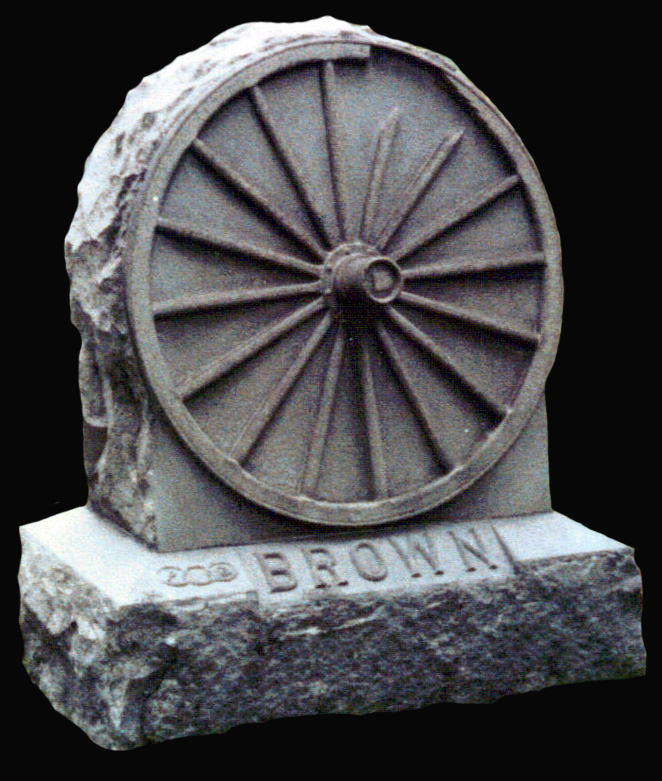
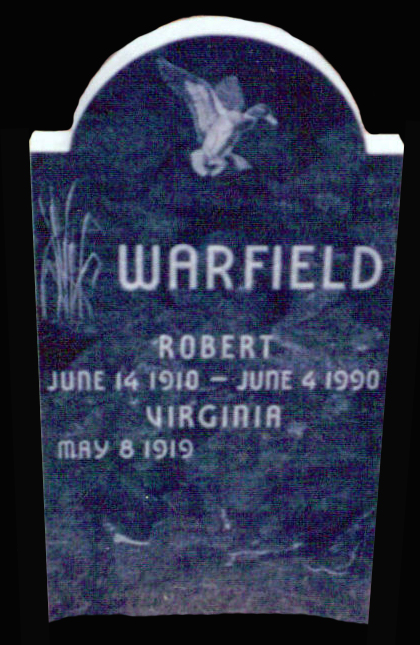
There are thousands of monument designs, shapes, and colors to choose from. Browse this gallery to view samples of different monuments, engraved and produced through our shop. Also included are some other interesting monuments we have seen throughout the region to help generate new ideas in personalizing your memorial. Every stone can be customized to fit your needs.
An important thing to consider when designing your monument is the requirements of the cemetery where the stone will be set. It's best to check with the cemetery first to see if there are any rules or regulations to follow.


The above gallery shows examples of how your monument can be customized with different shapes and top contours.
Monument Colors & Materials
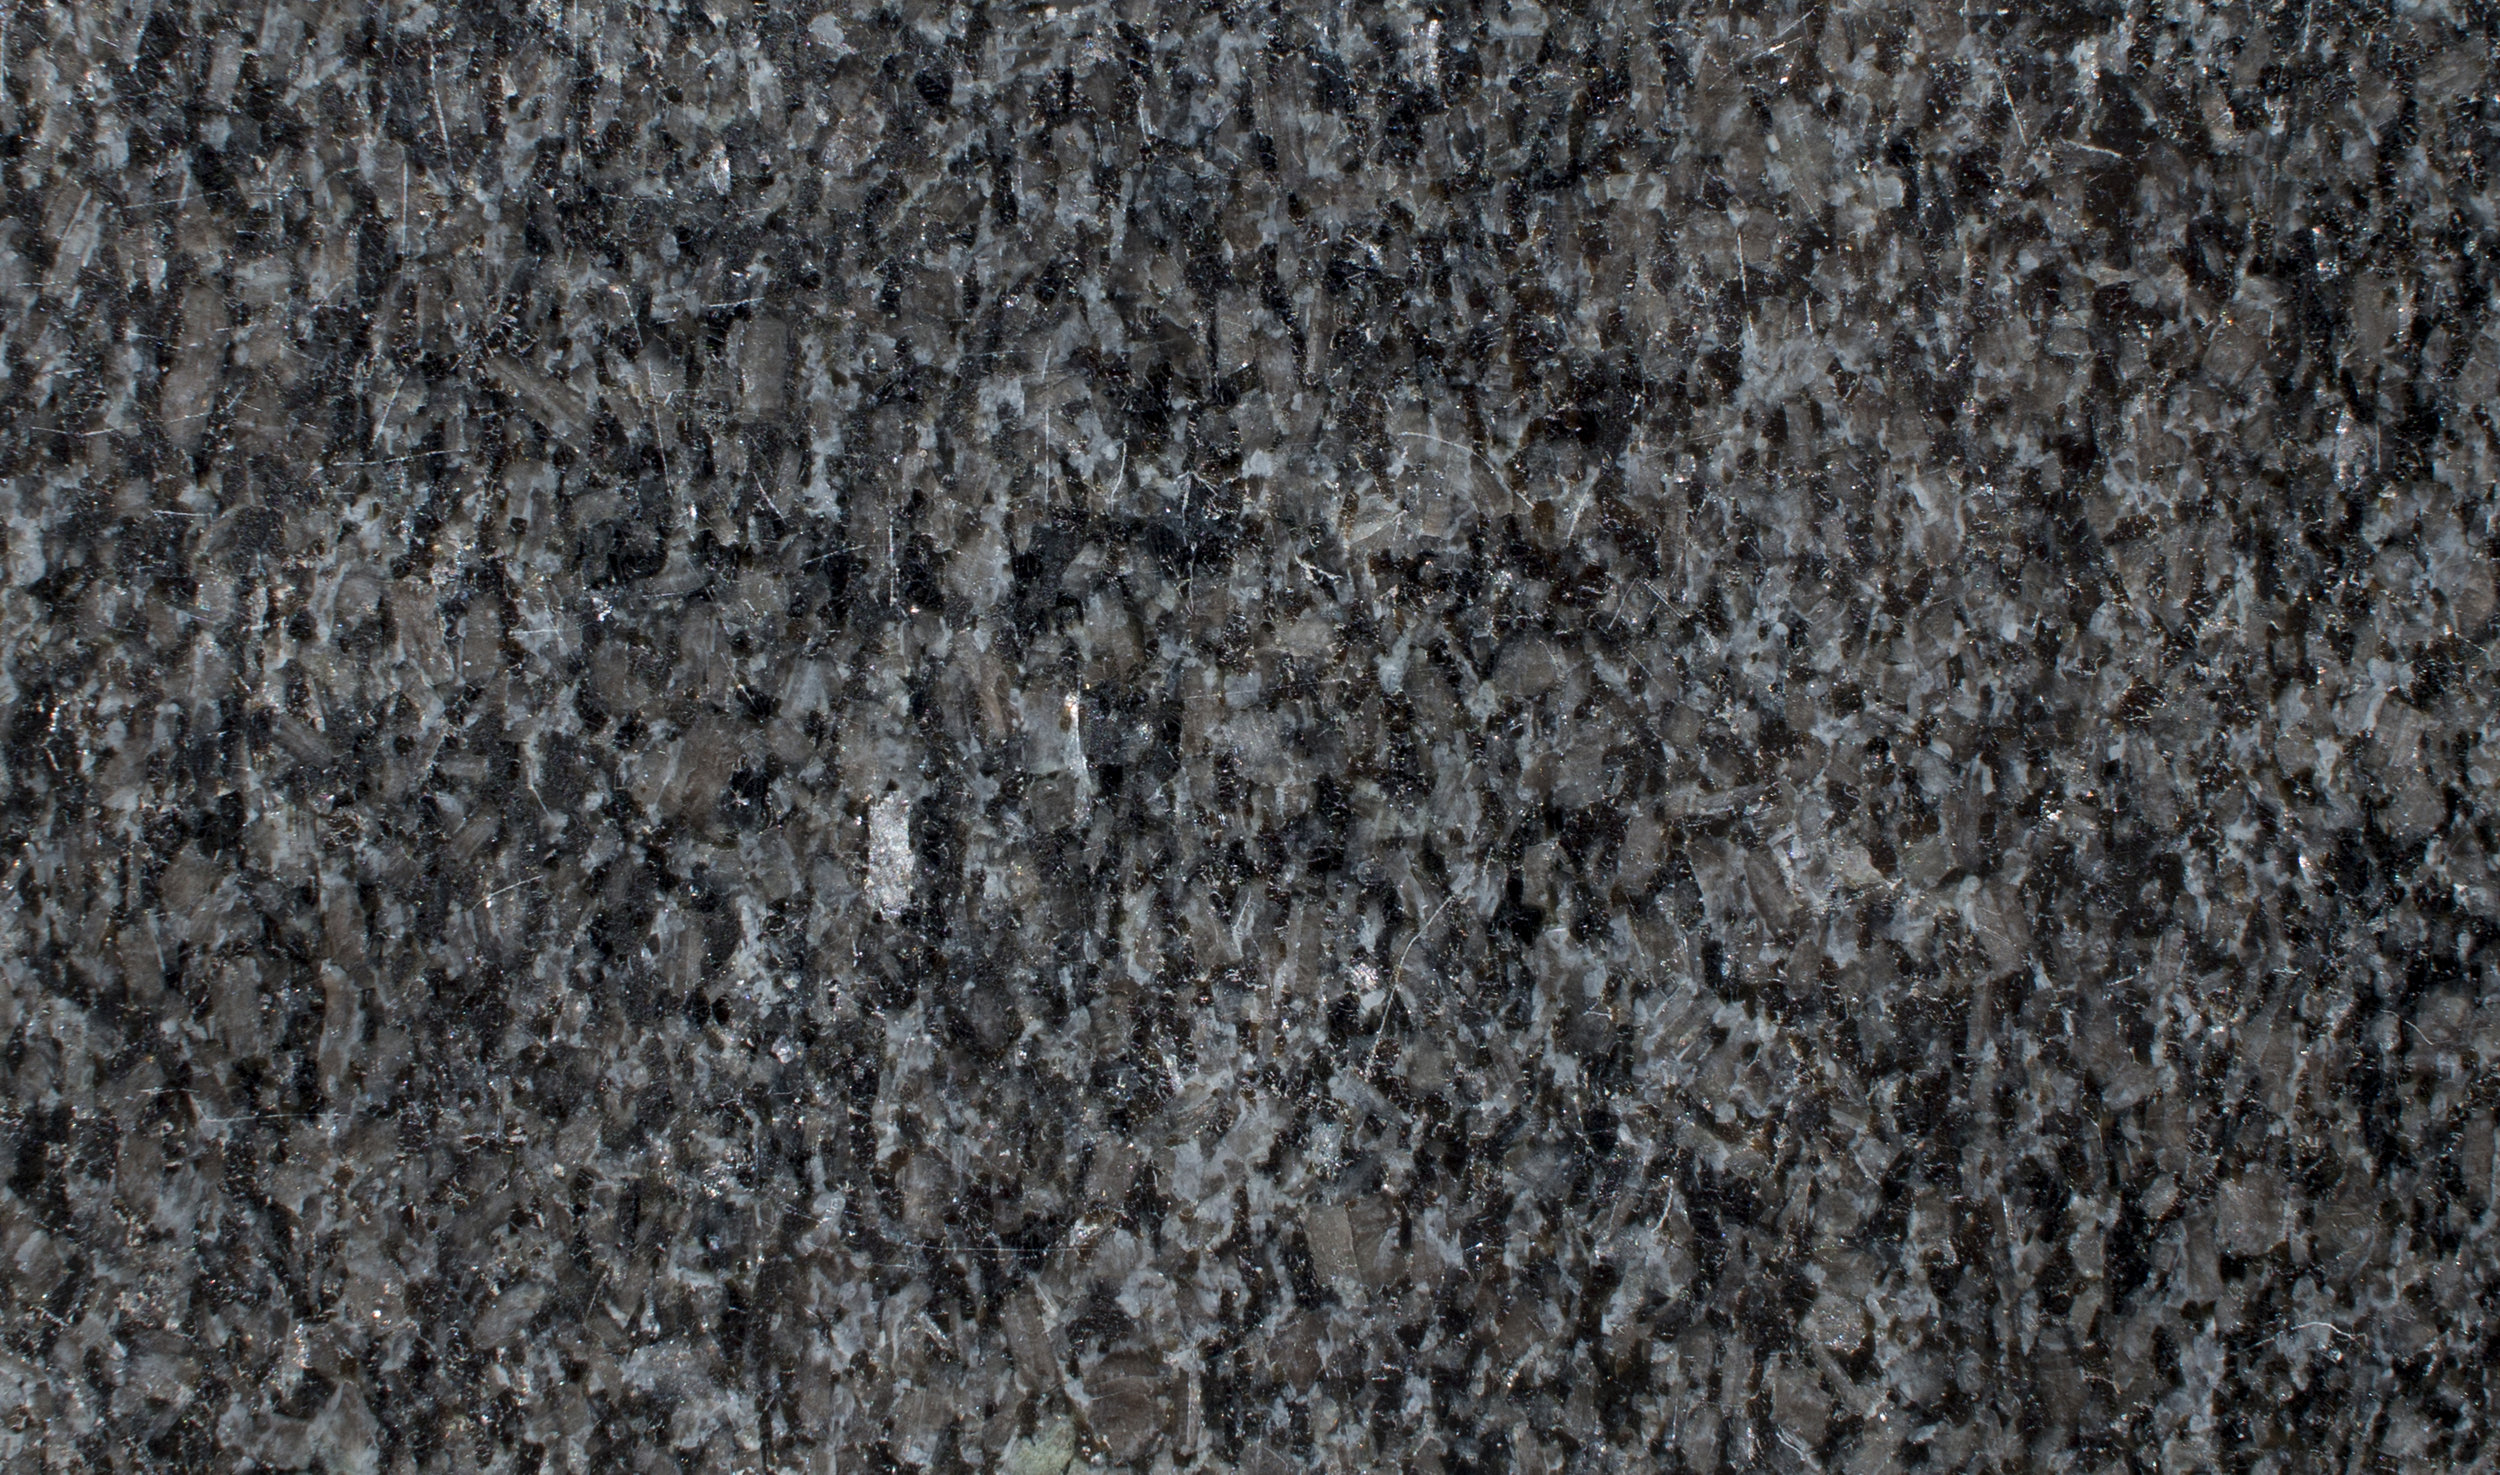
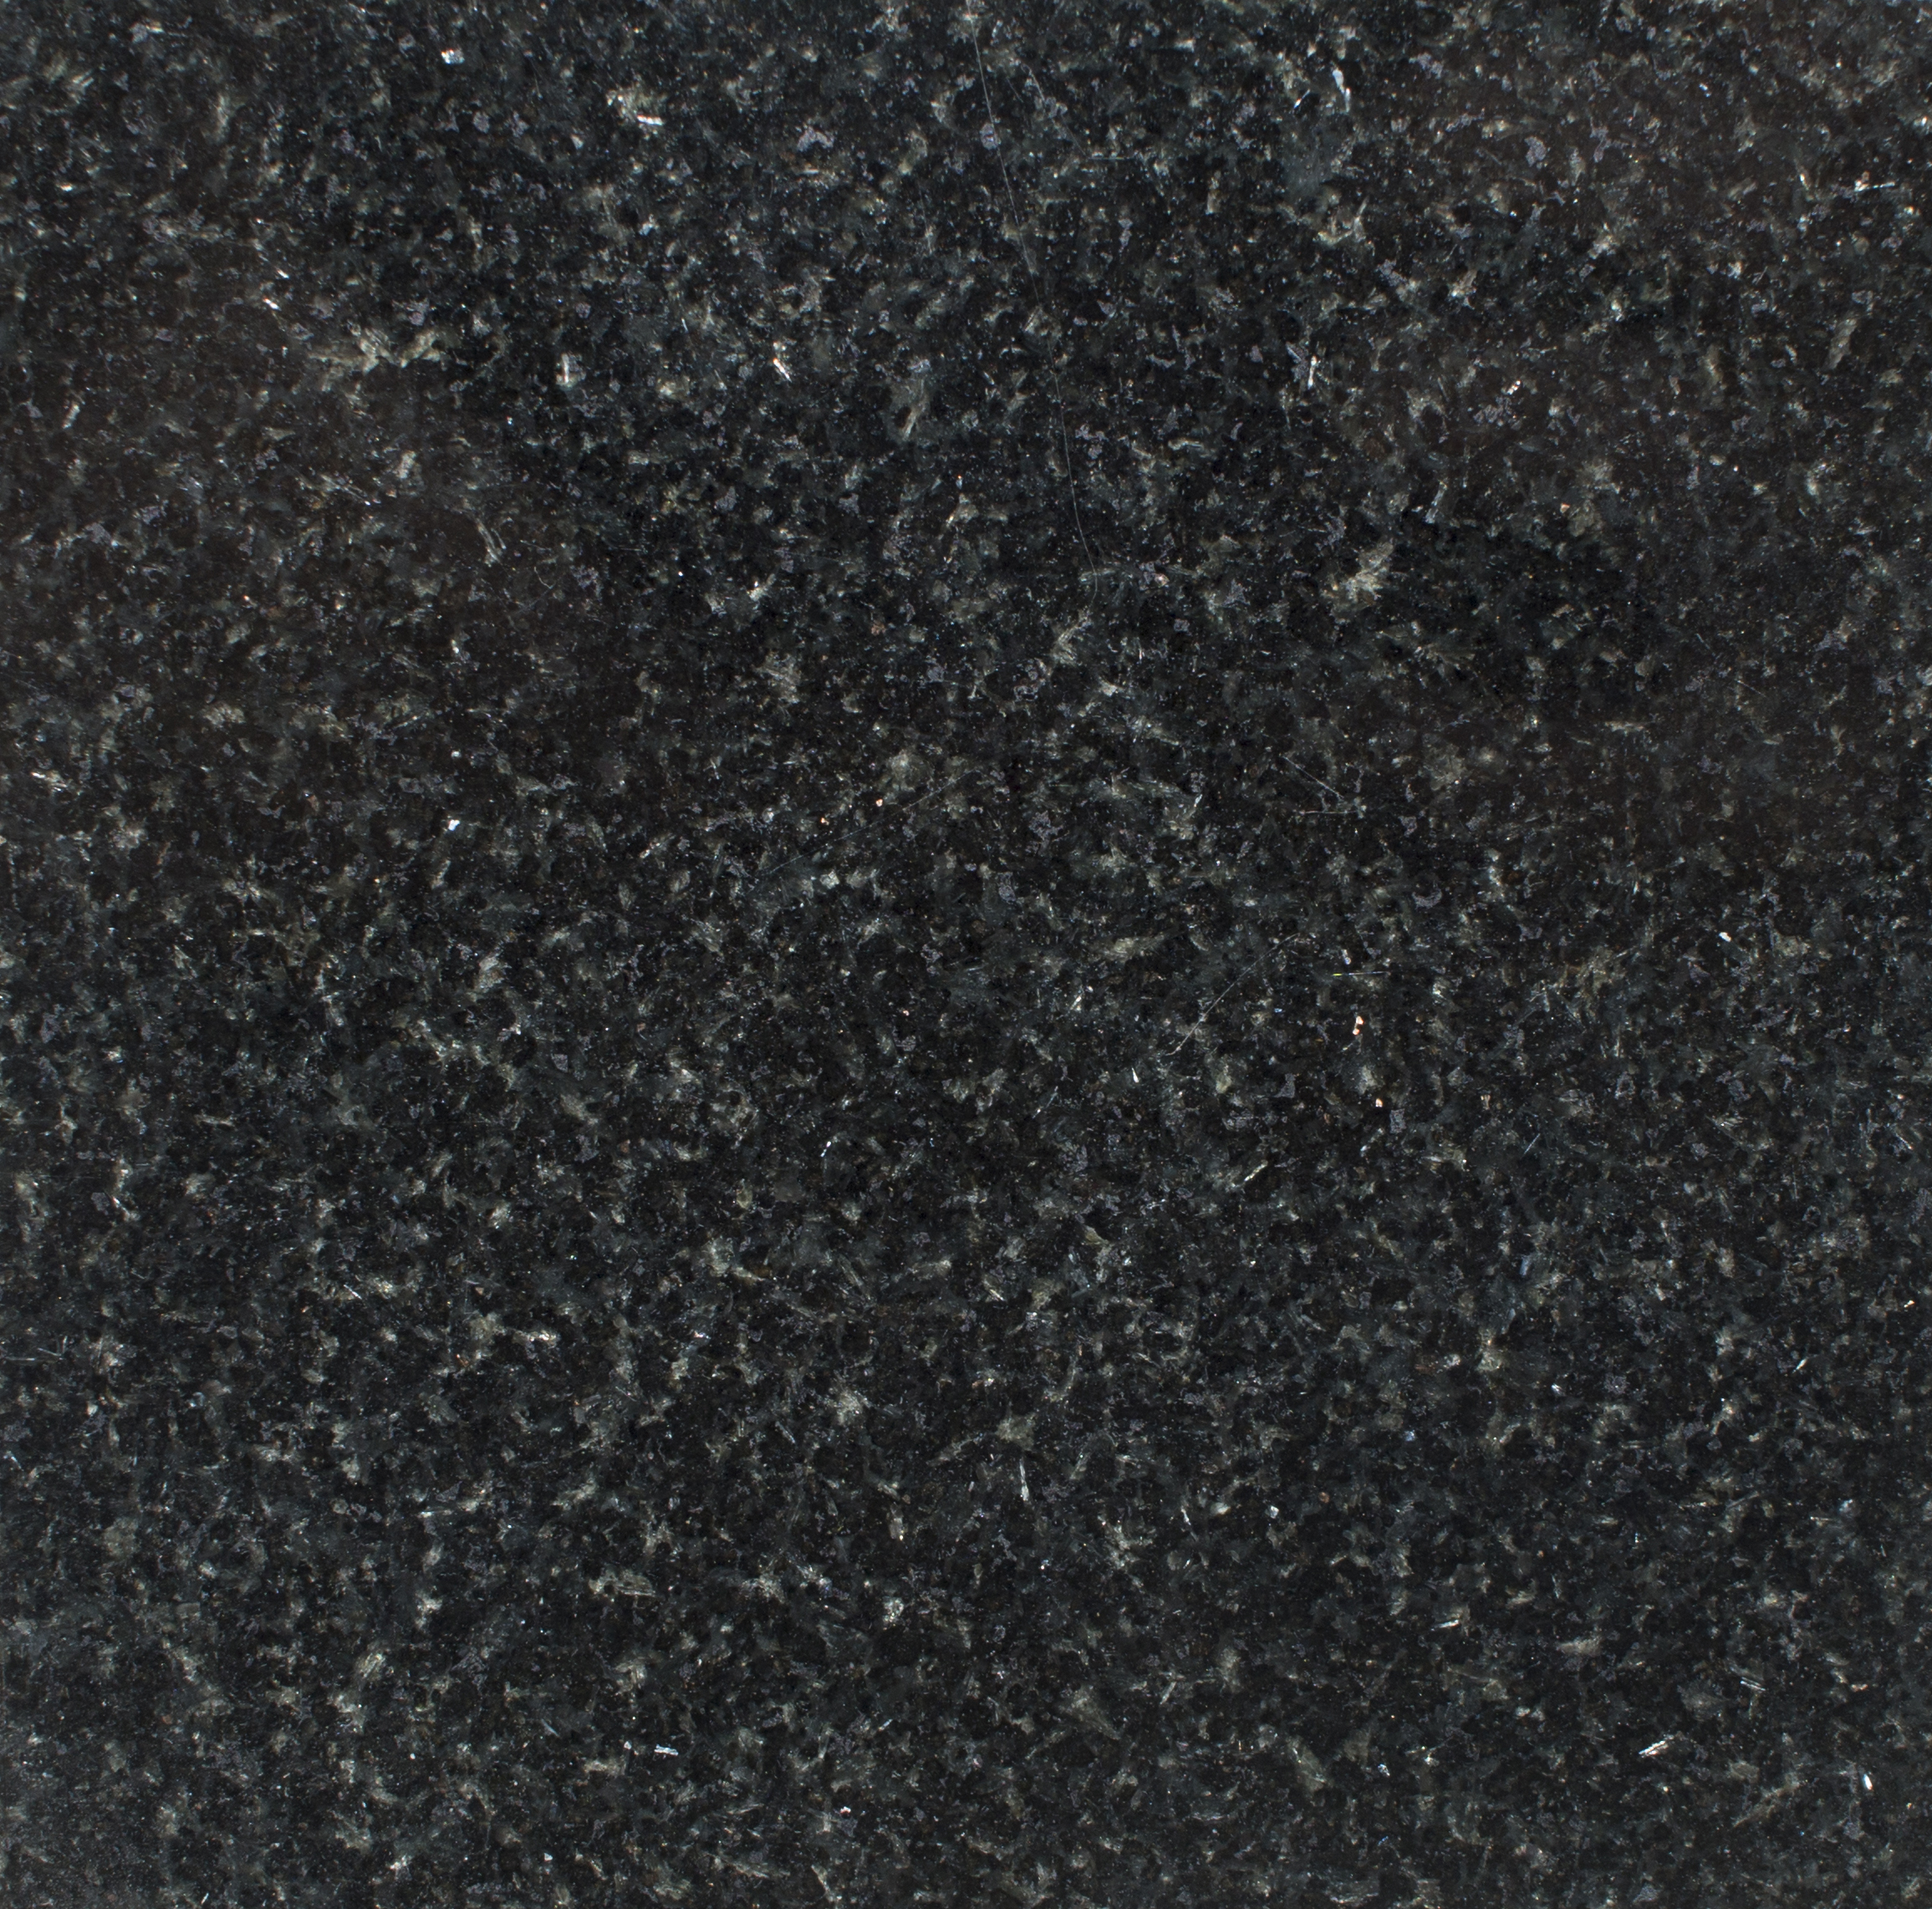
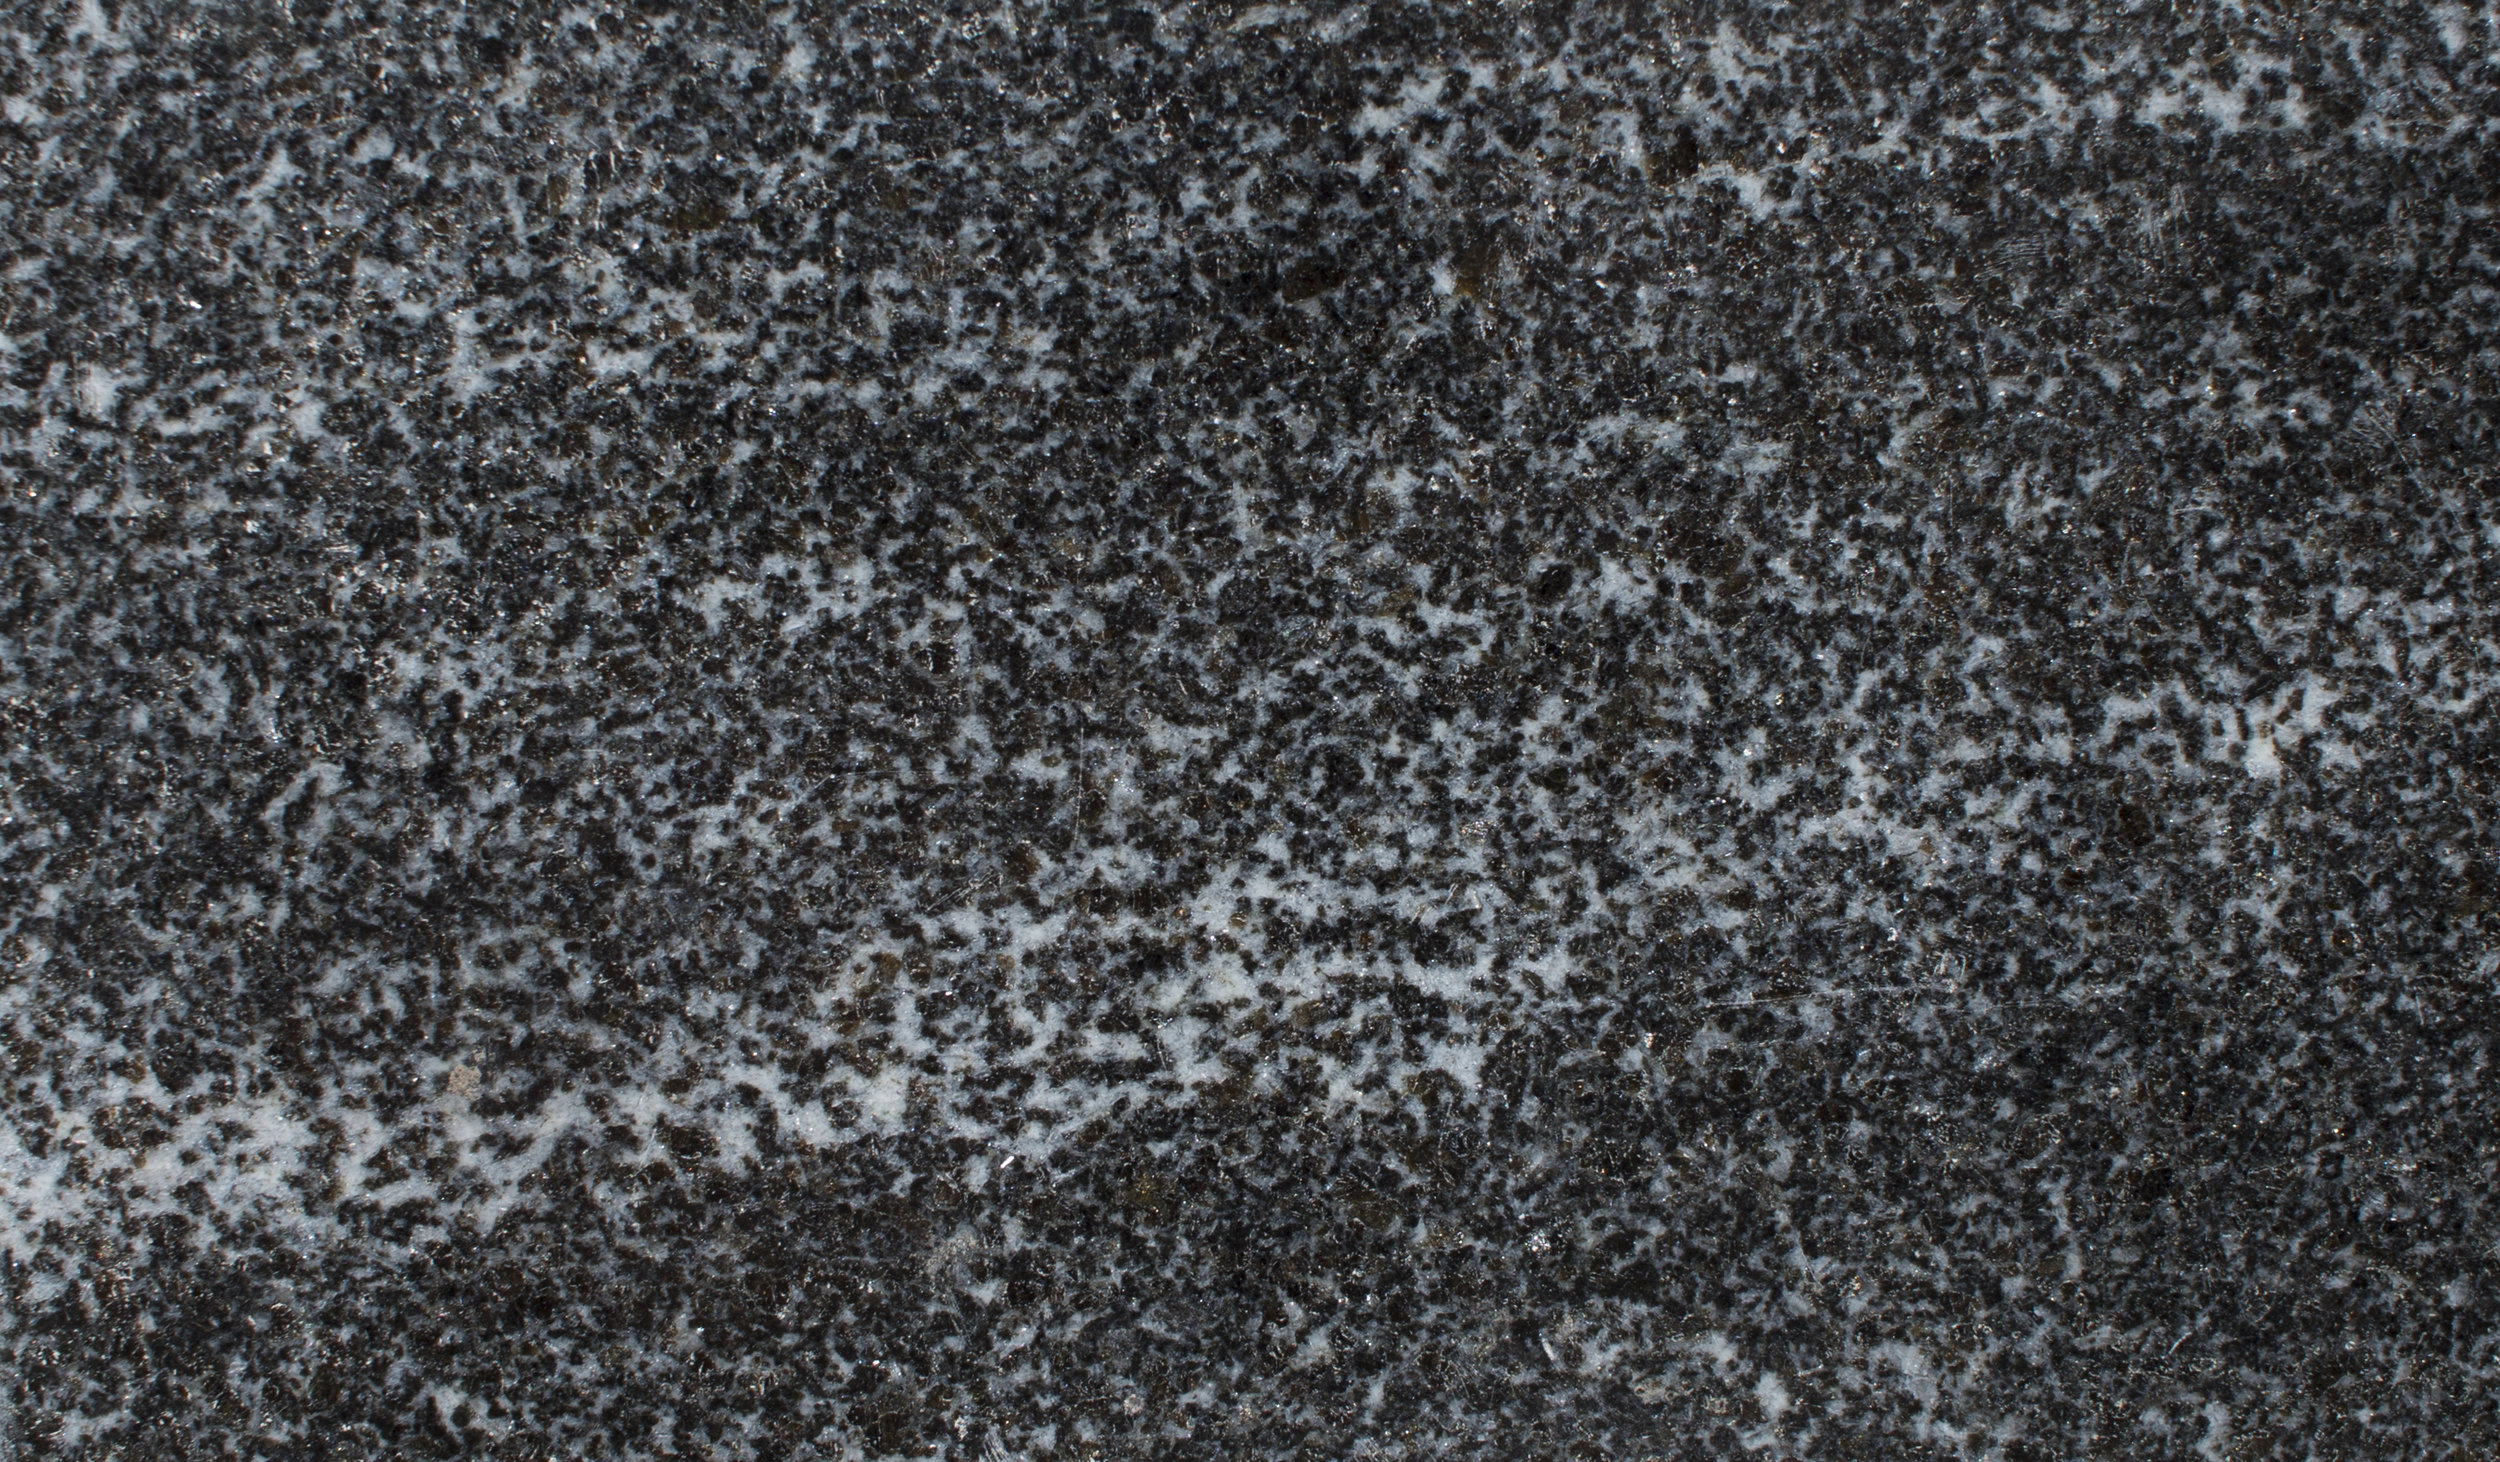
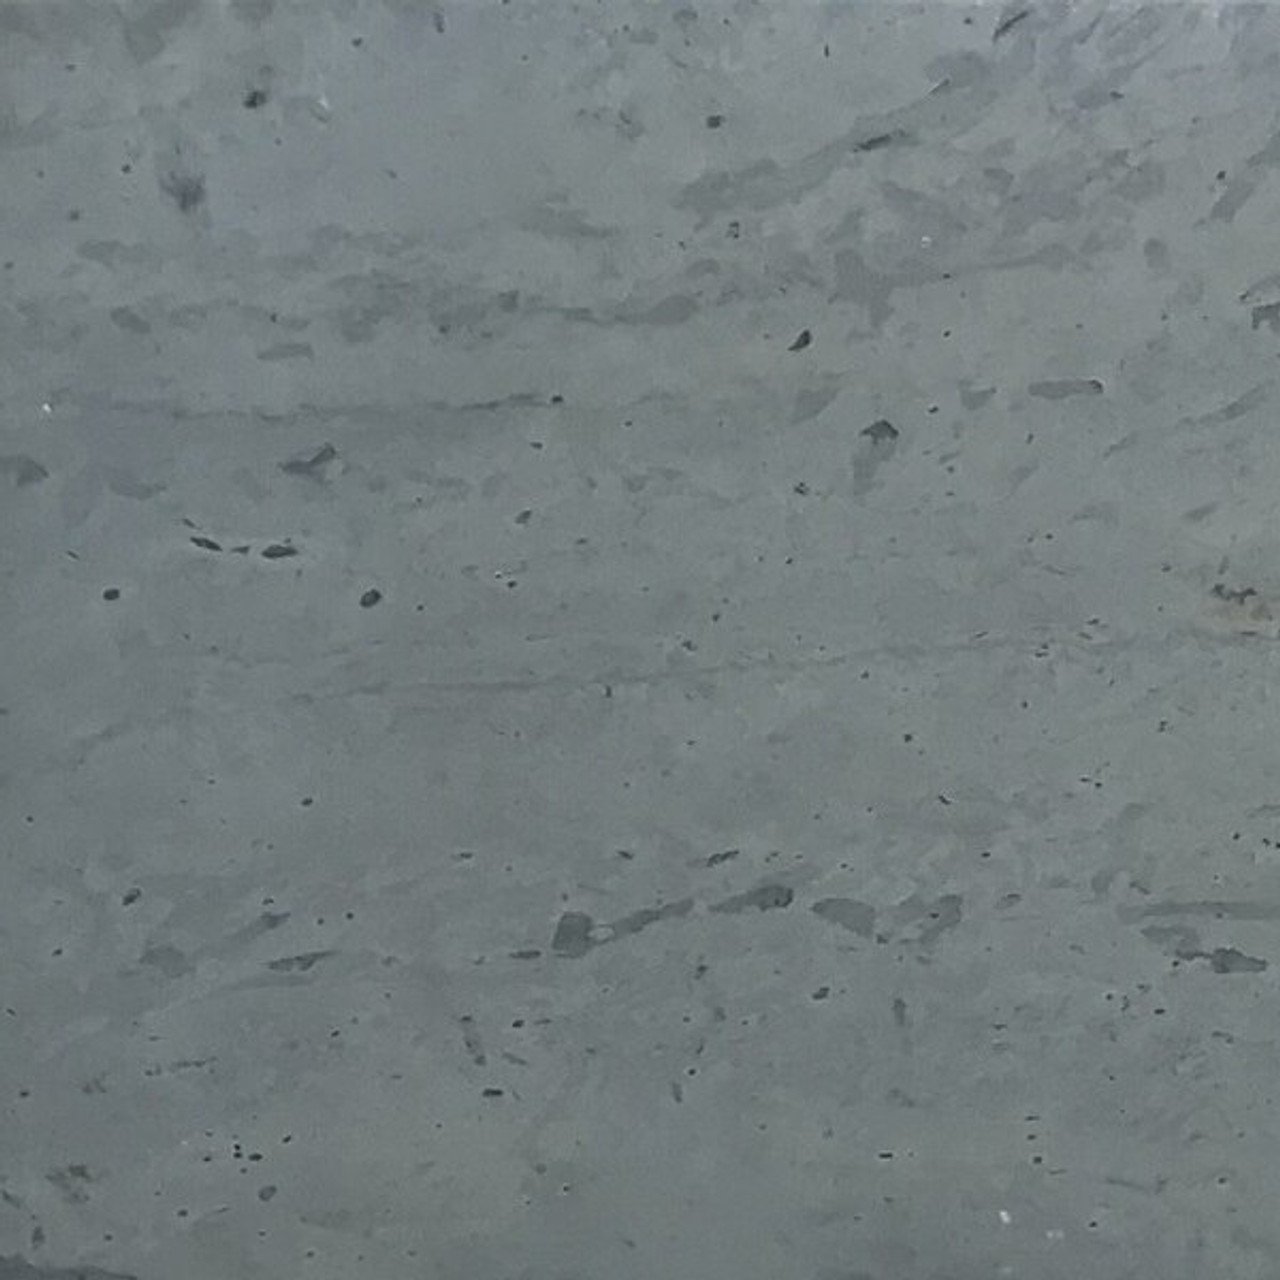
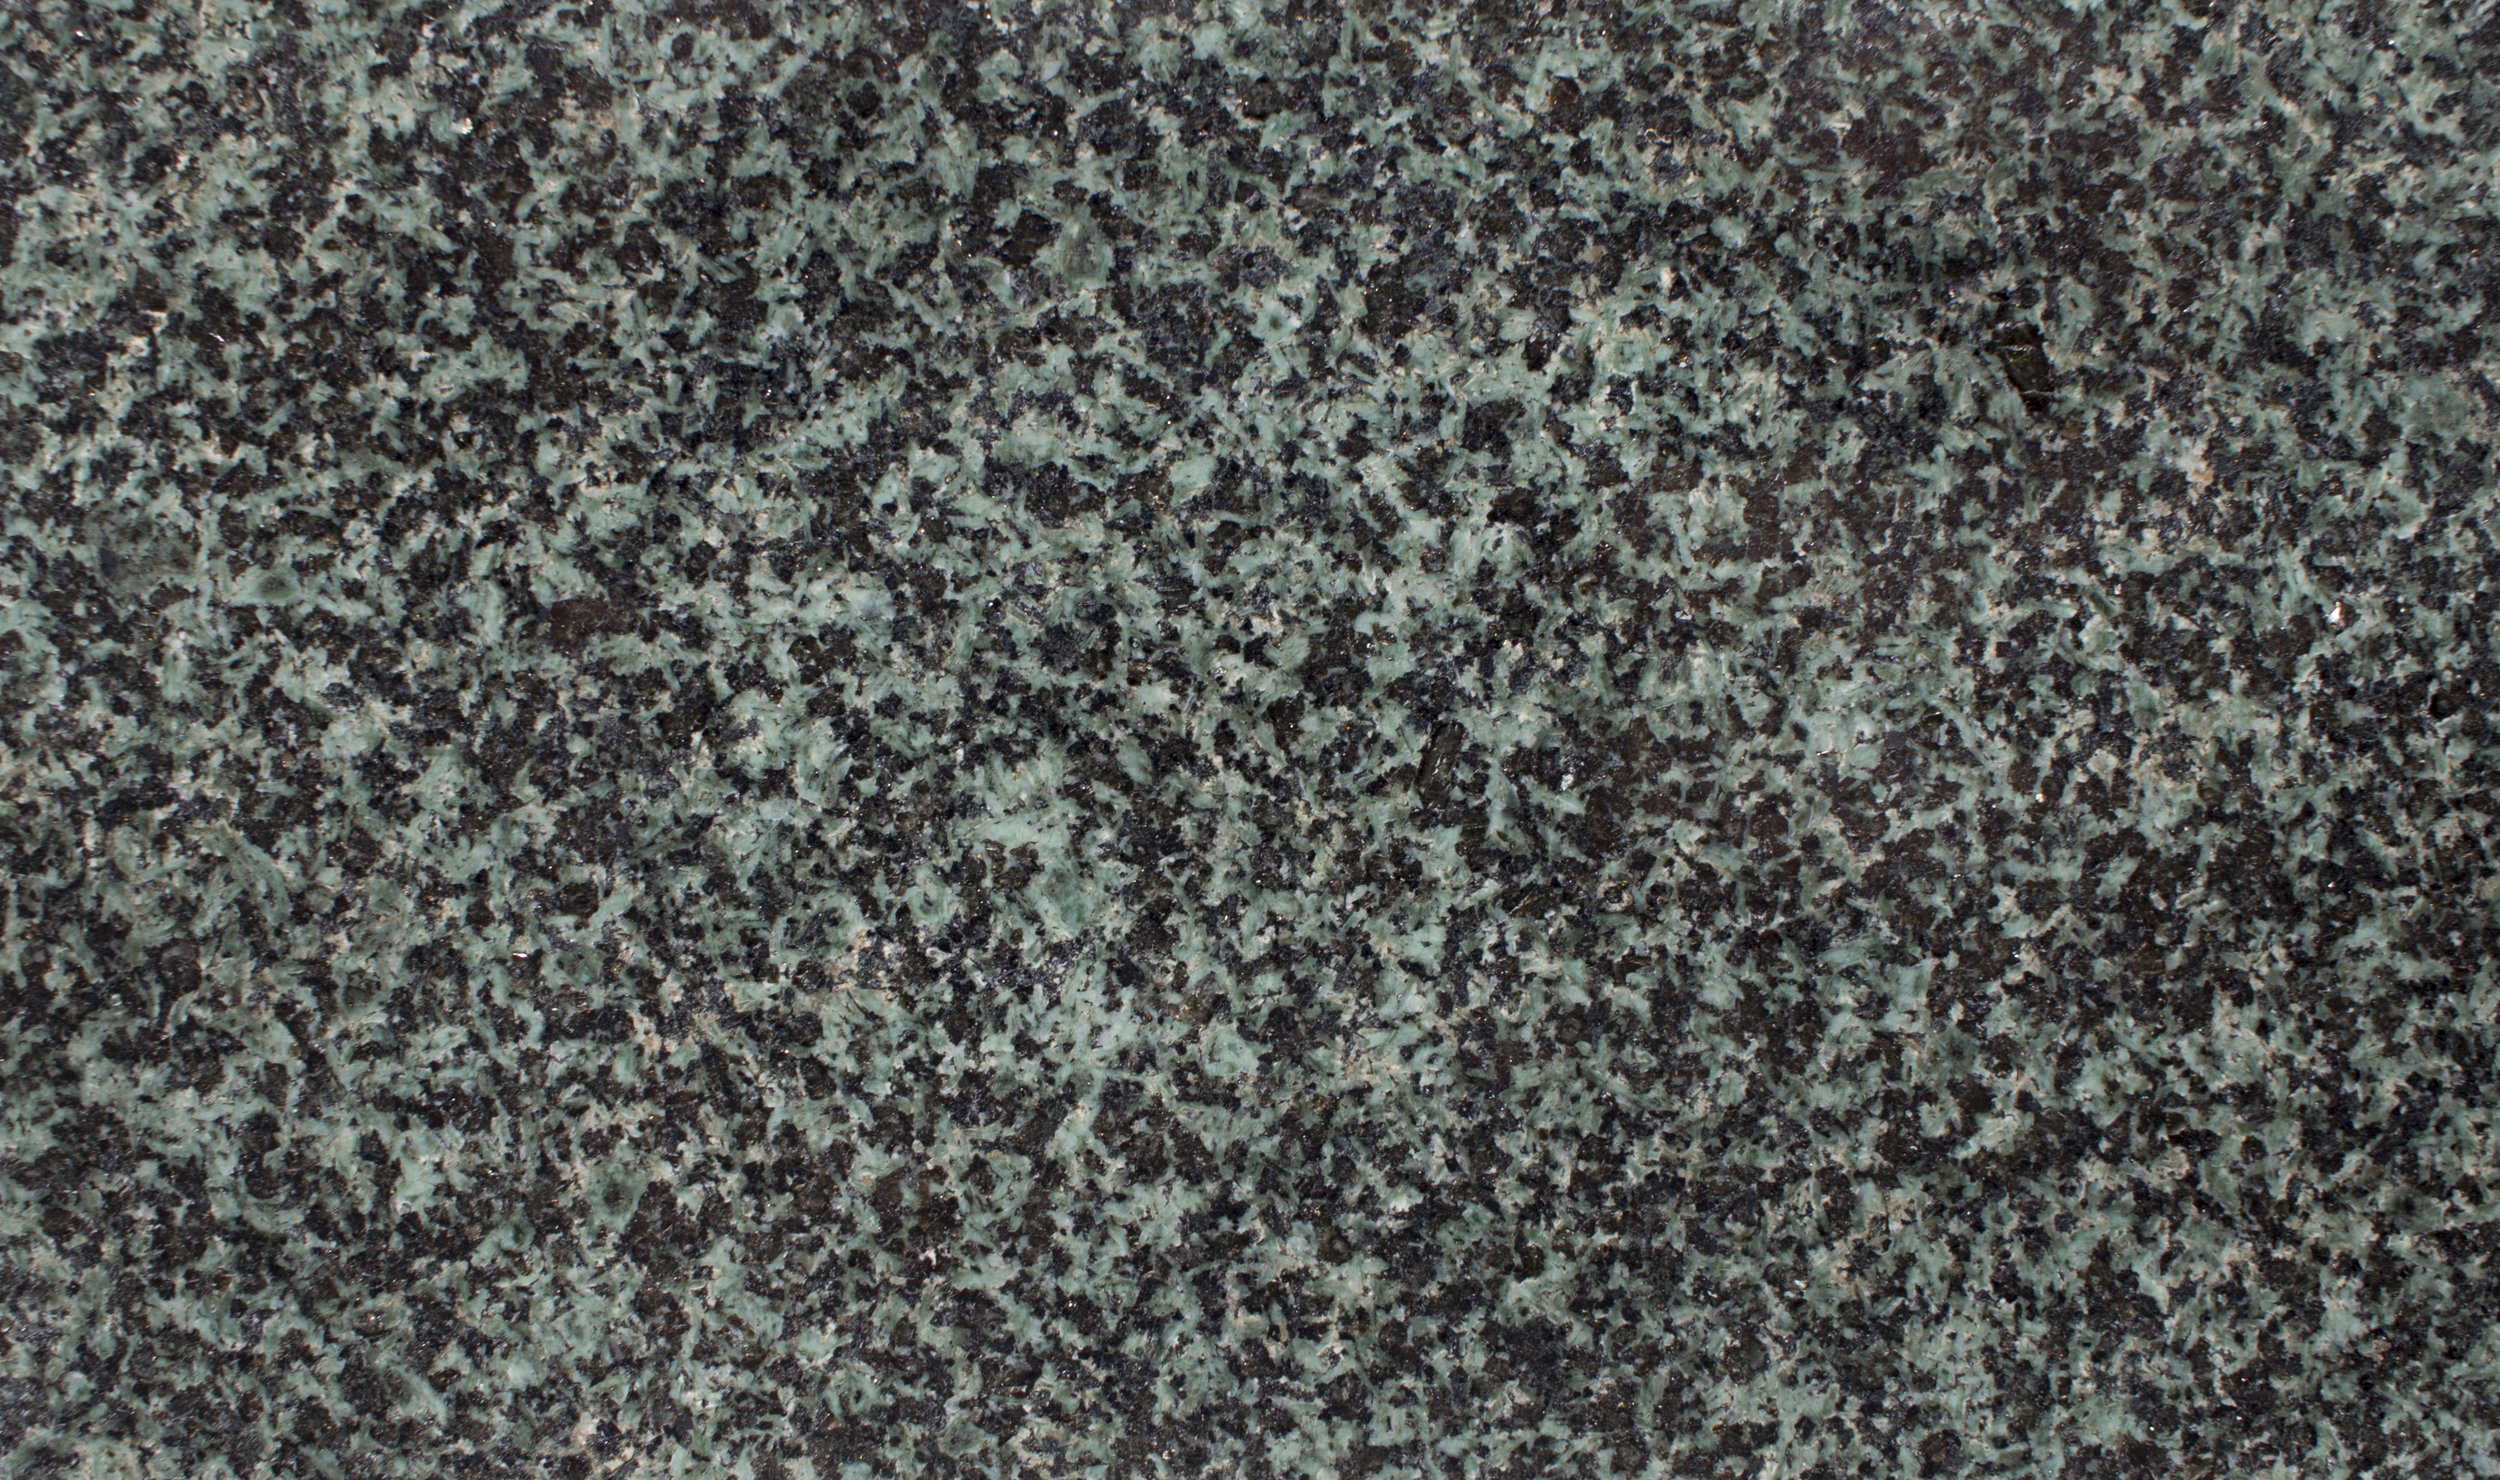
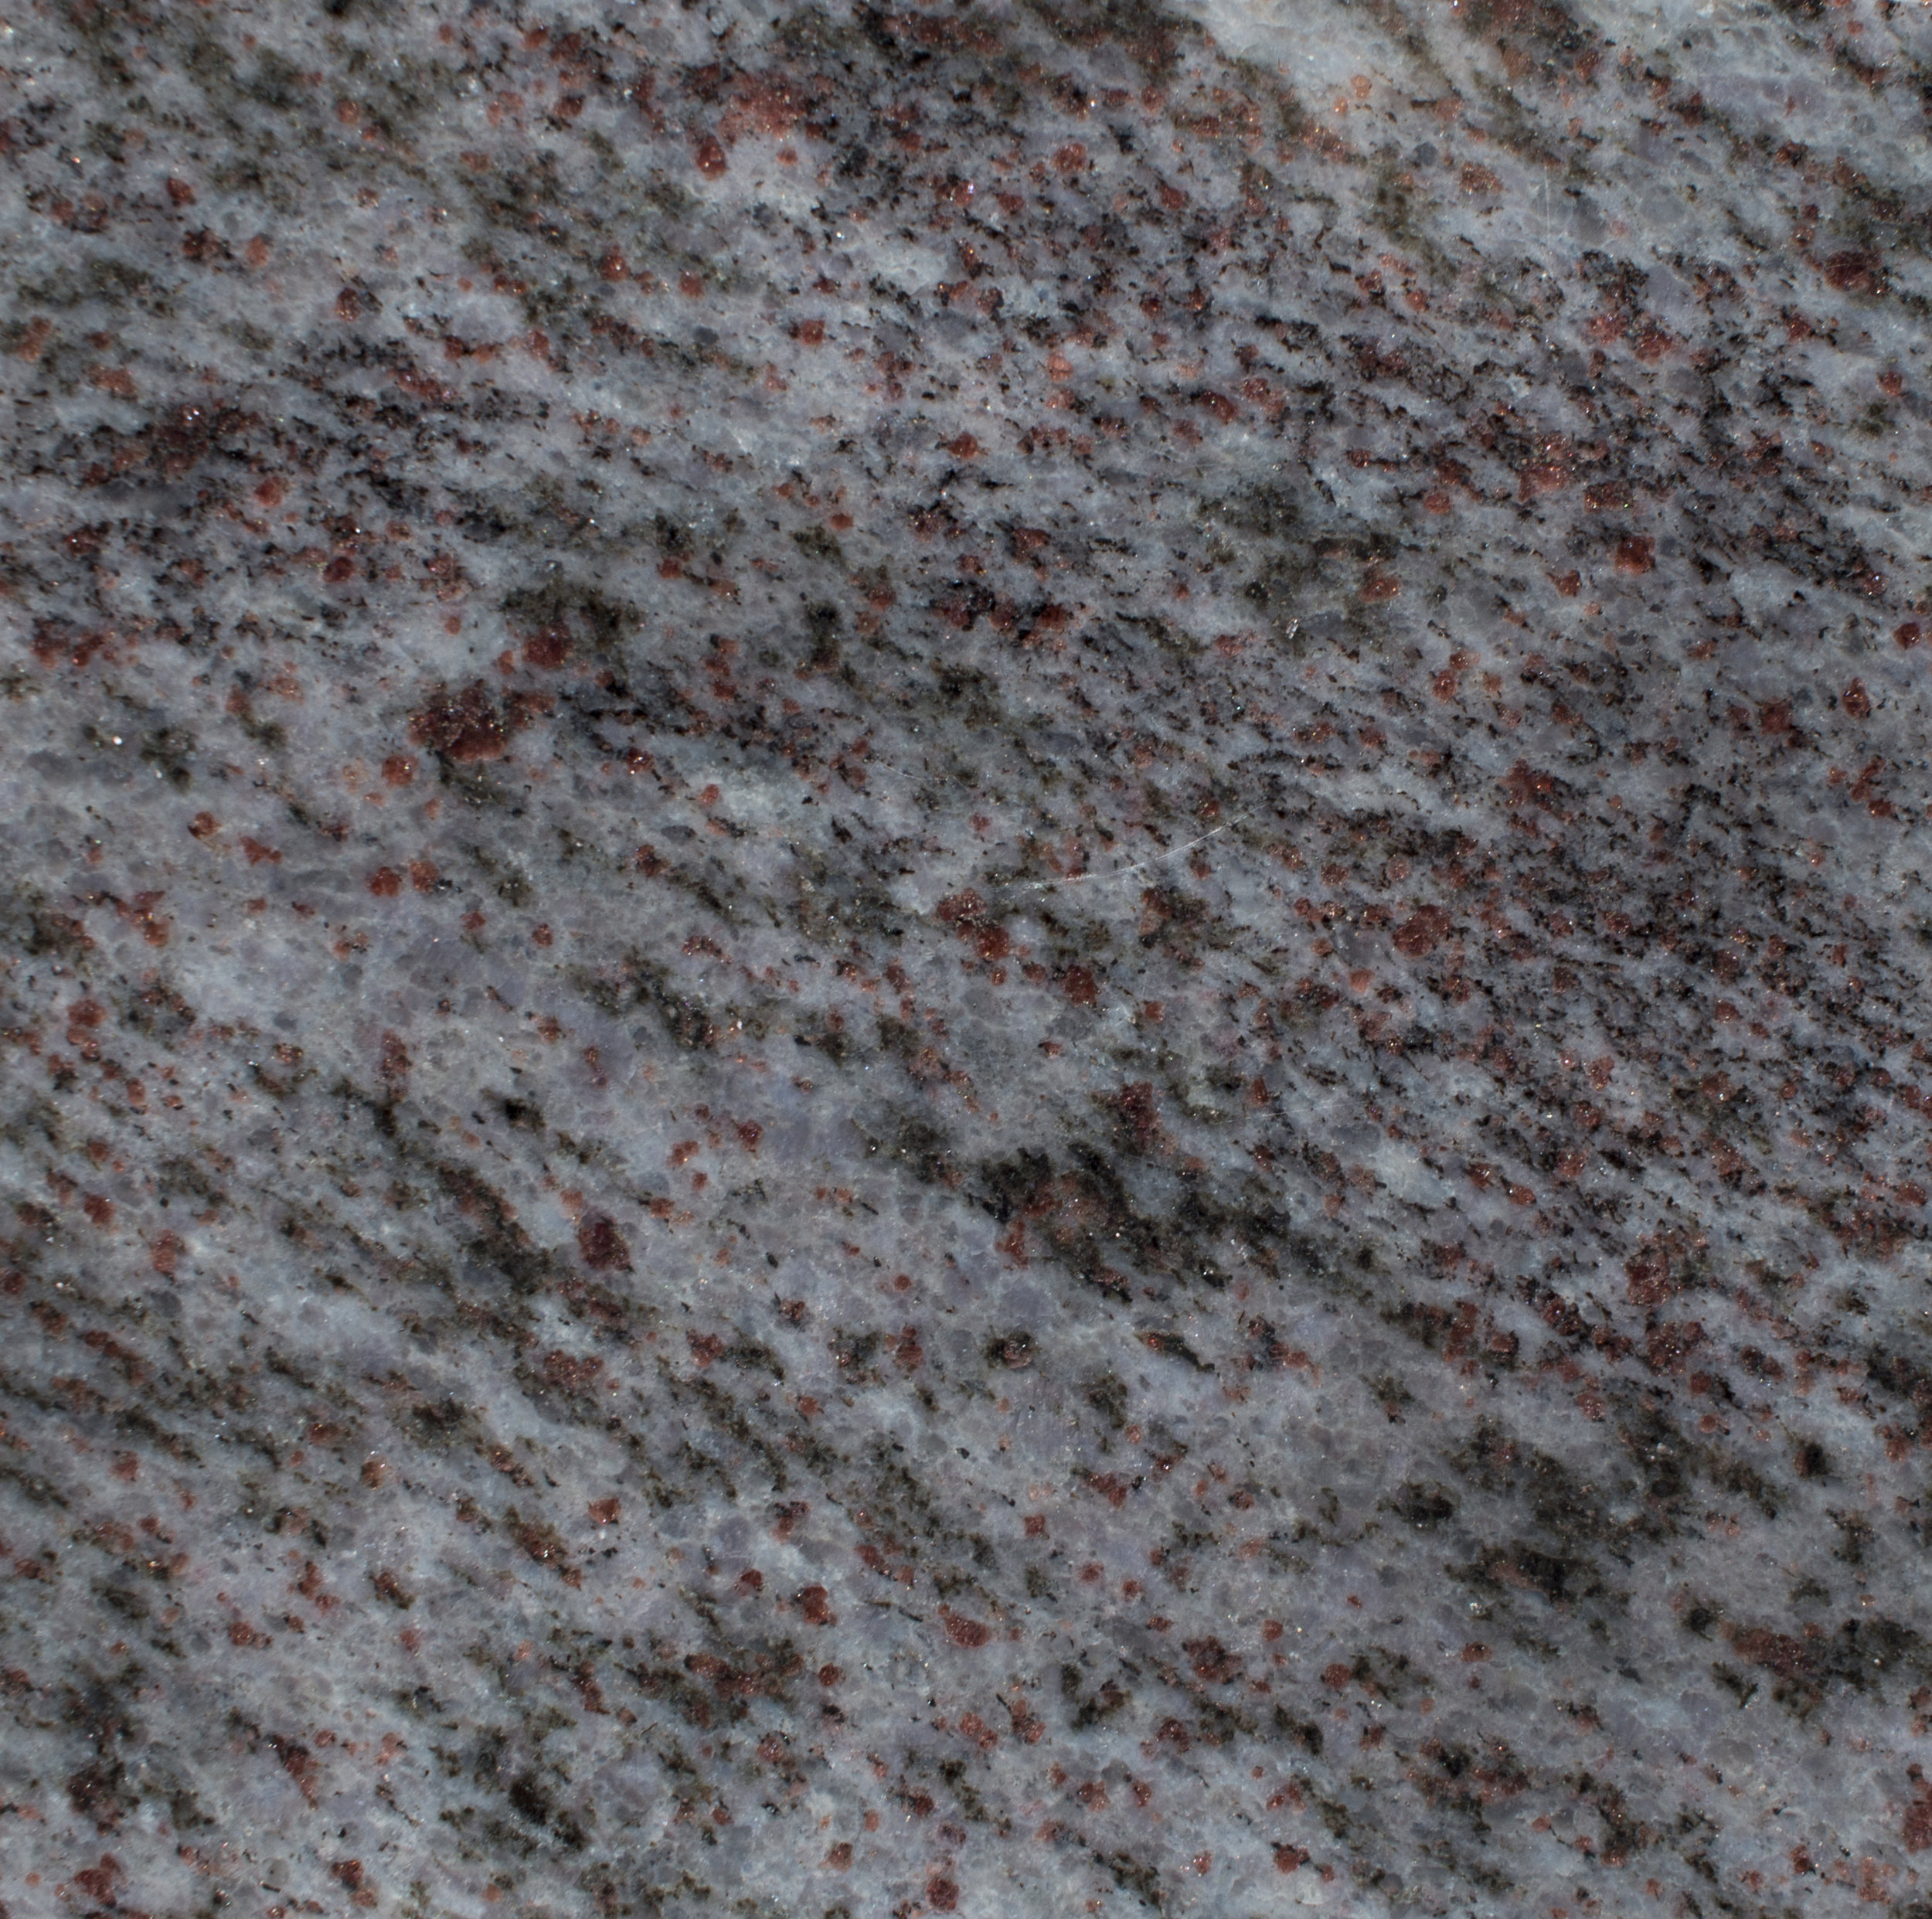
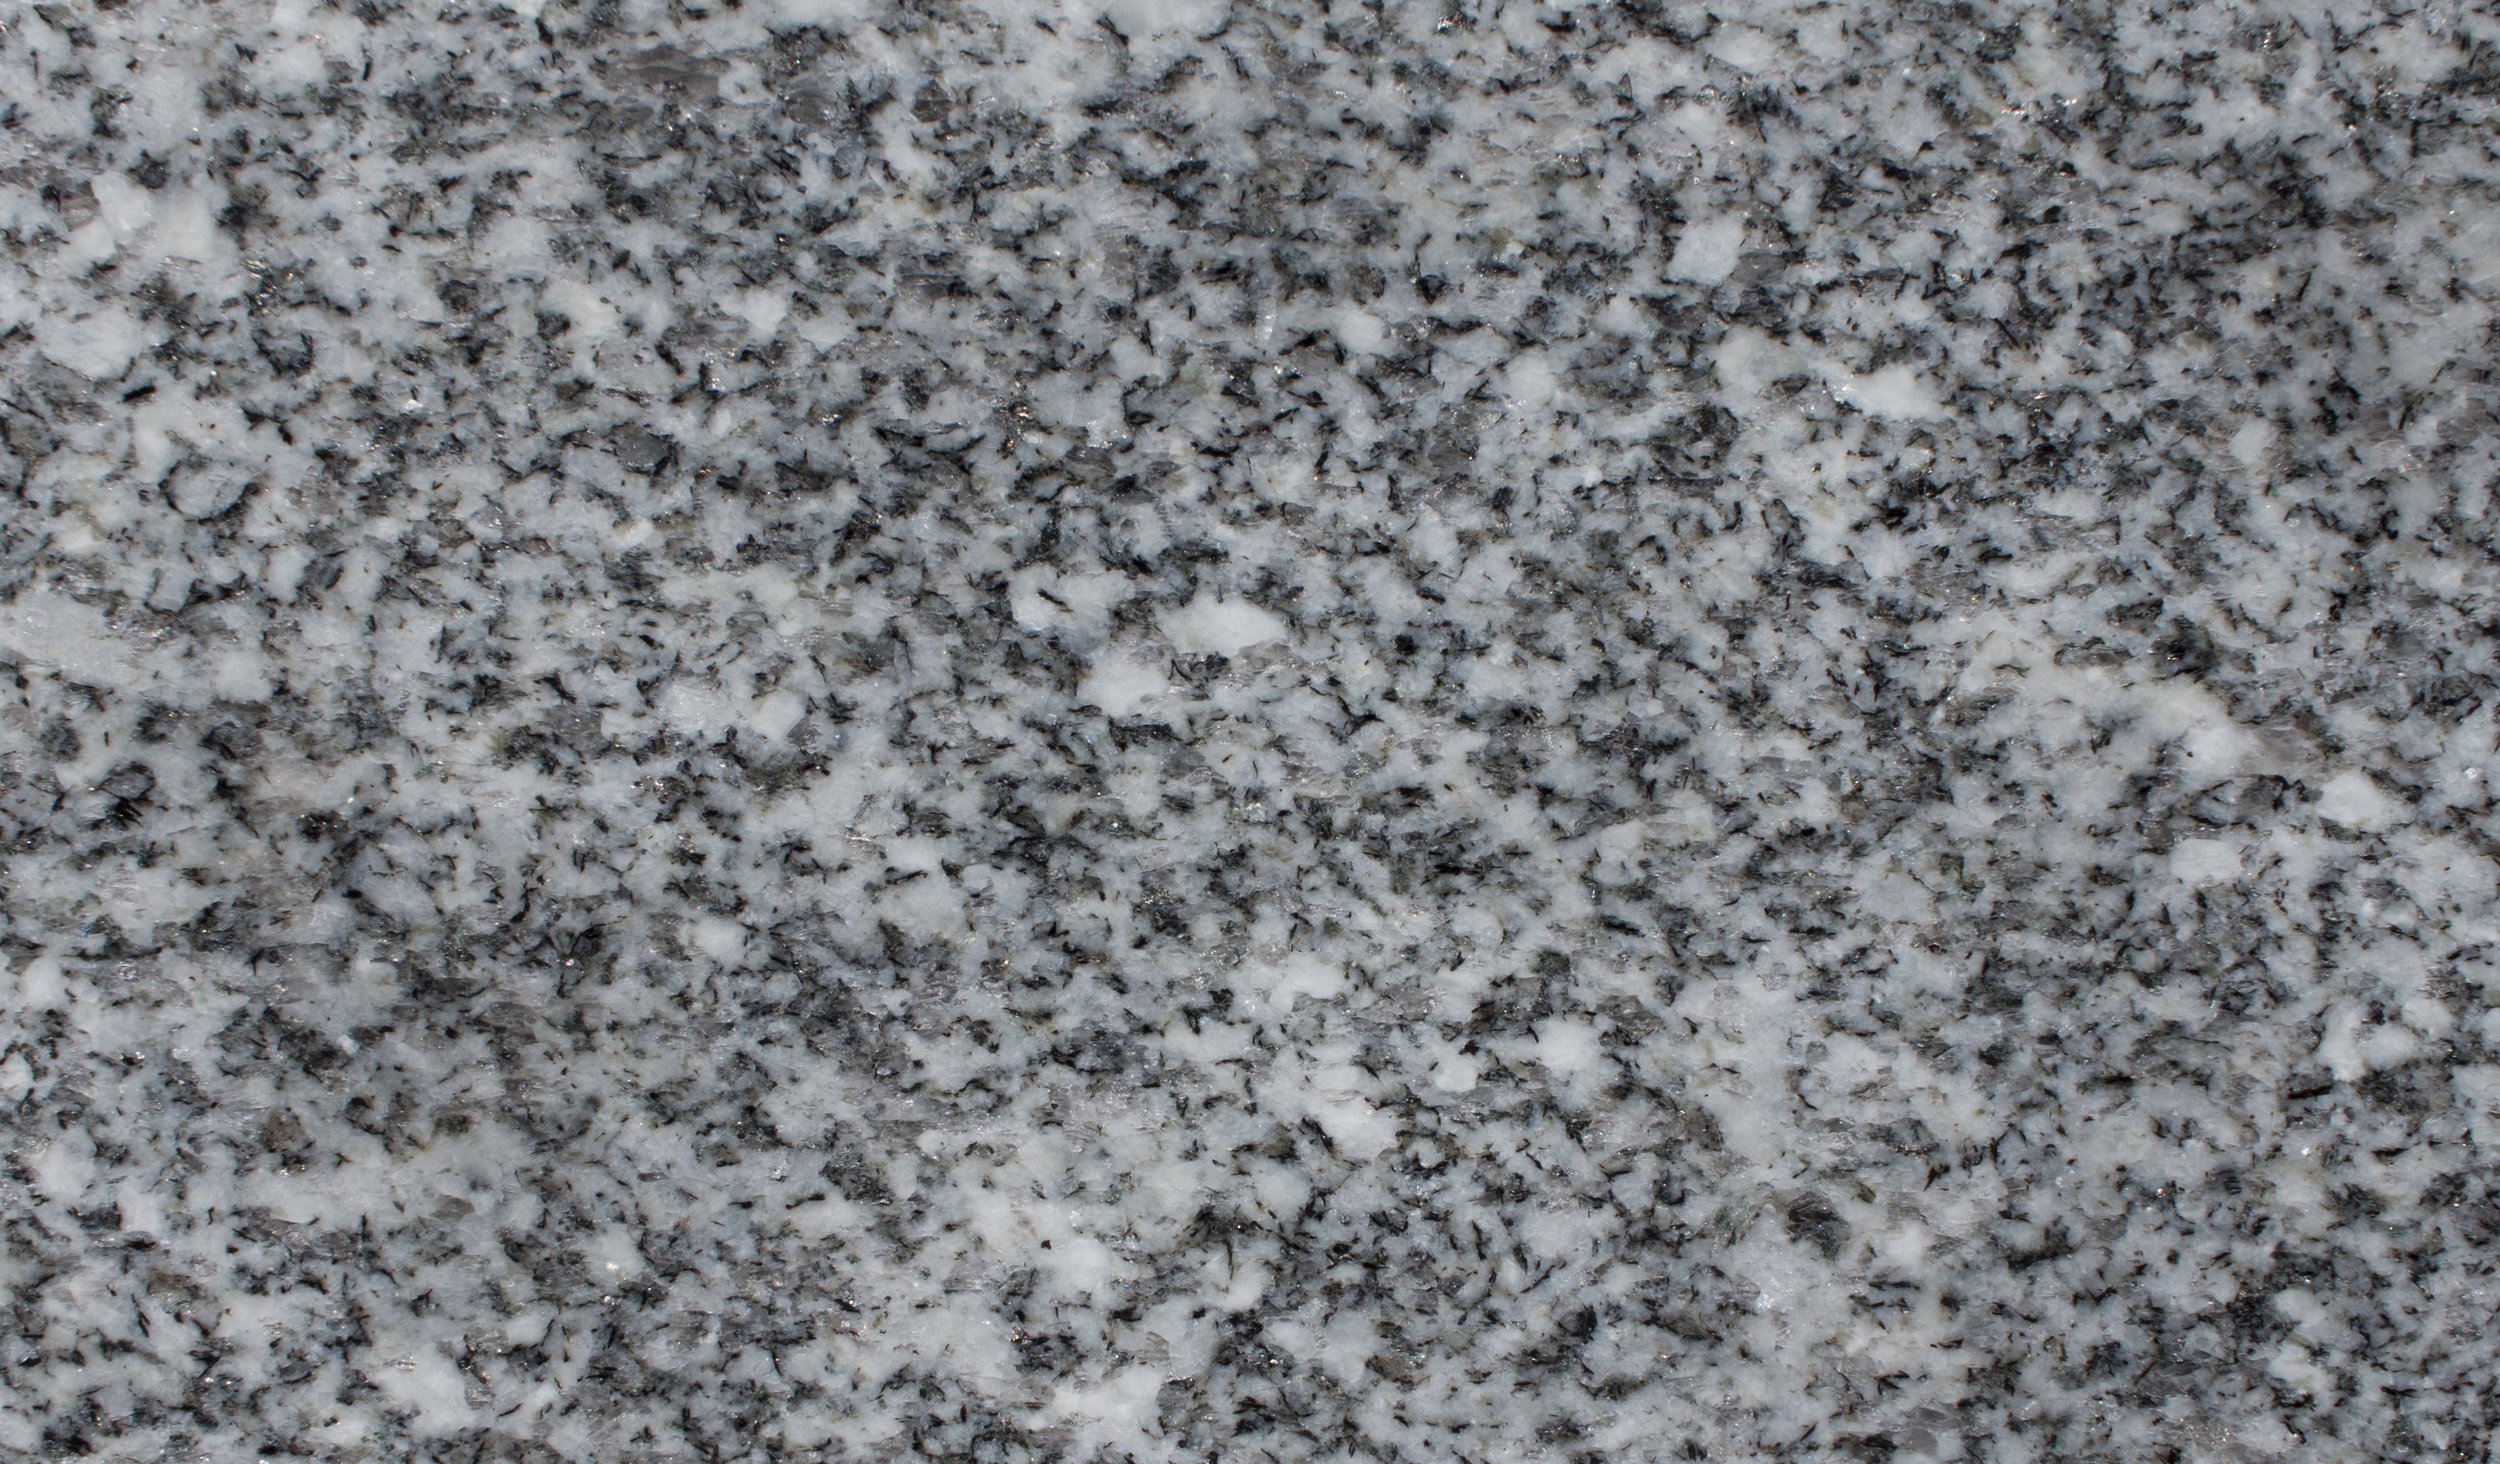
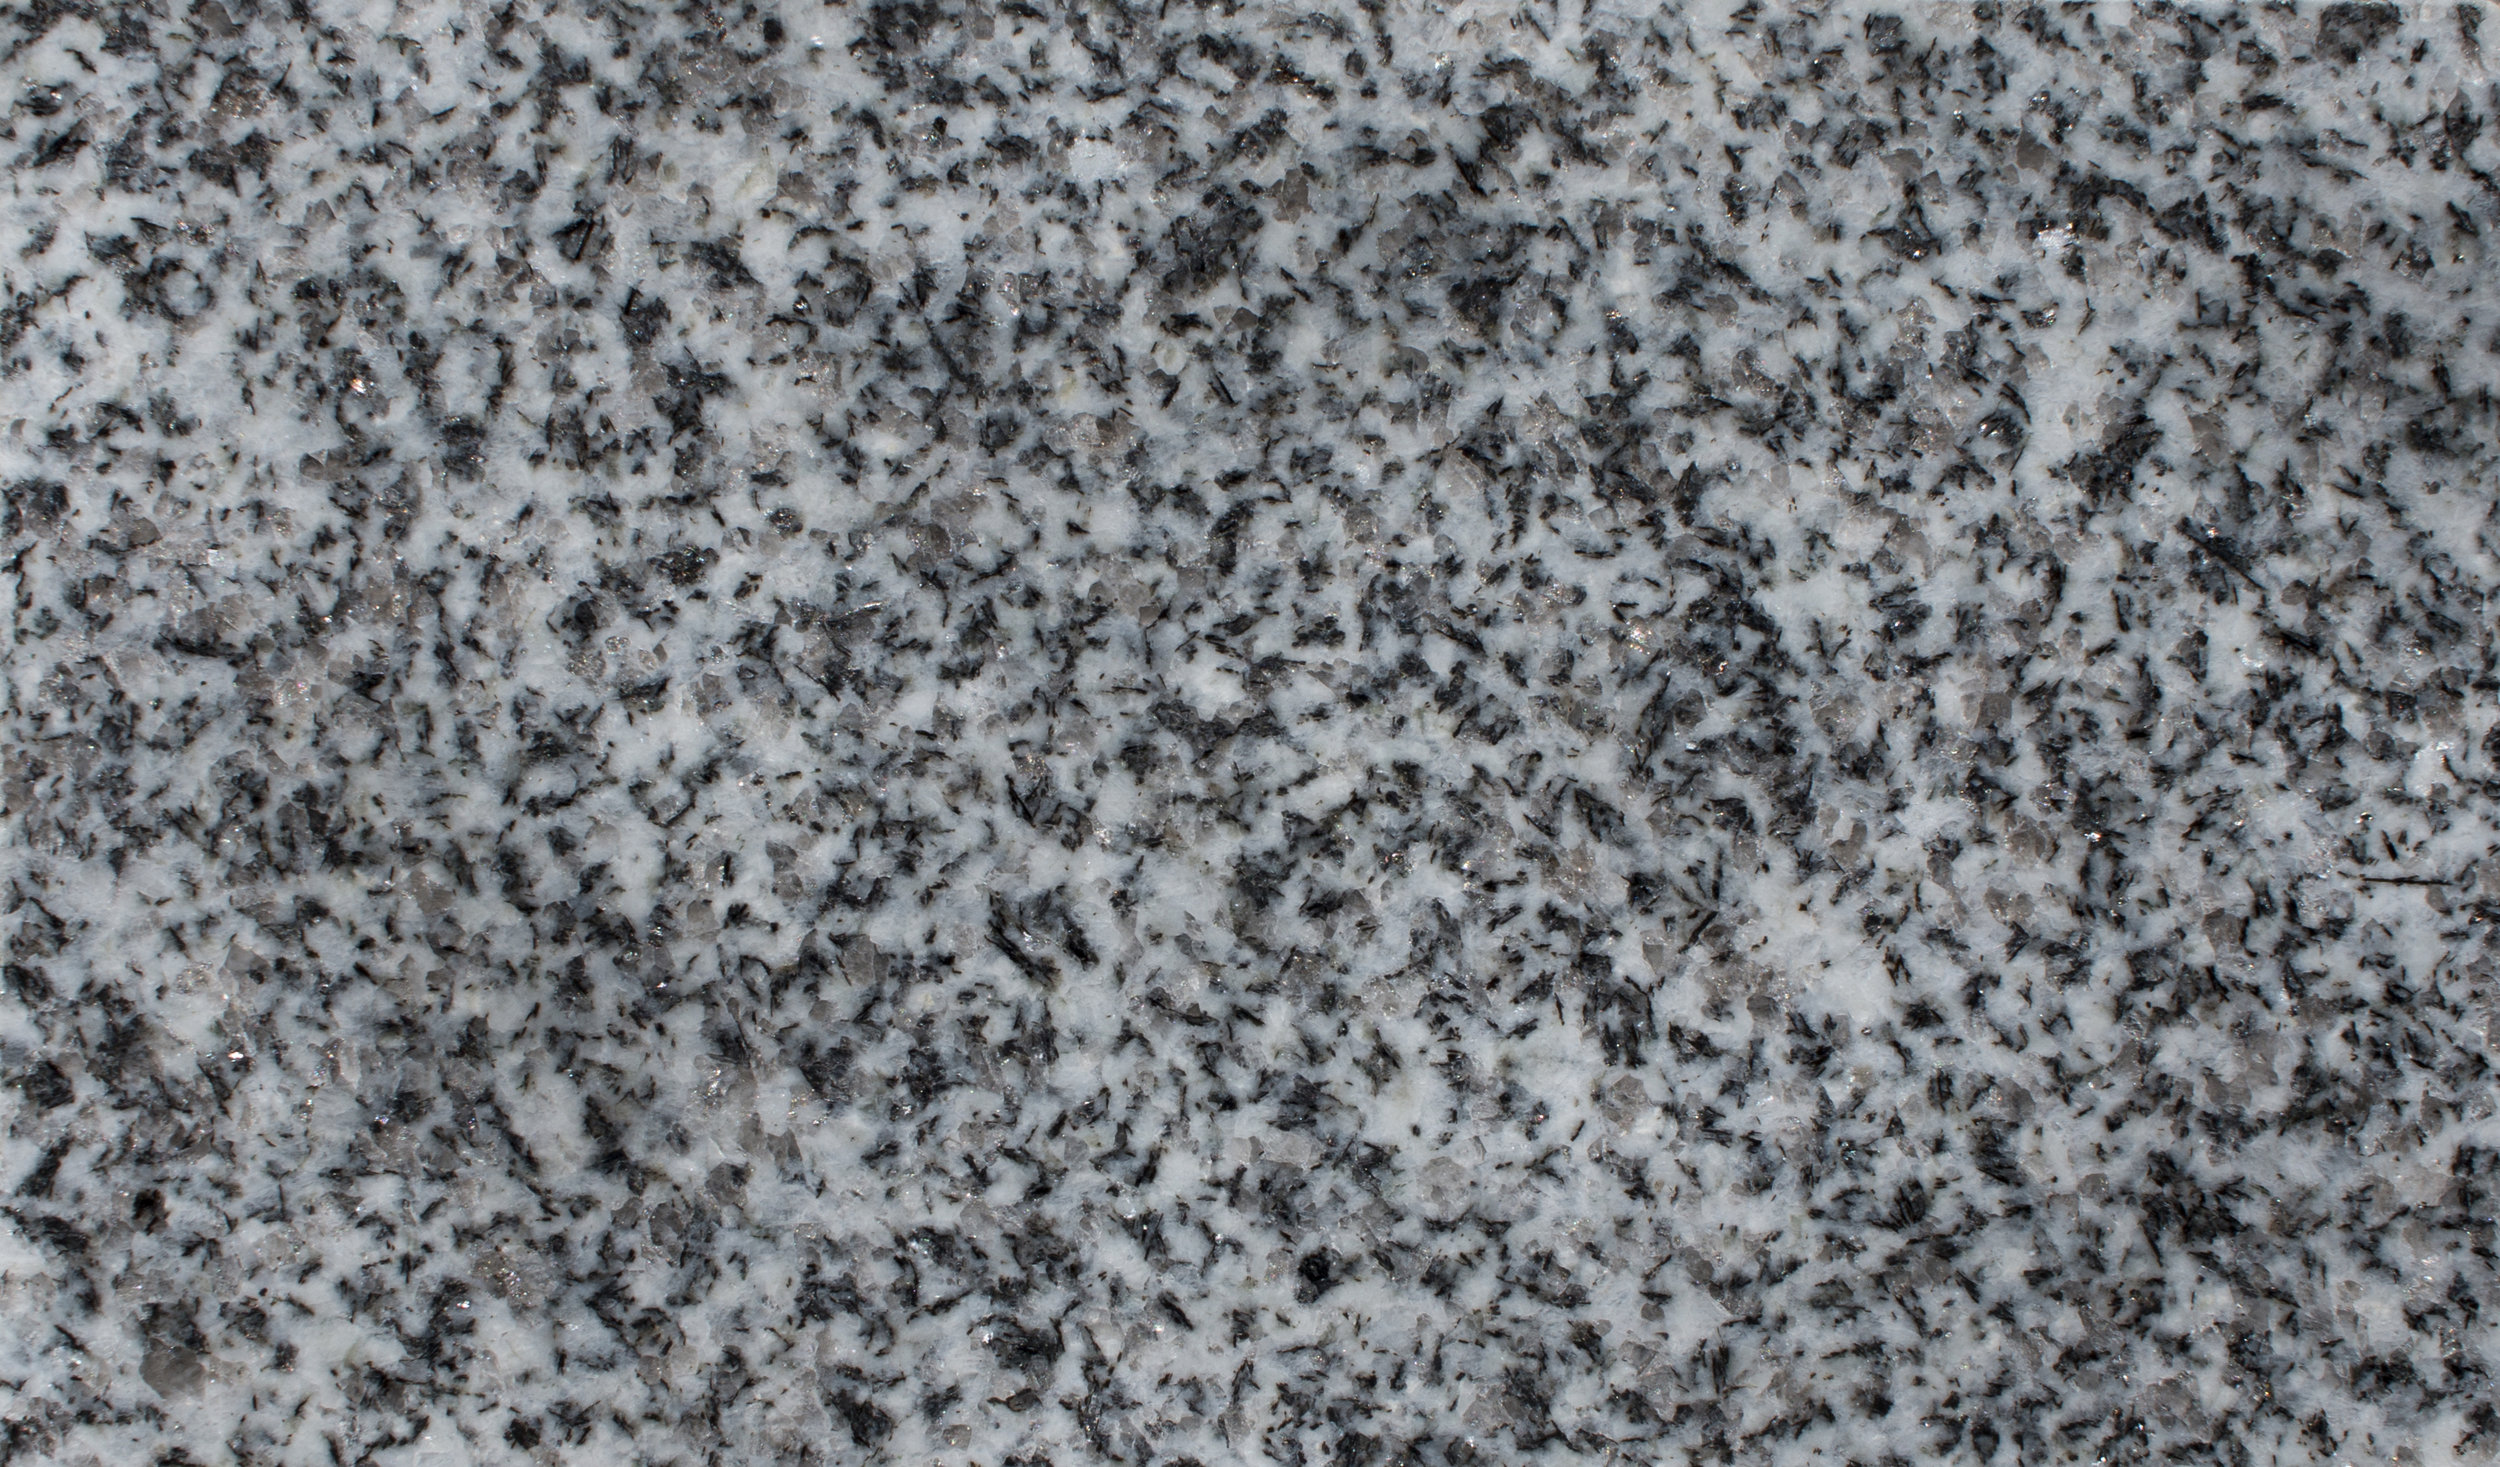
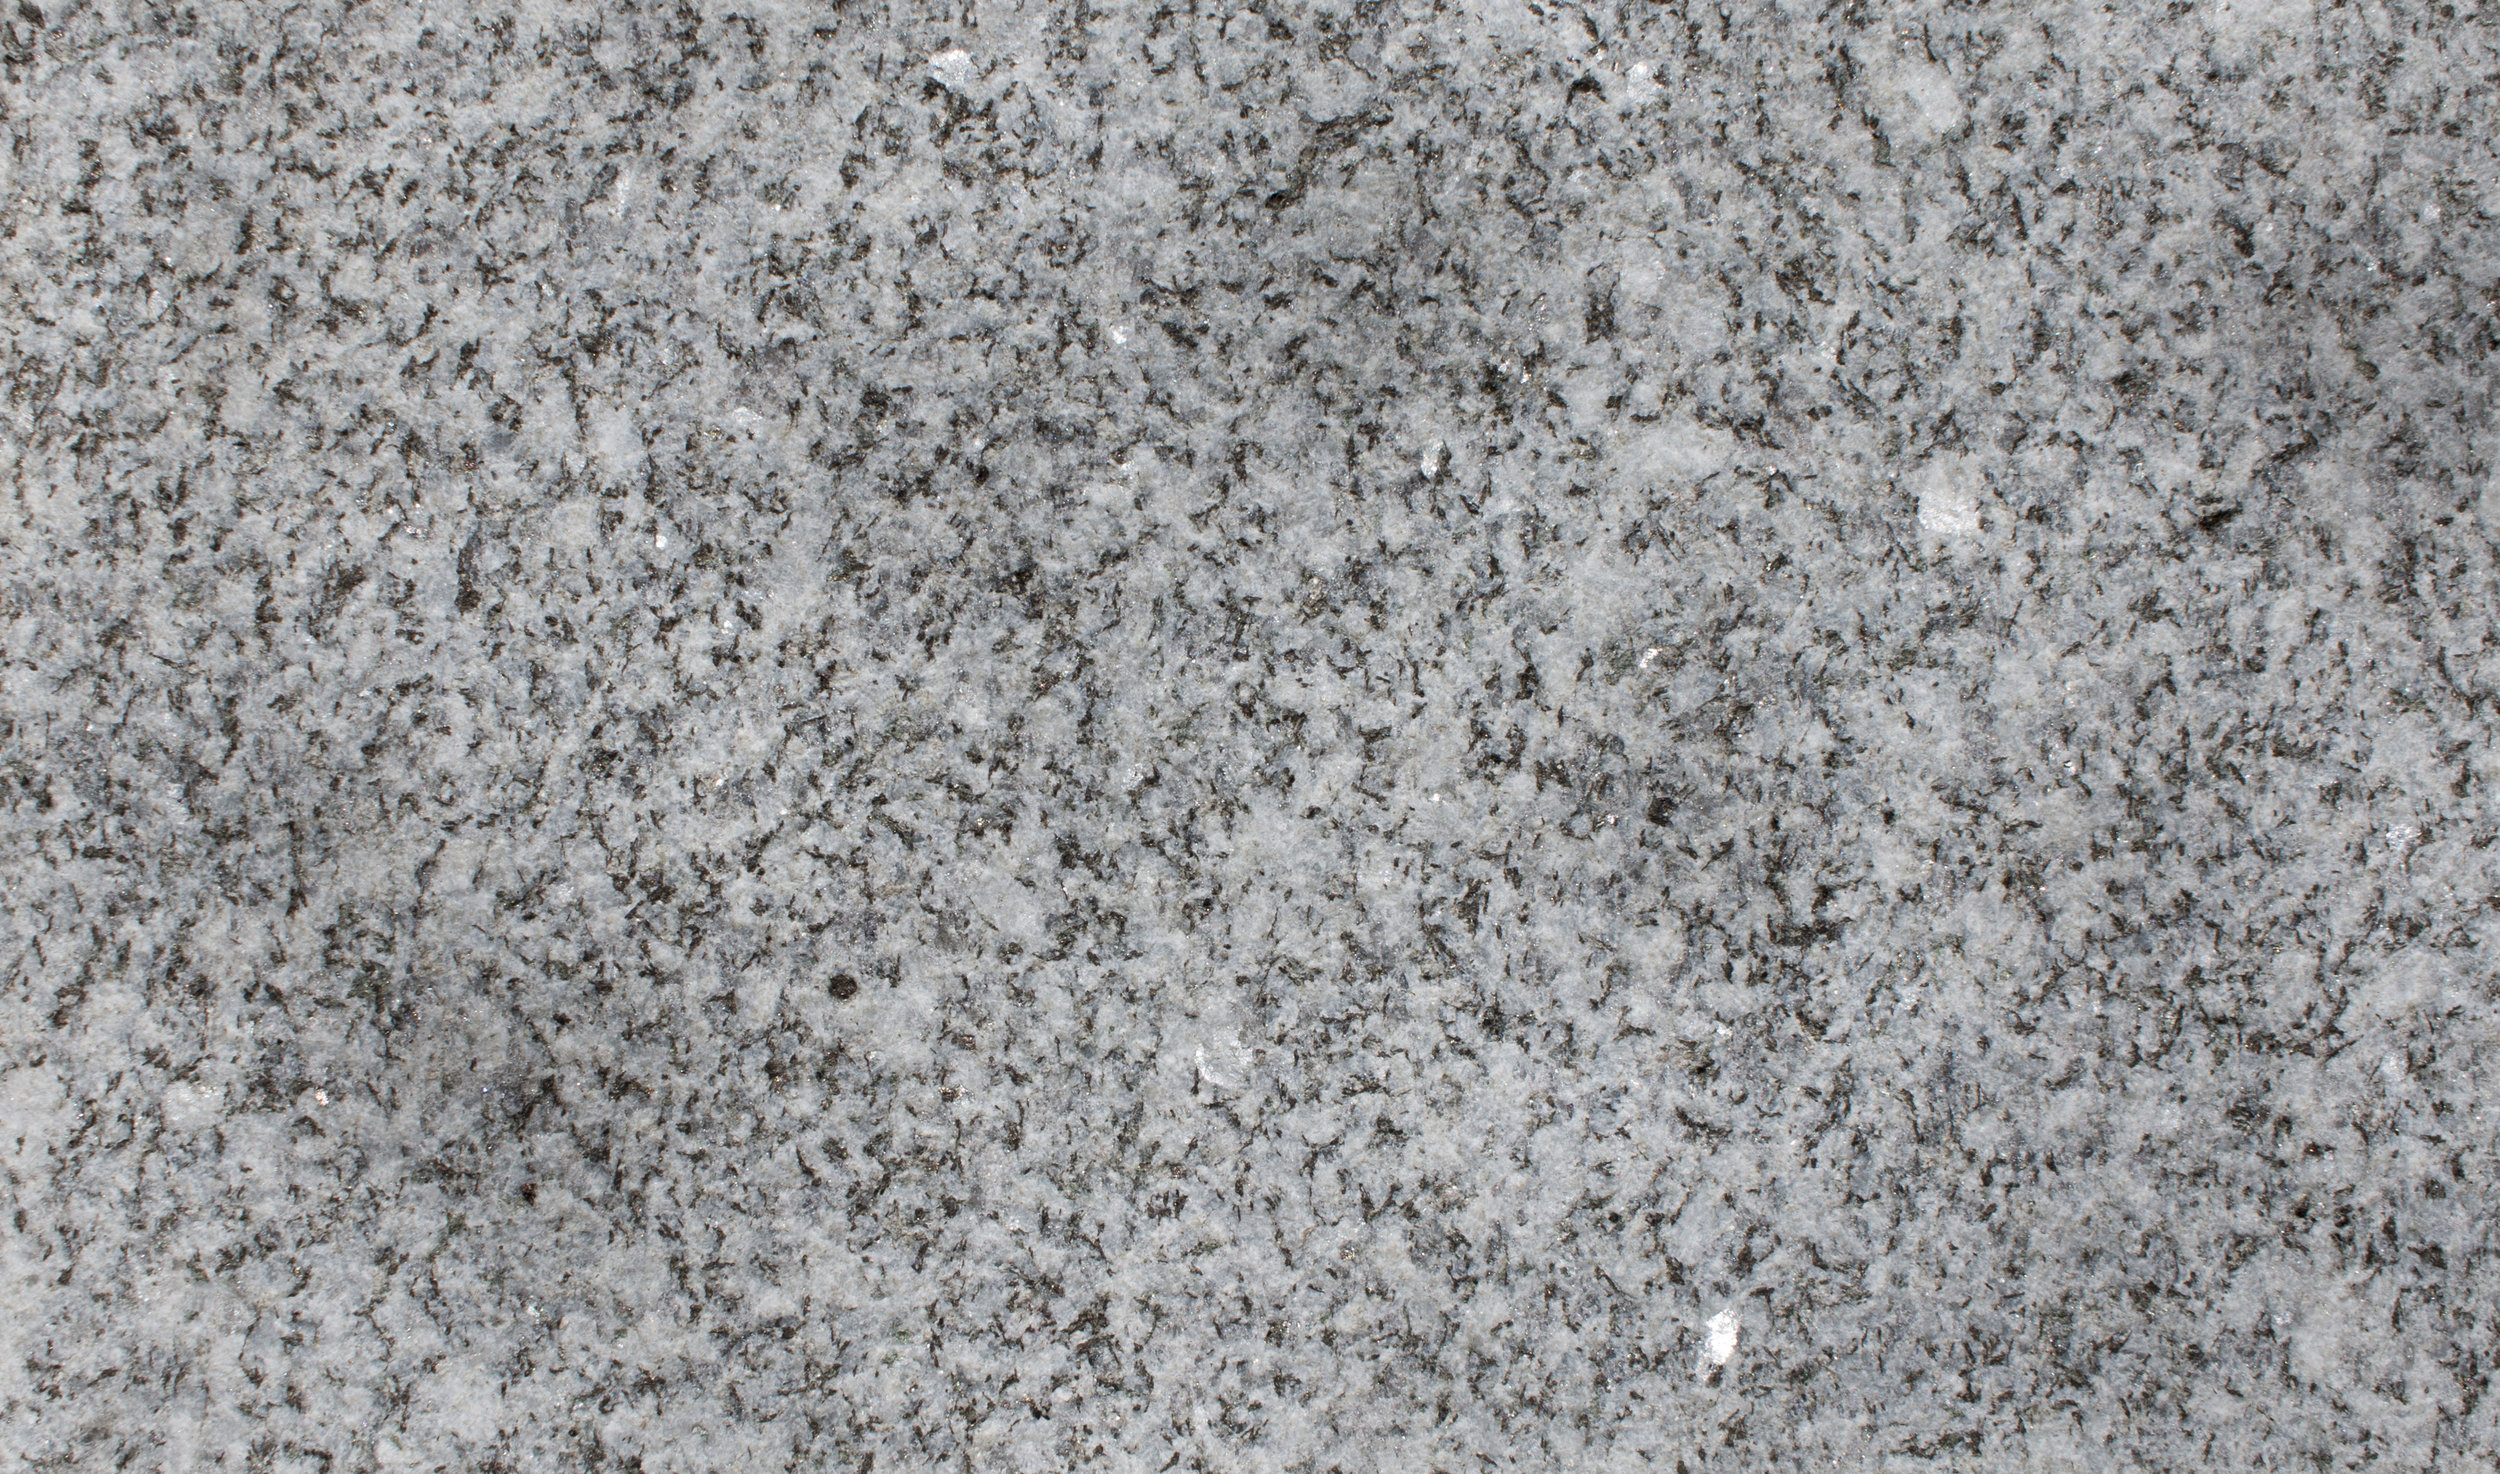
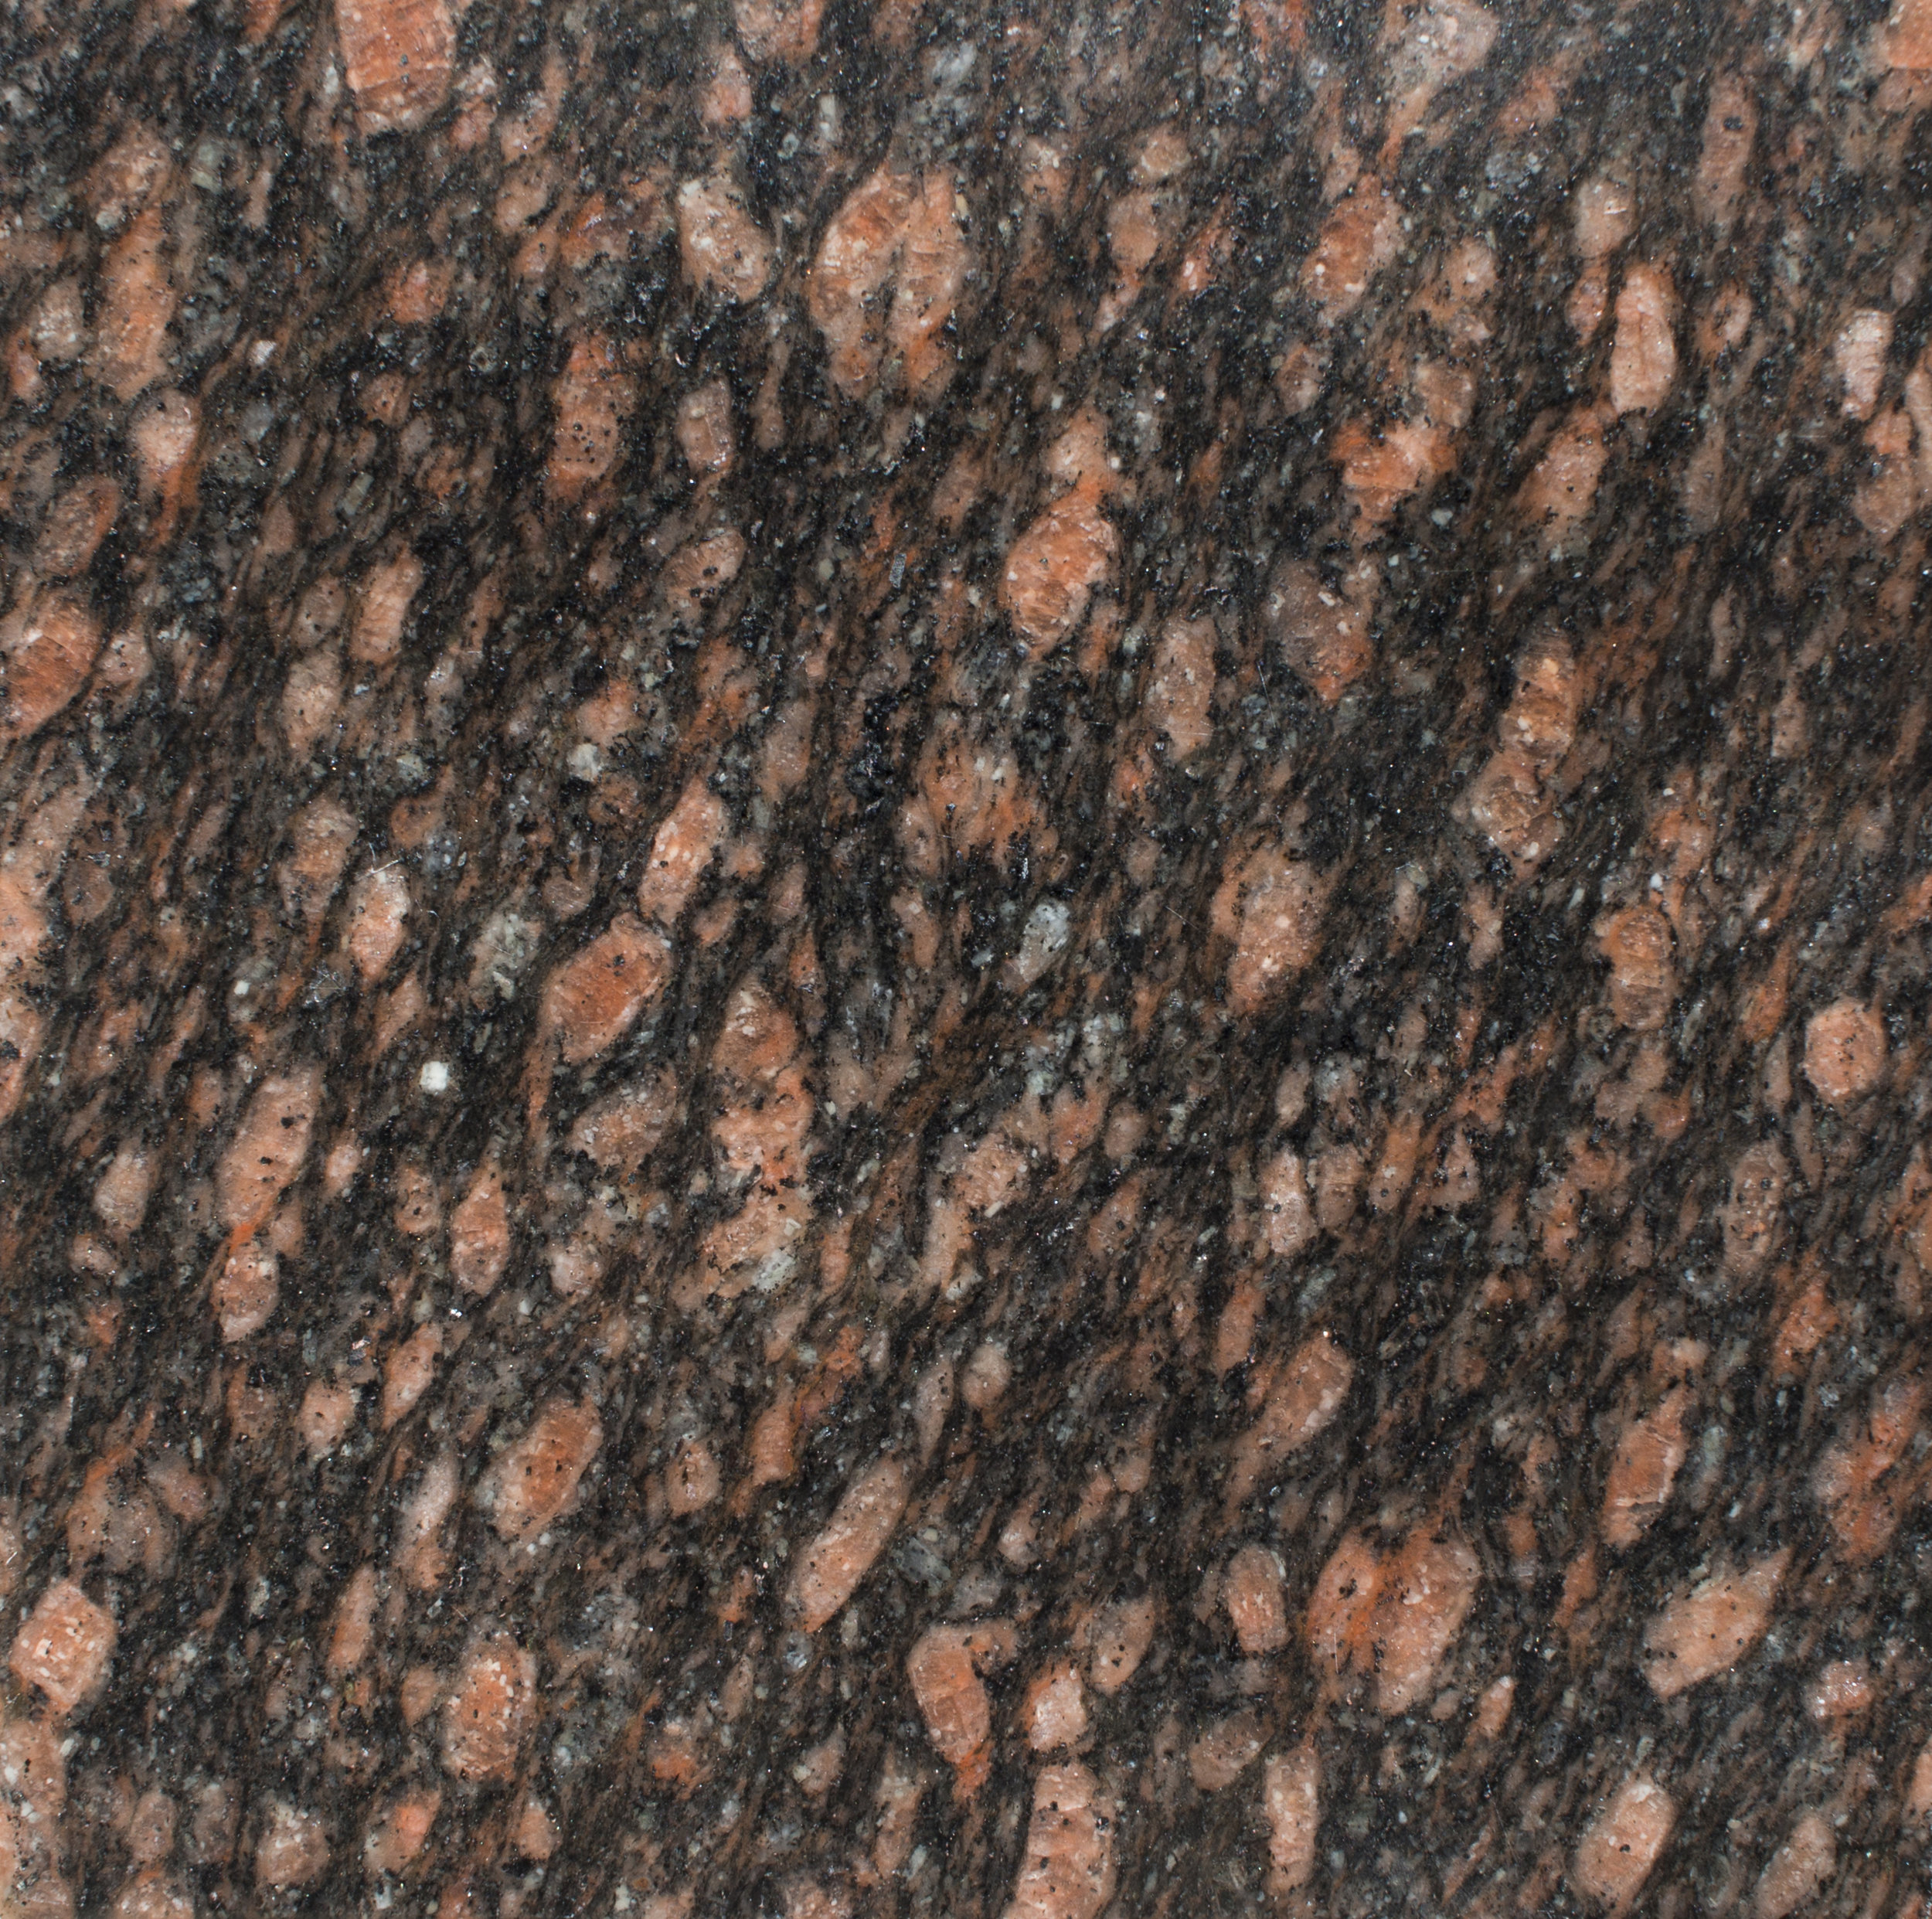
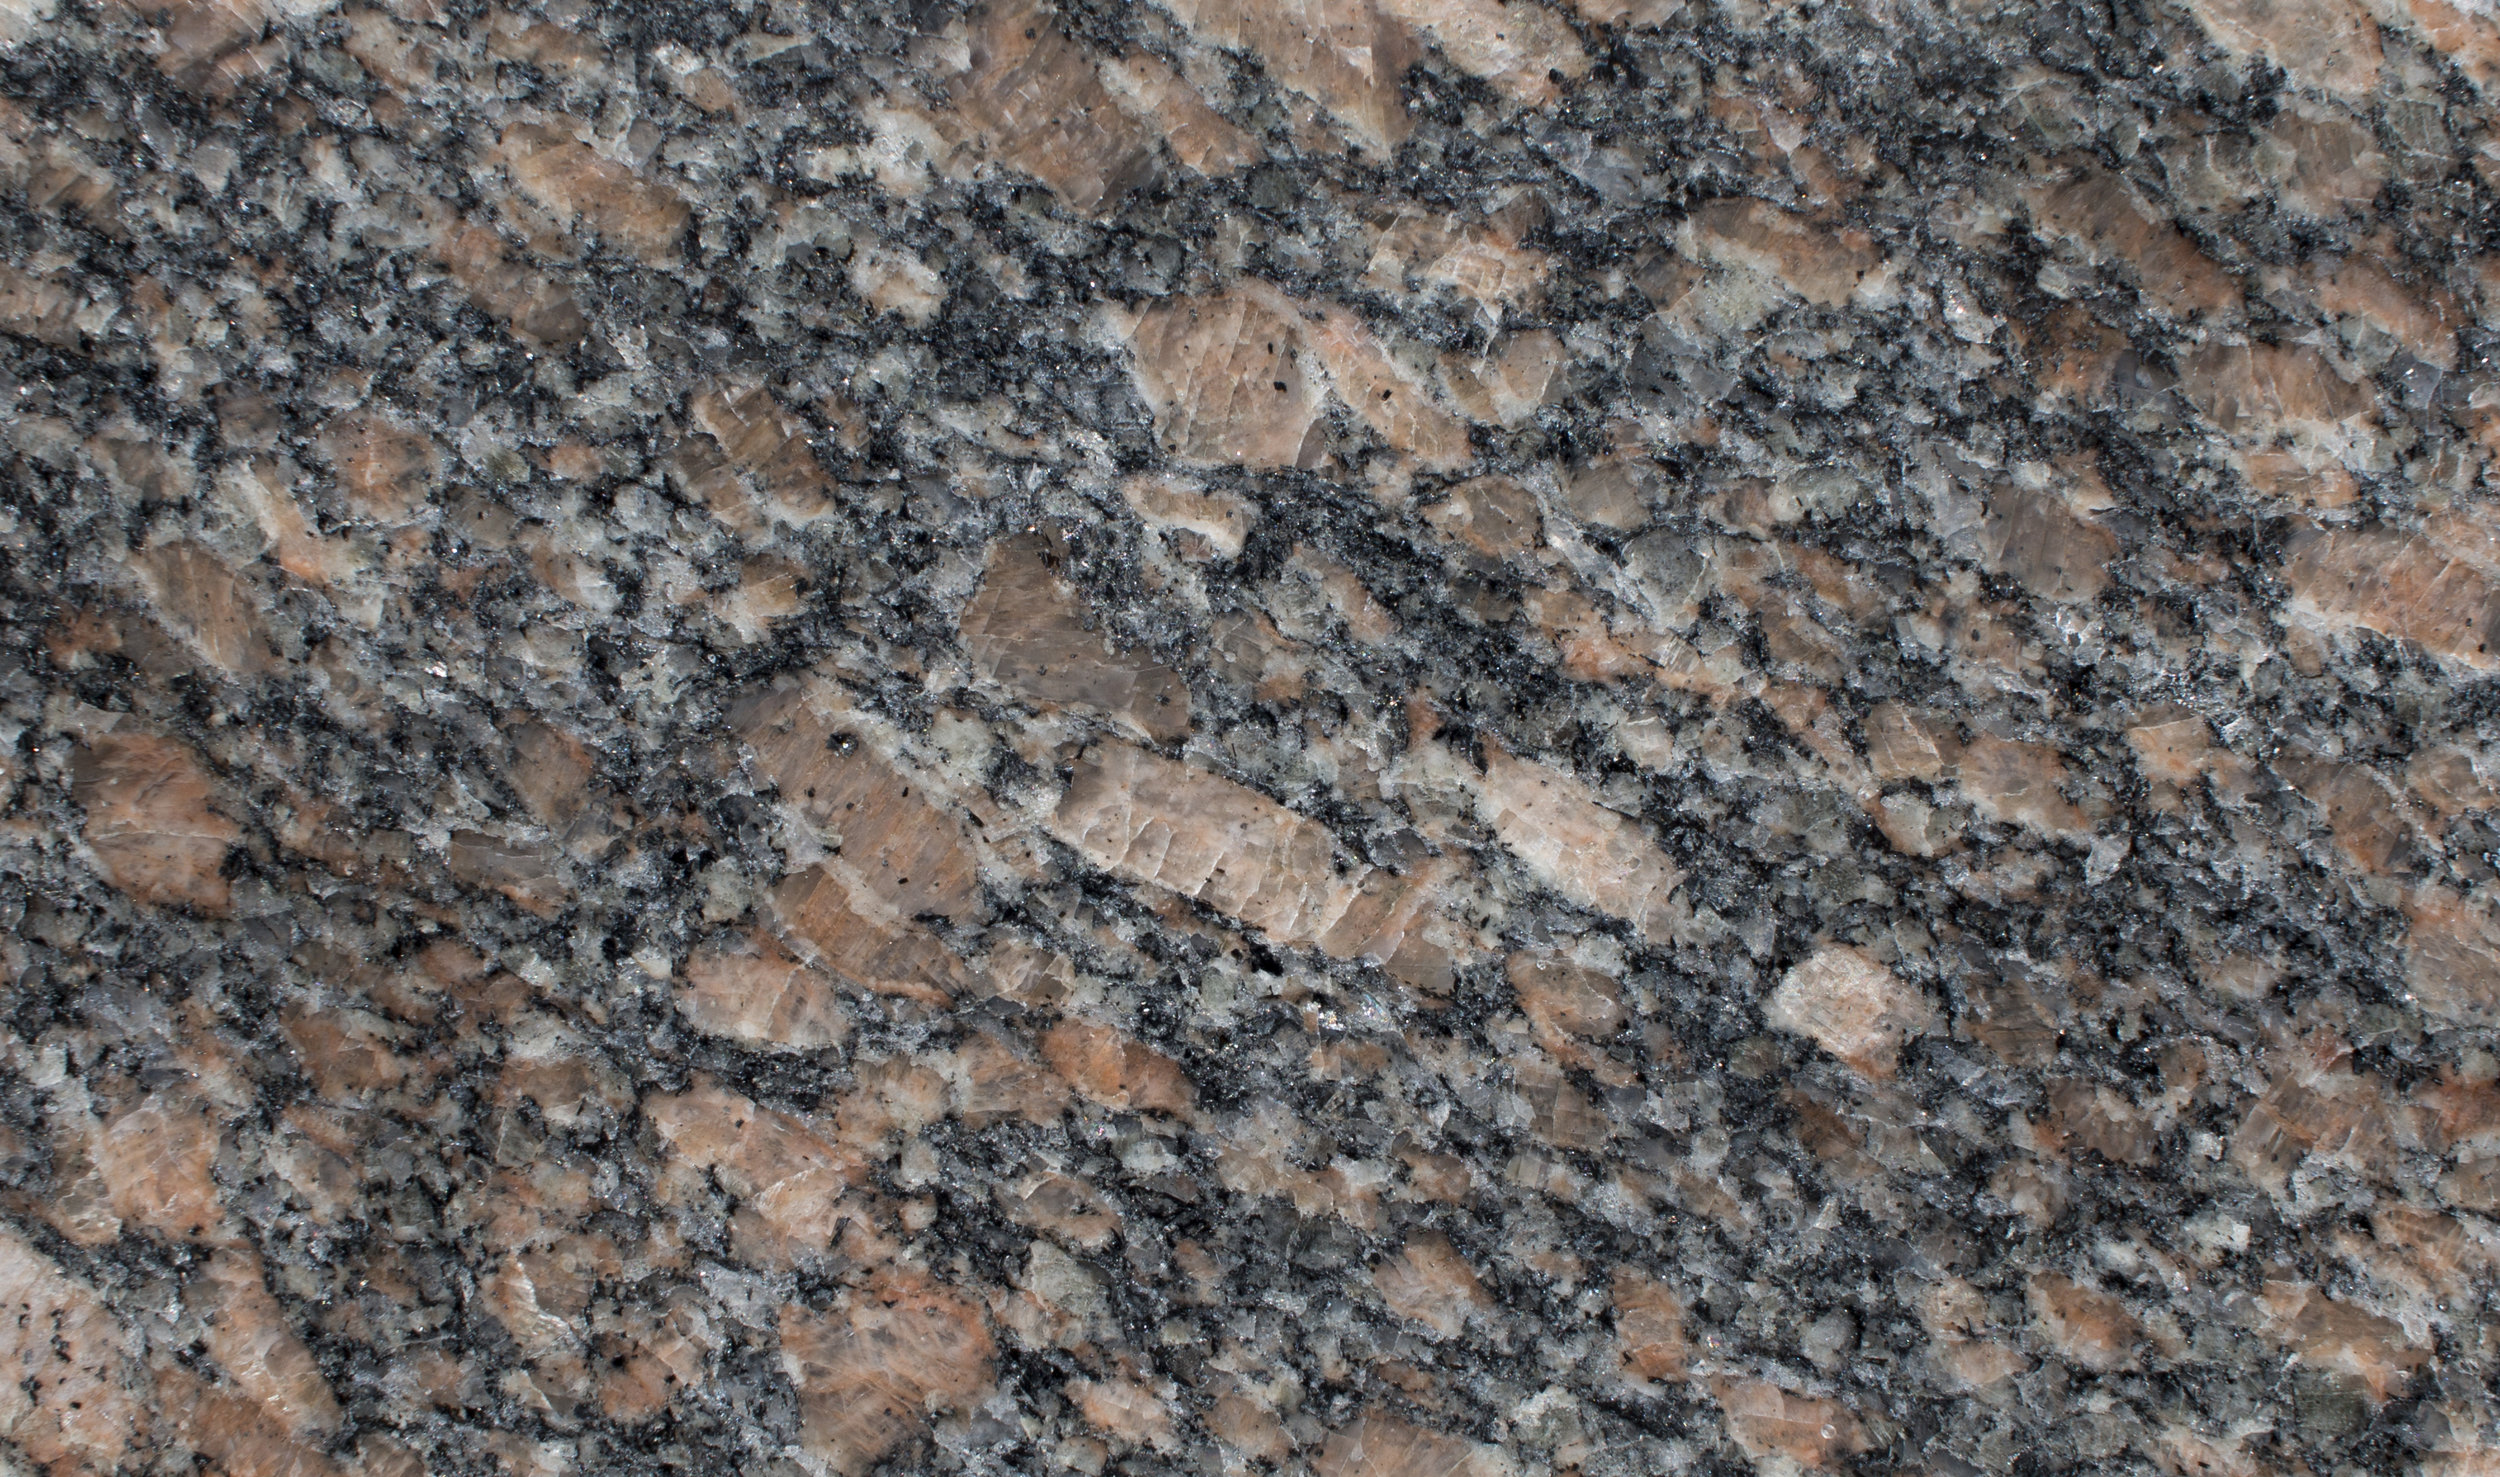
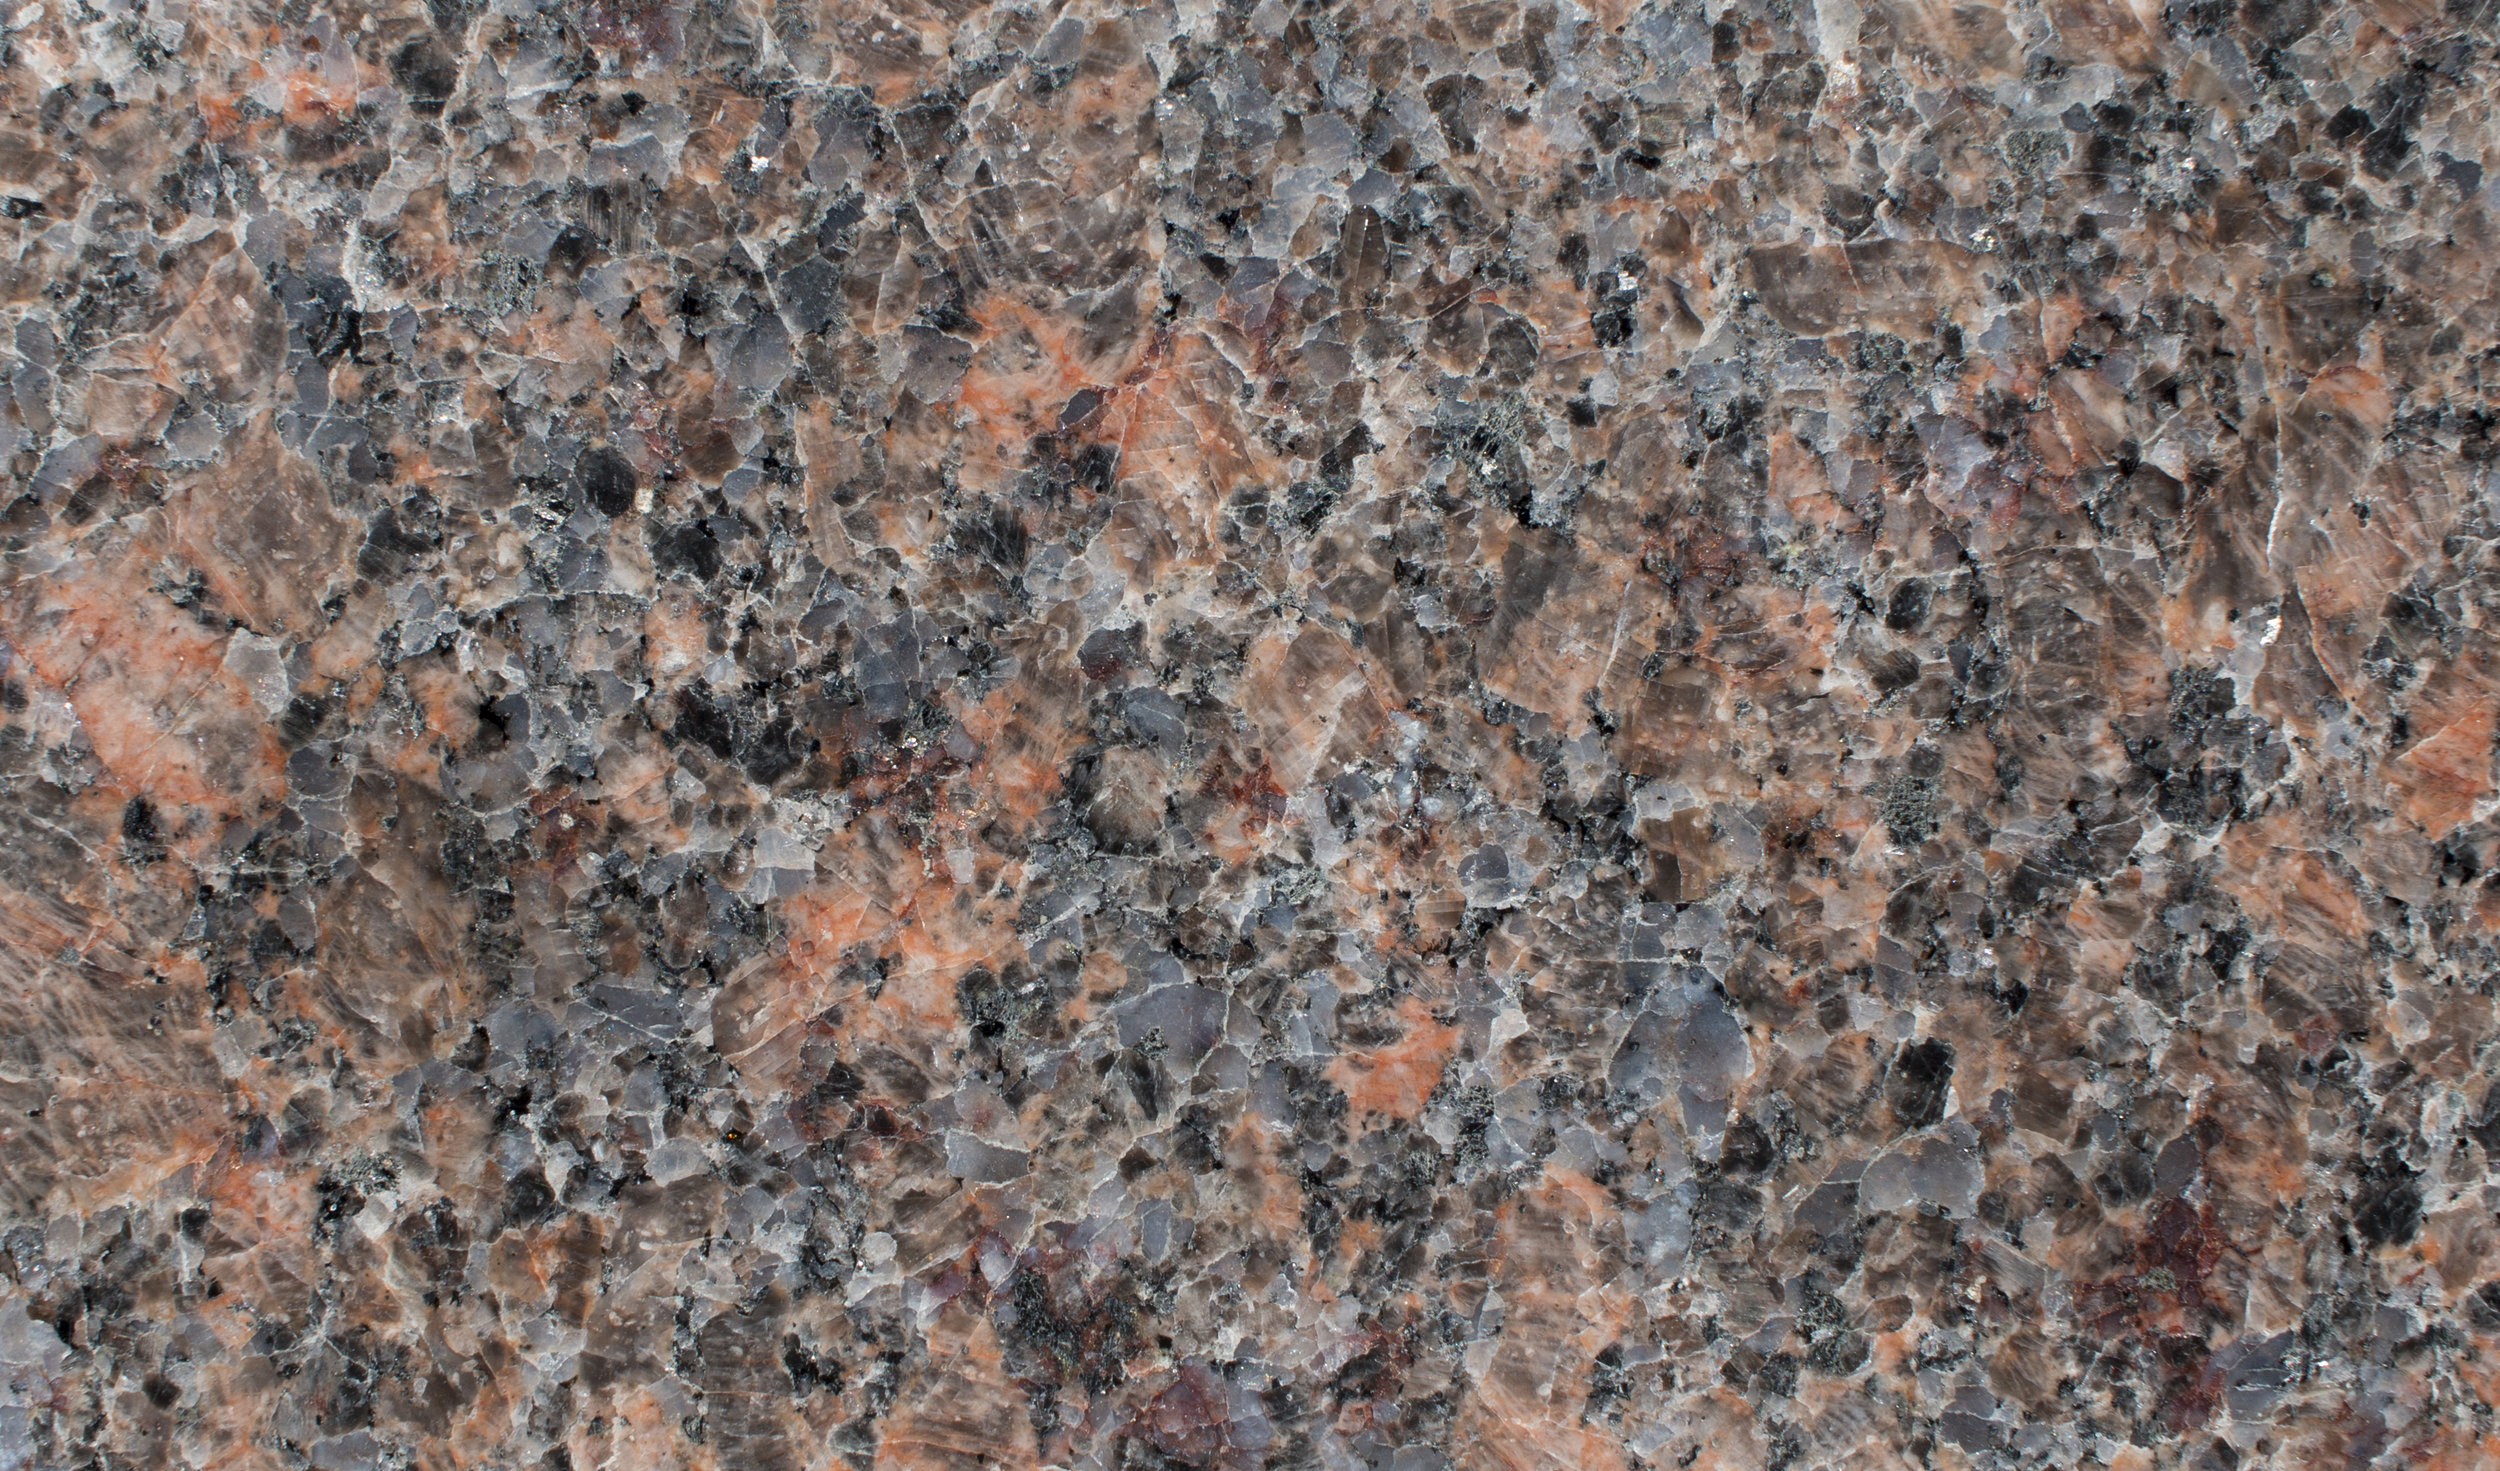
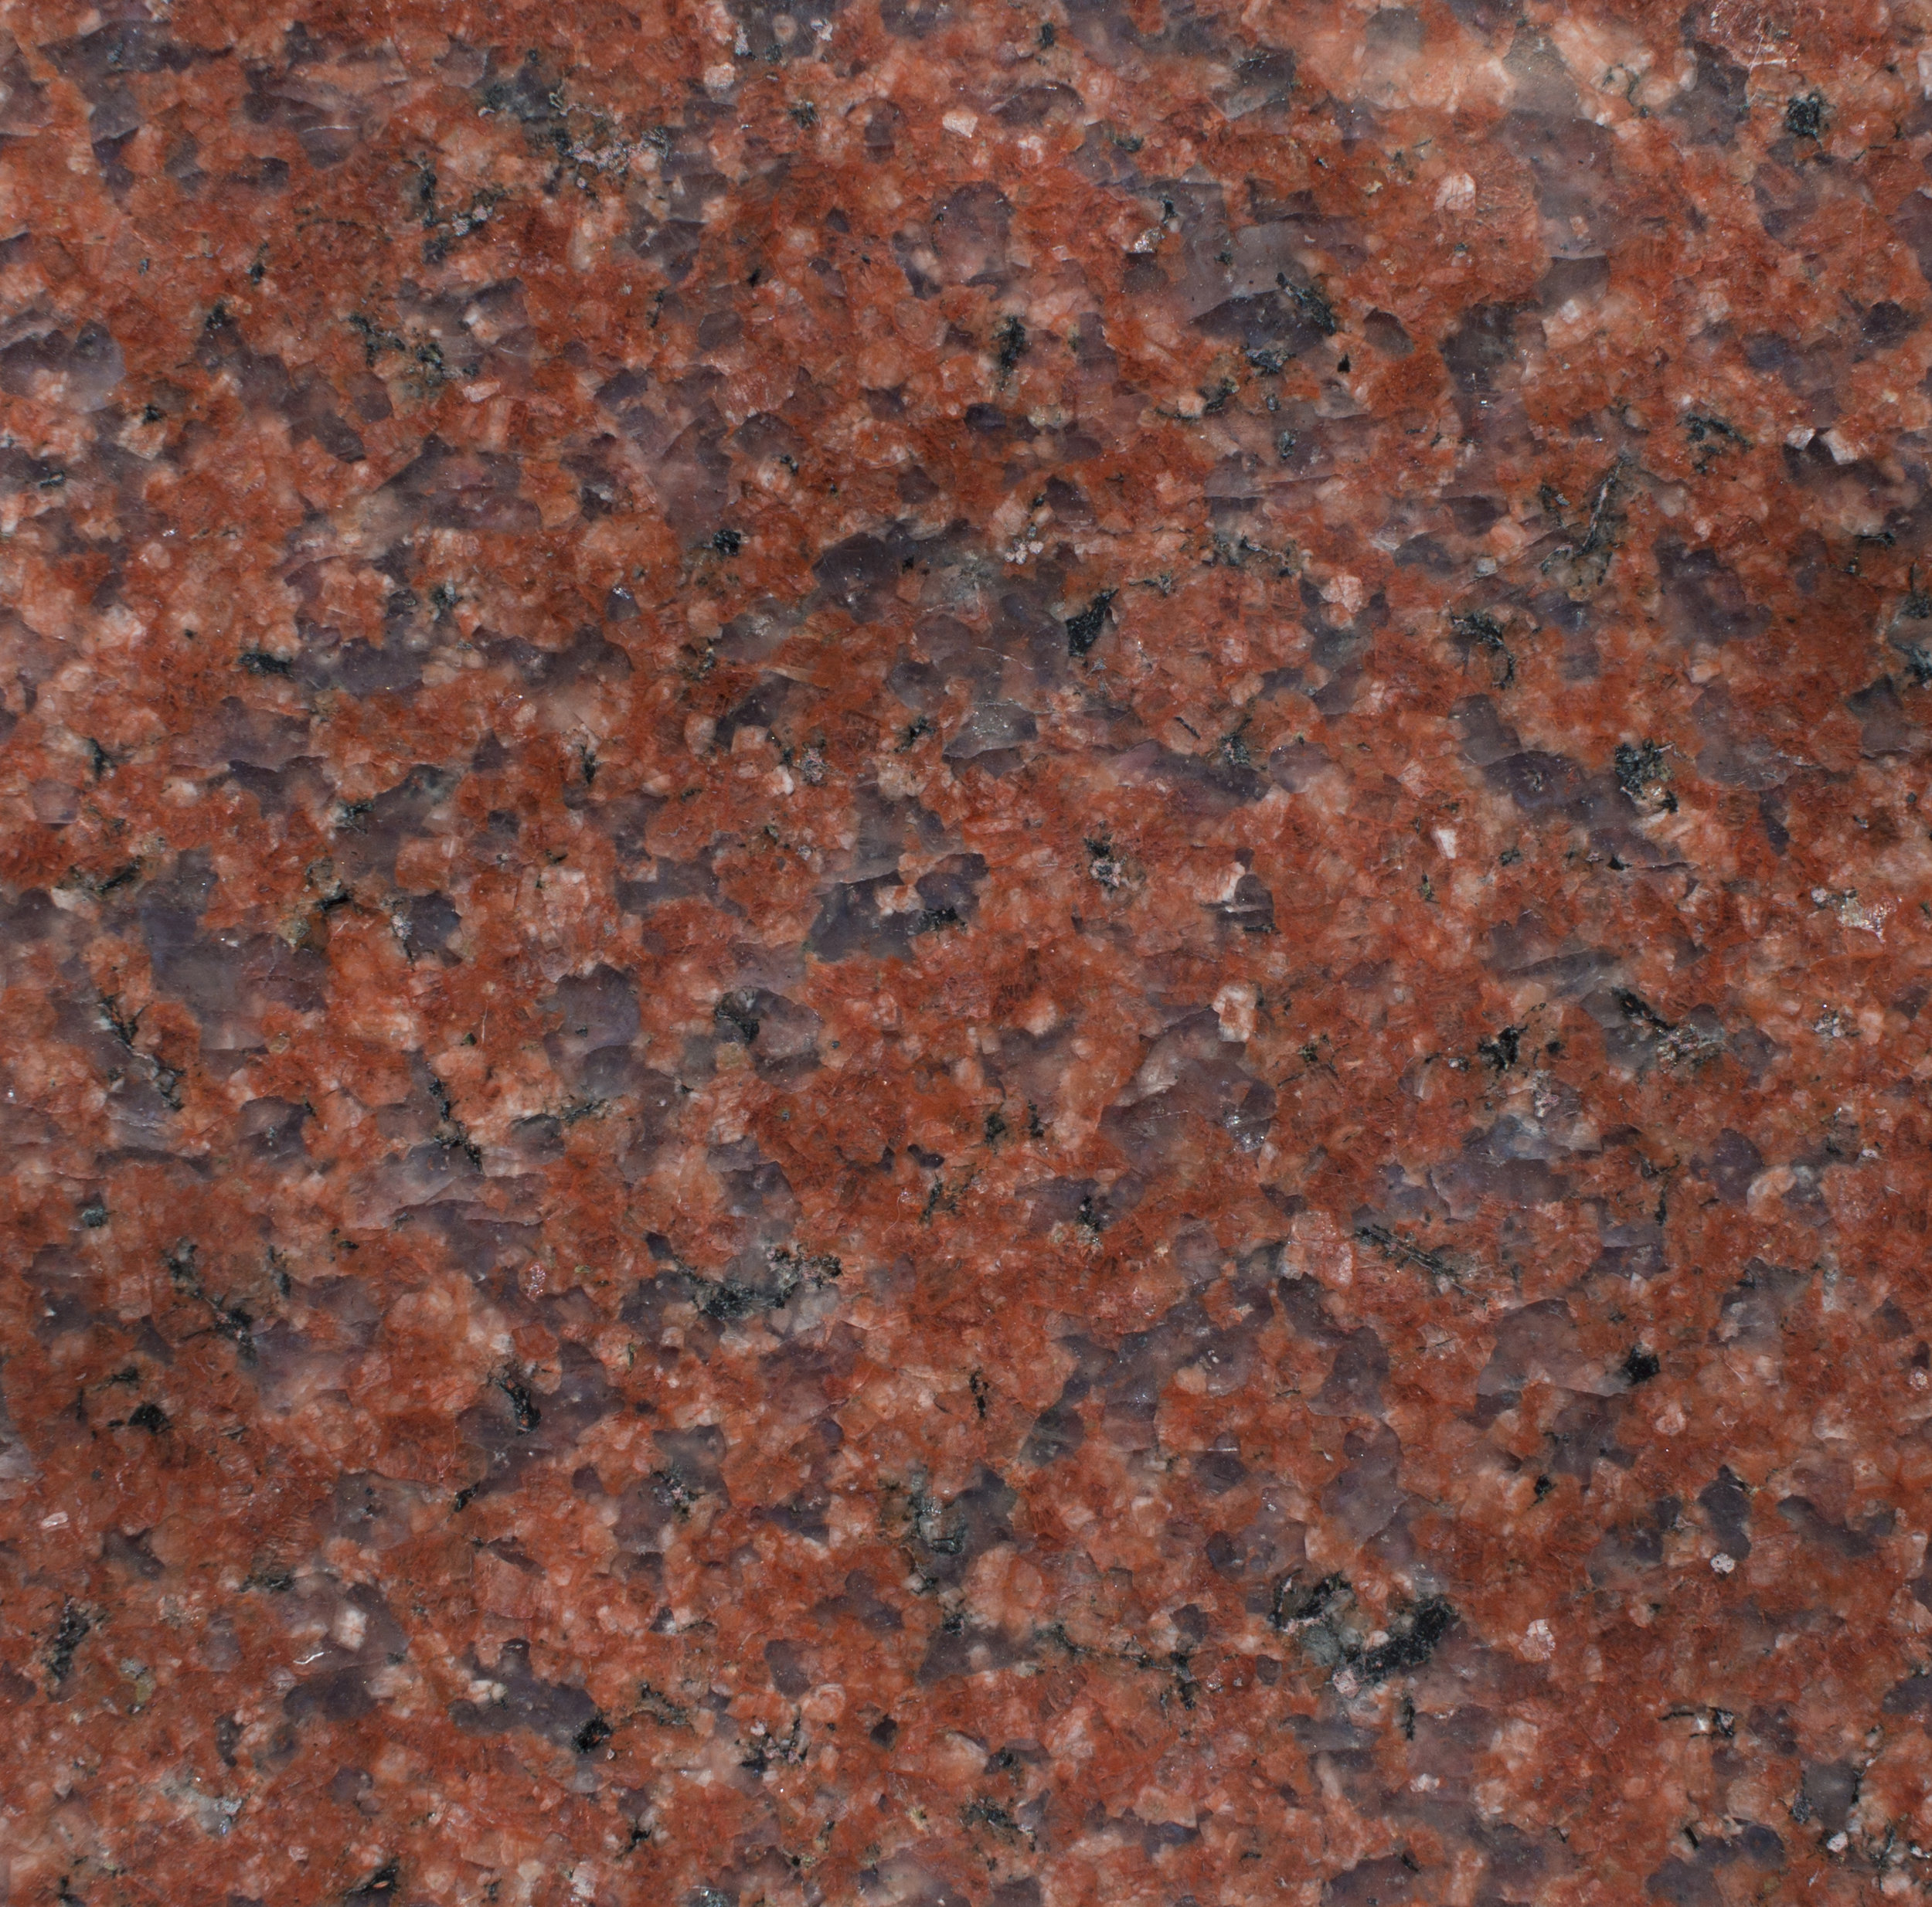
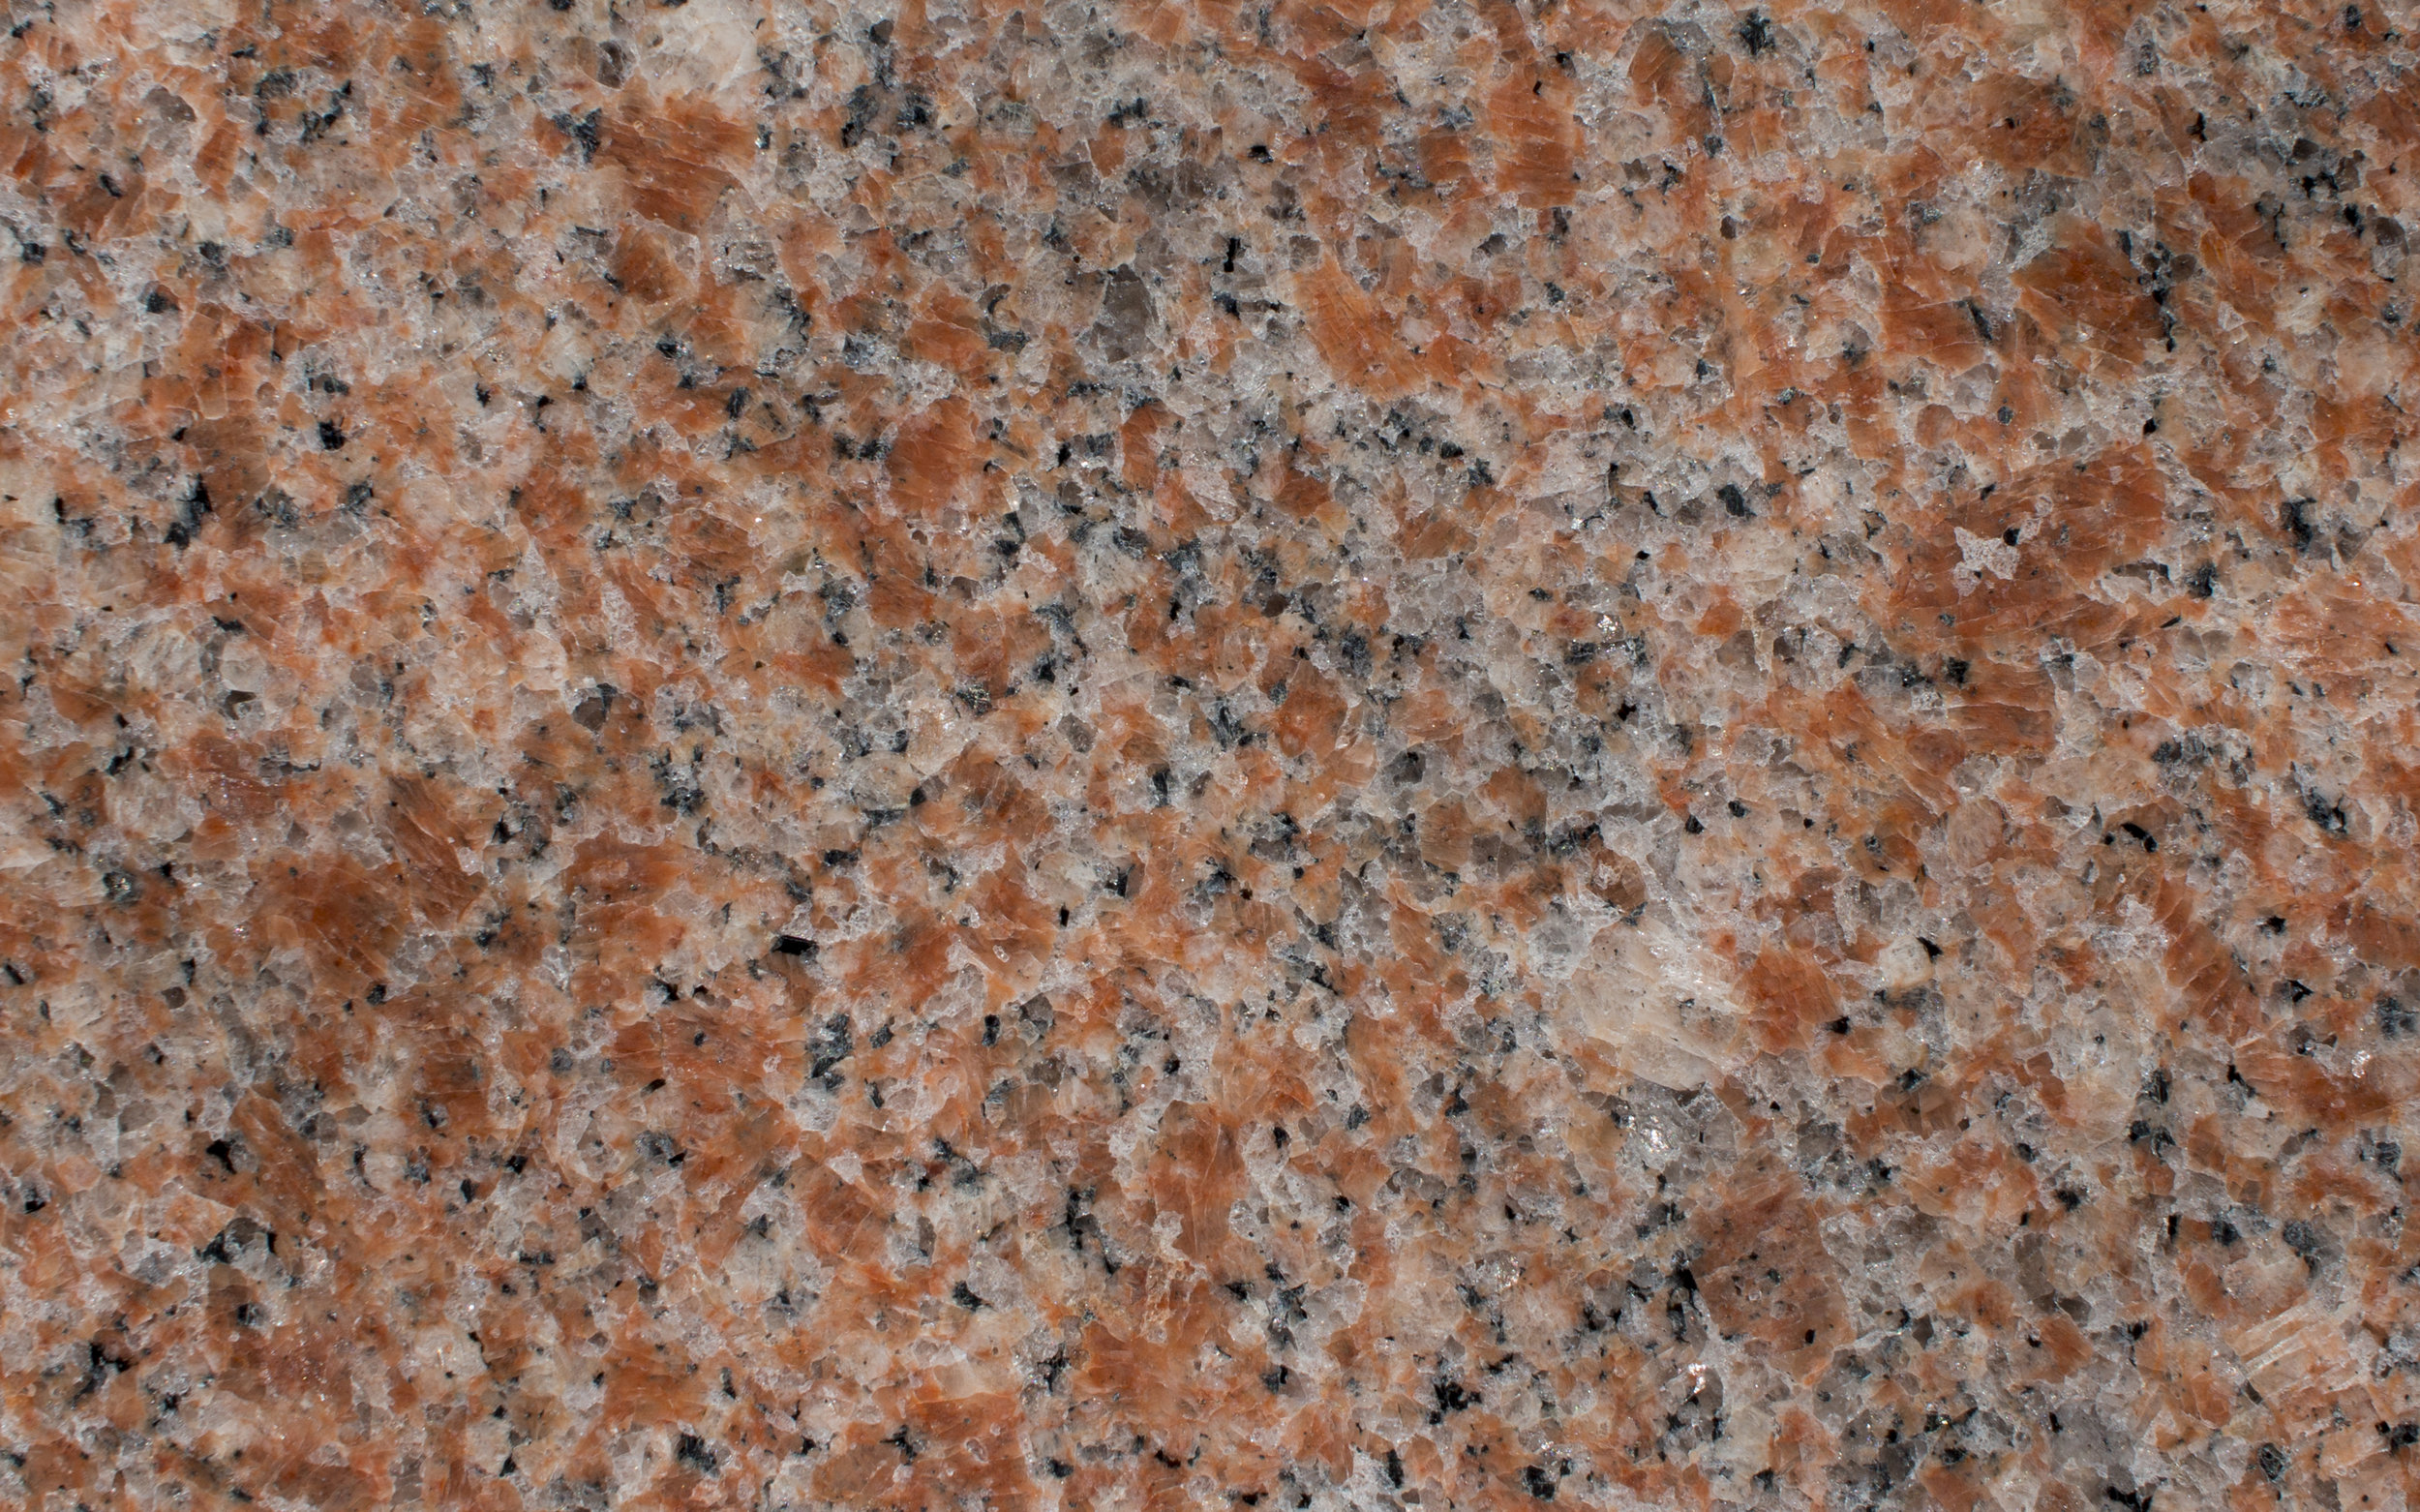
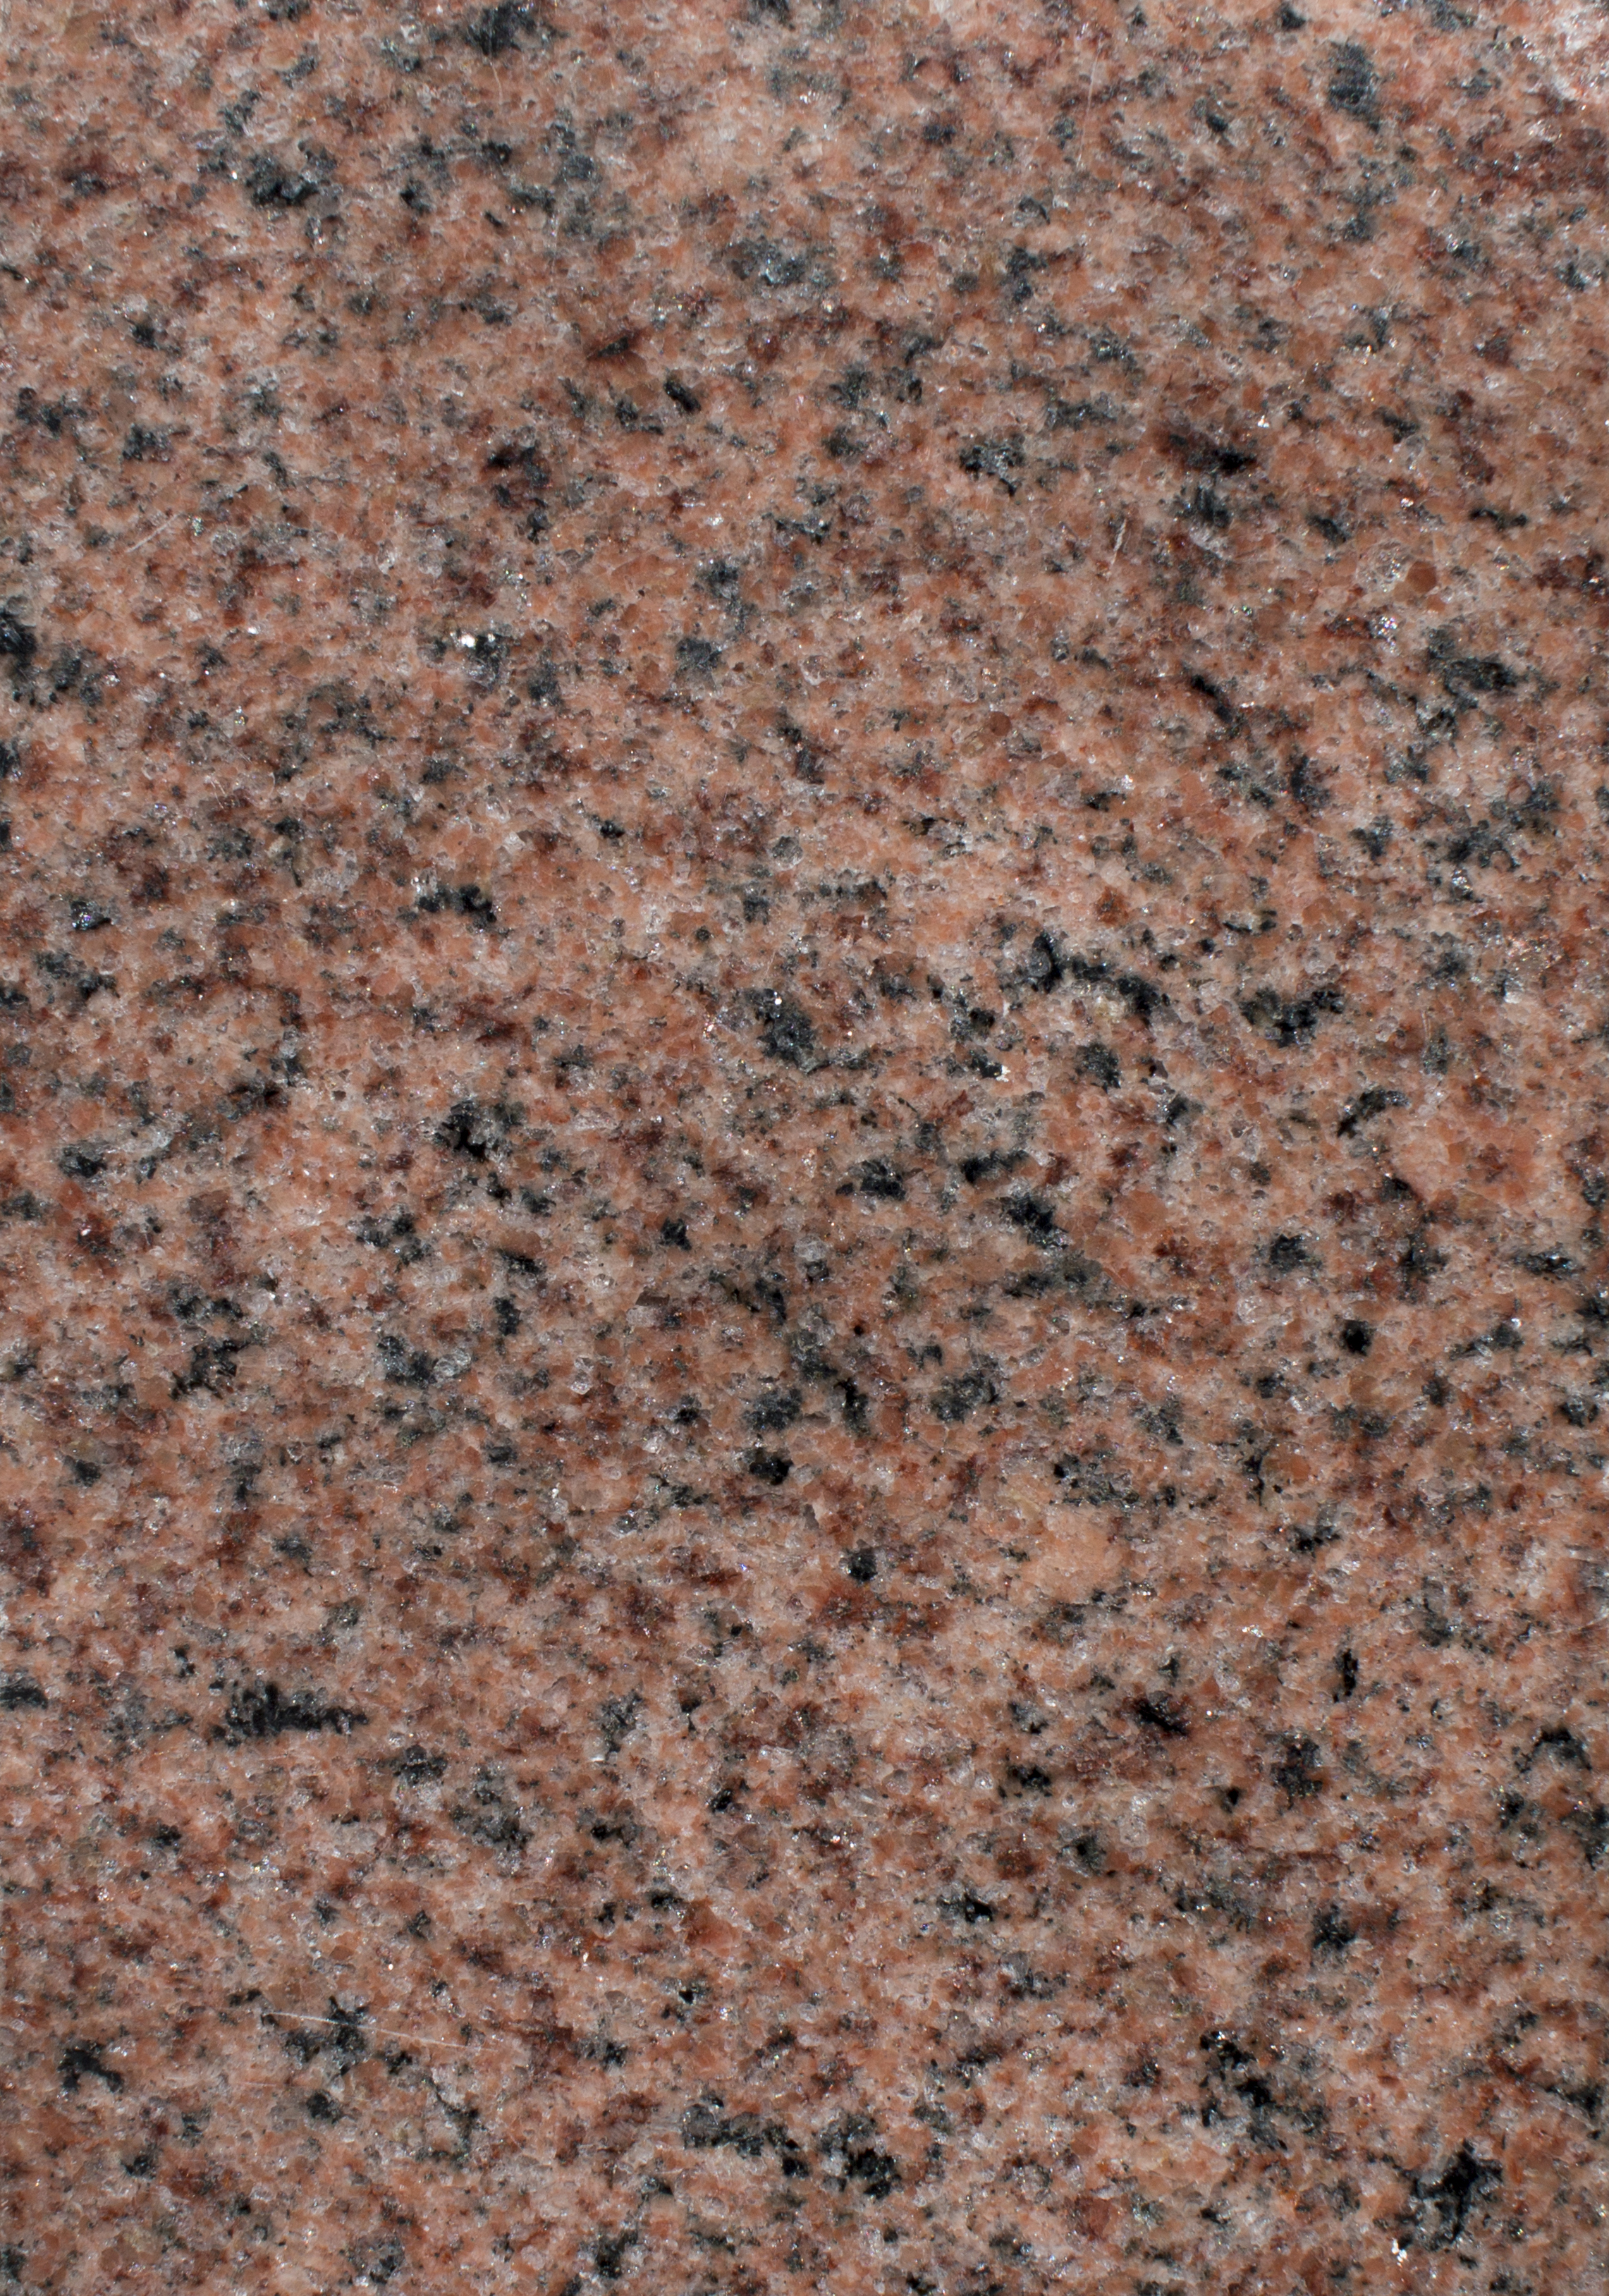
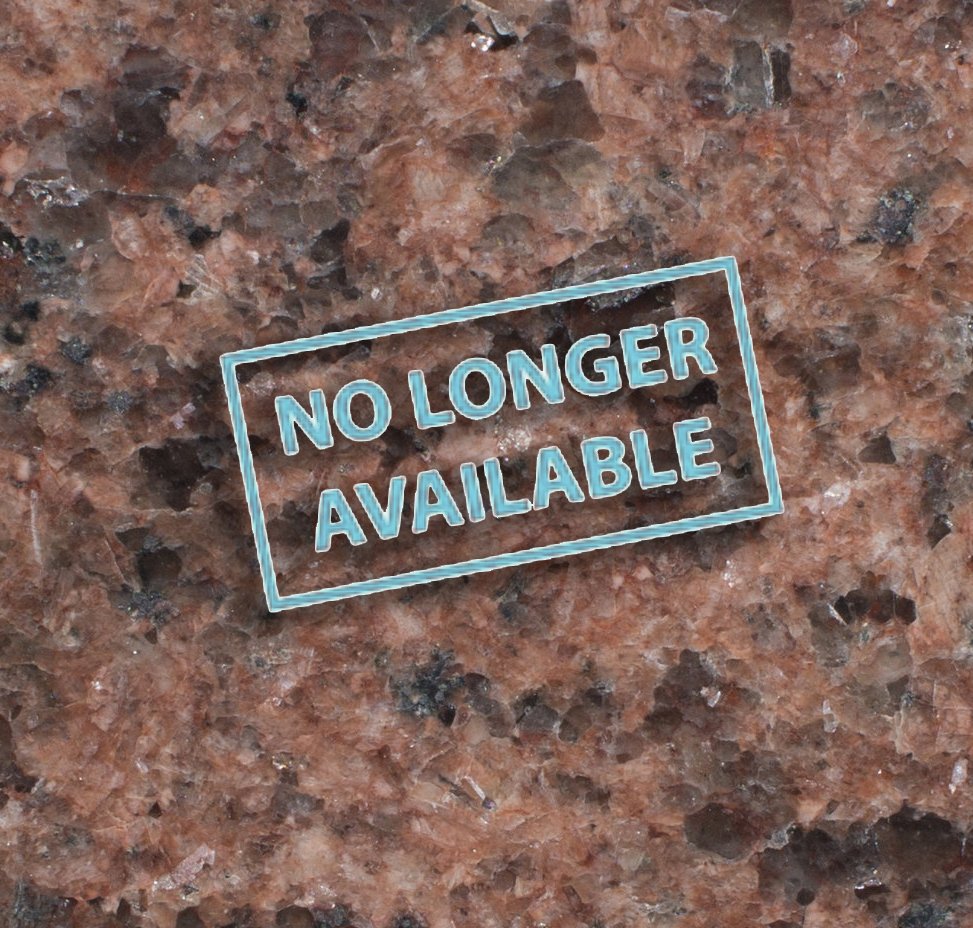
By clicking on a color sample, you can view a gallery of monuments created in each material.
Monument sample photos are not a 100% accurate depiction of true memorial colors. Many of the colors can change in different lighting conditions. Please resort to the color samples in the gallery below for the best online viewing depiction of a certain color. The sample photos in each color coded gallery are a great way to see the many ways layouts and lettering can be engraved into the stone of a specific color. The sample photos also help show the variations of the same color across different monuments.
Monument Finishes
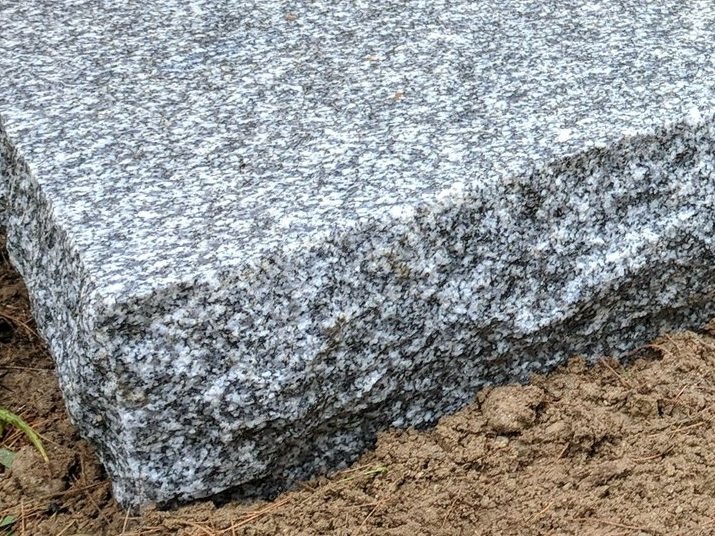
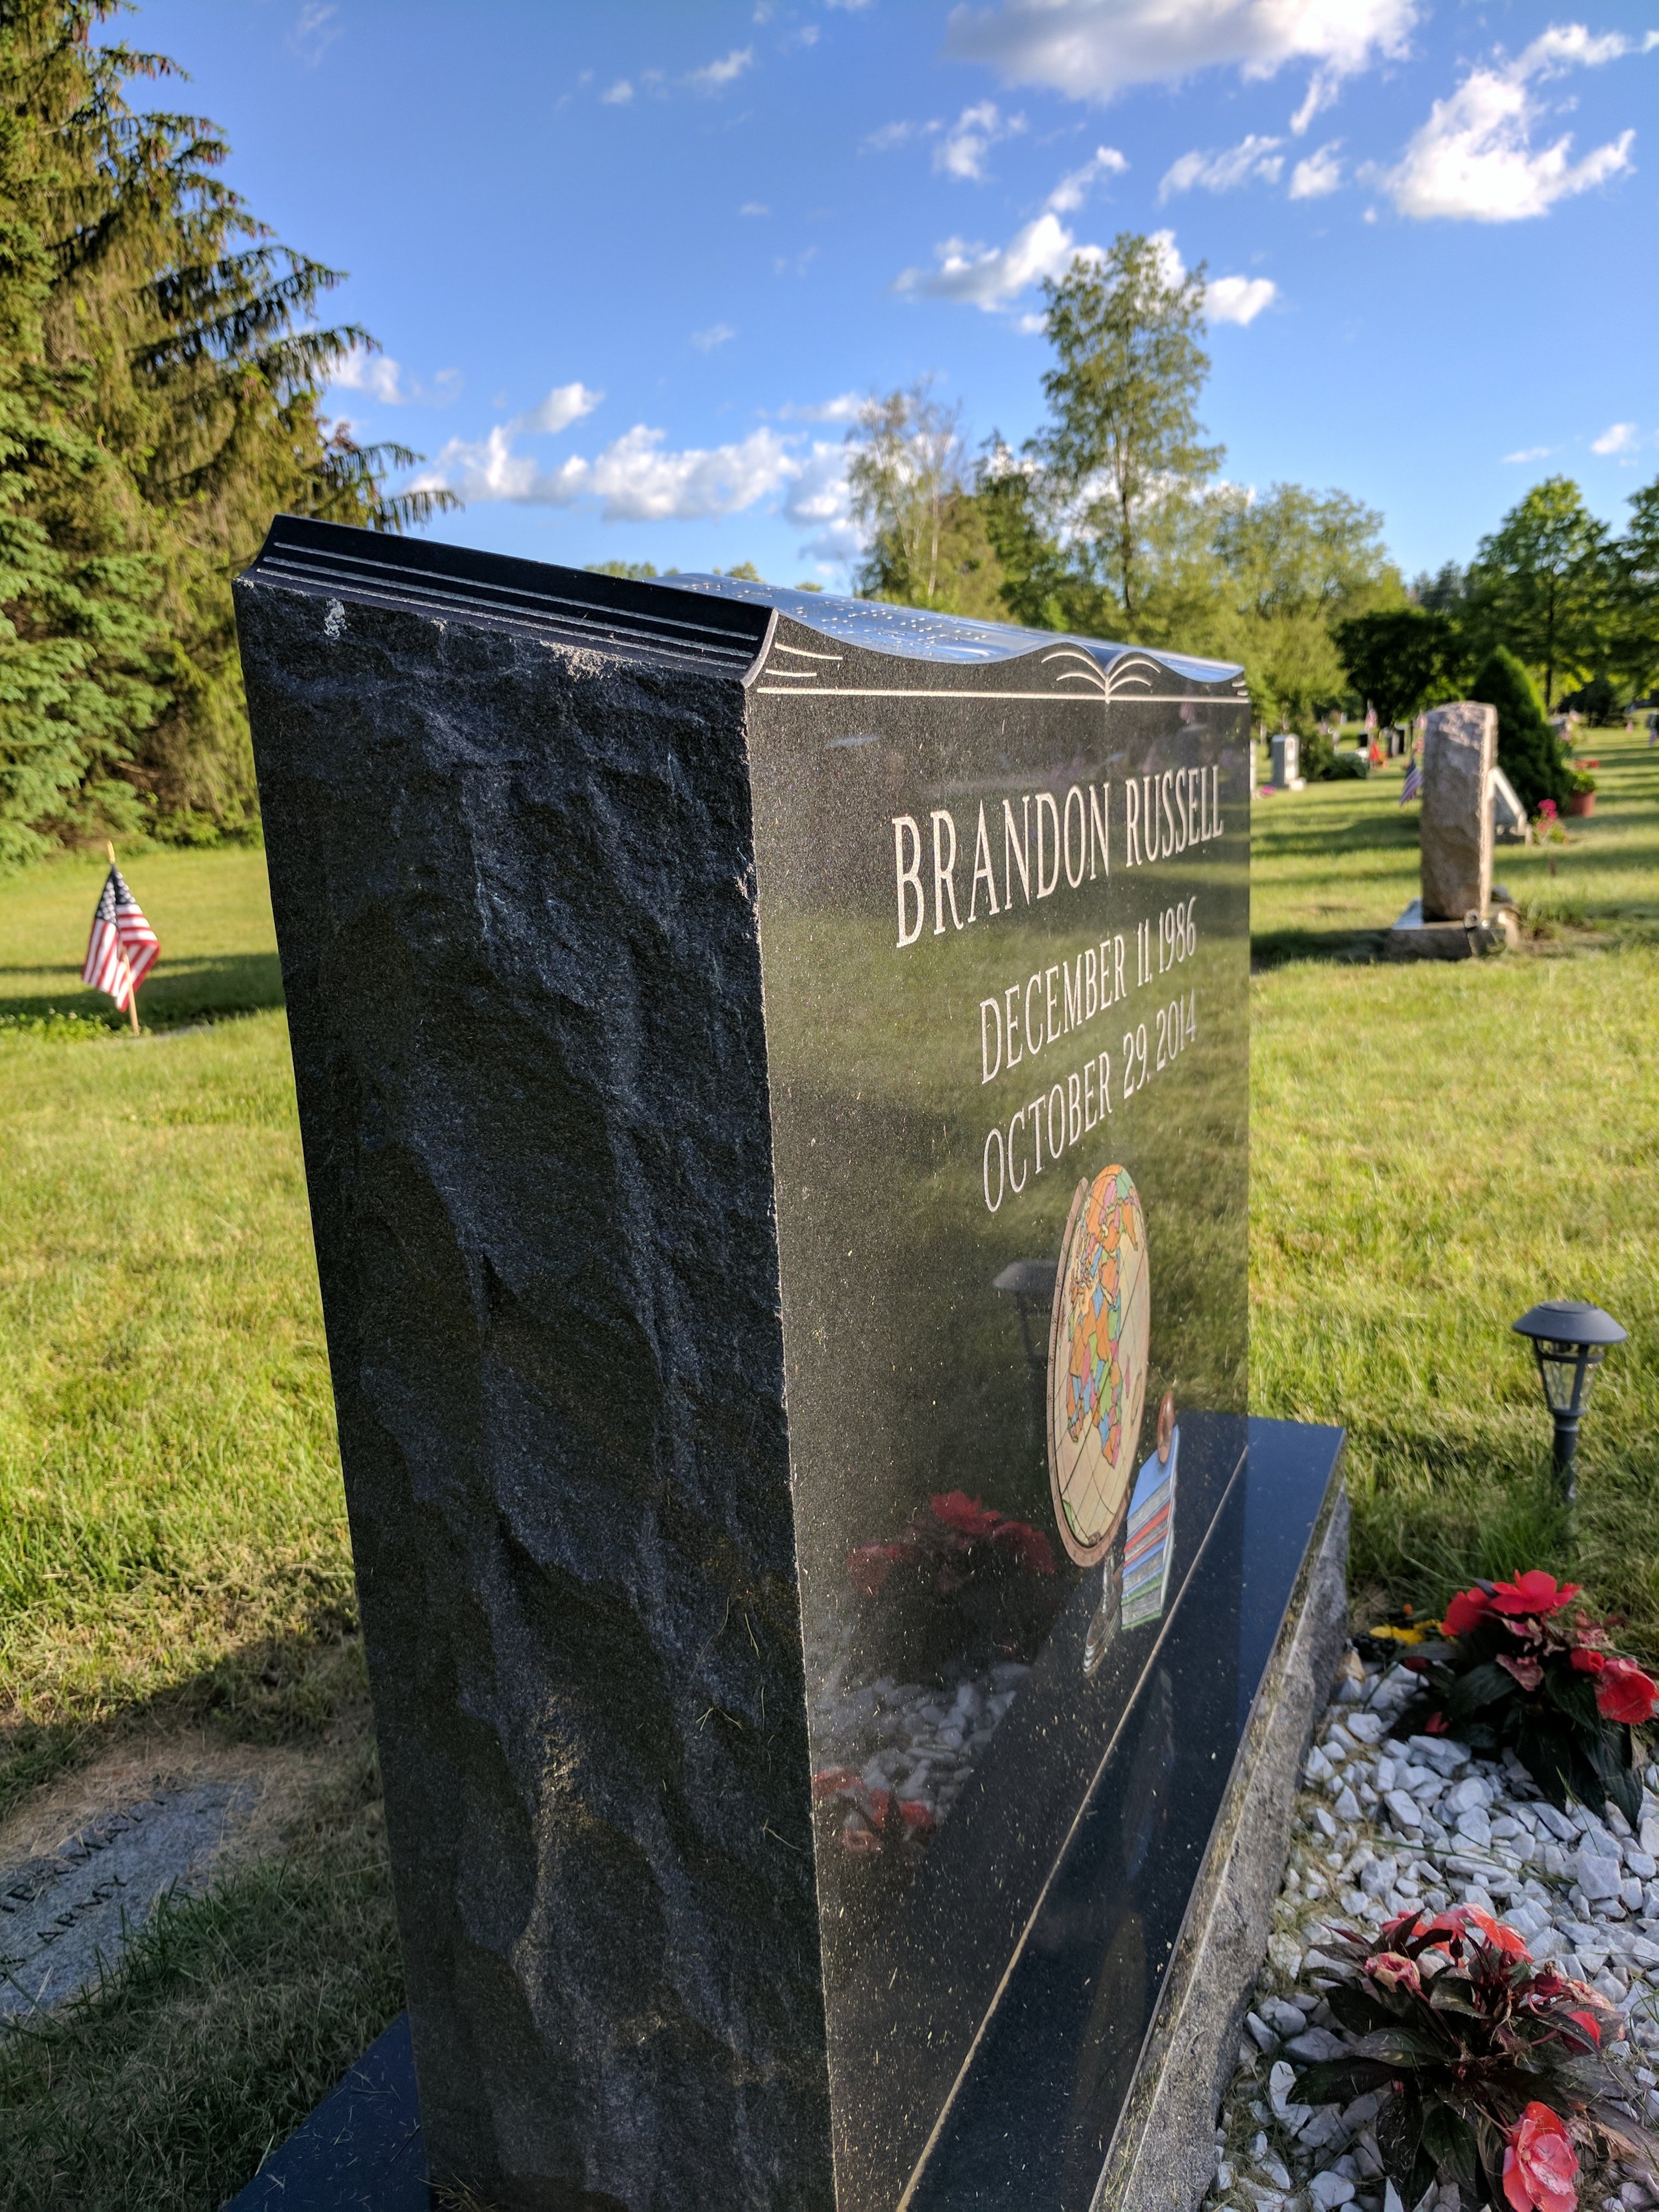
Monument finishes refers to the texture of the sides or “faces” of the memorial. Traditional upright monuments have 5 sides; a Front, Back, Left end, Right end, and Top. The three most common finishes are Polished, Steeled and Rock Pitch.
Click Here for samples of common monument combinations to see what suits your style.
Feel free to click on a monument to view a larger image.

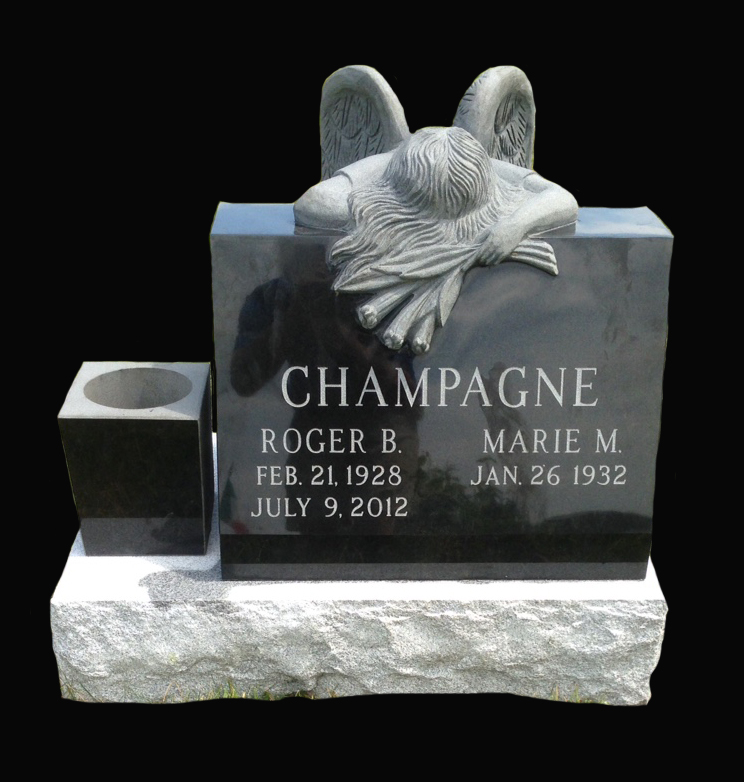


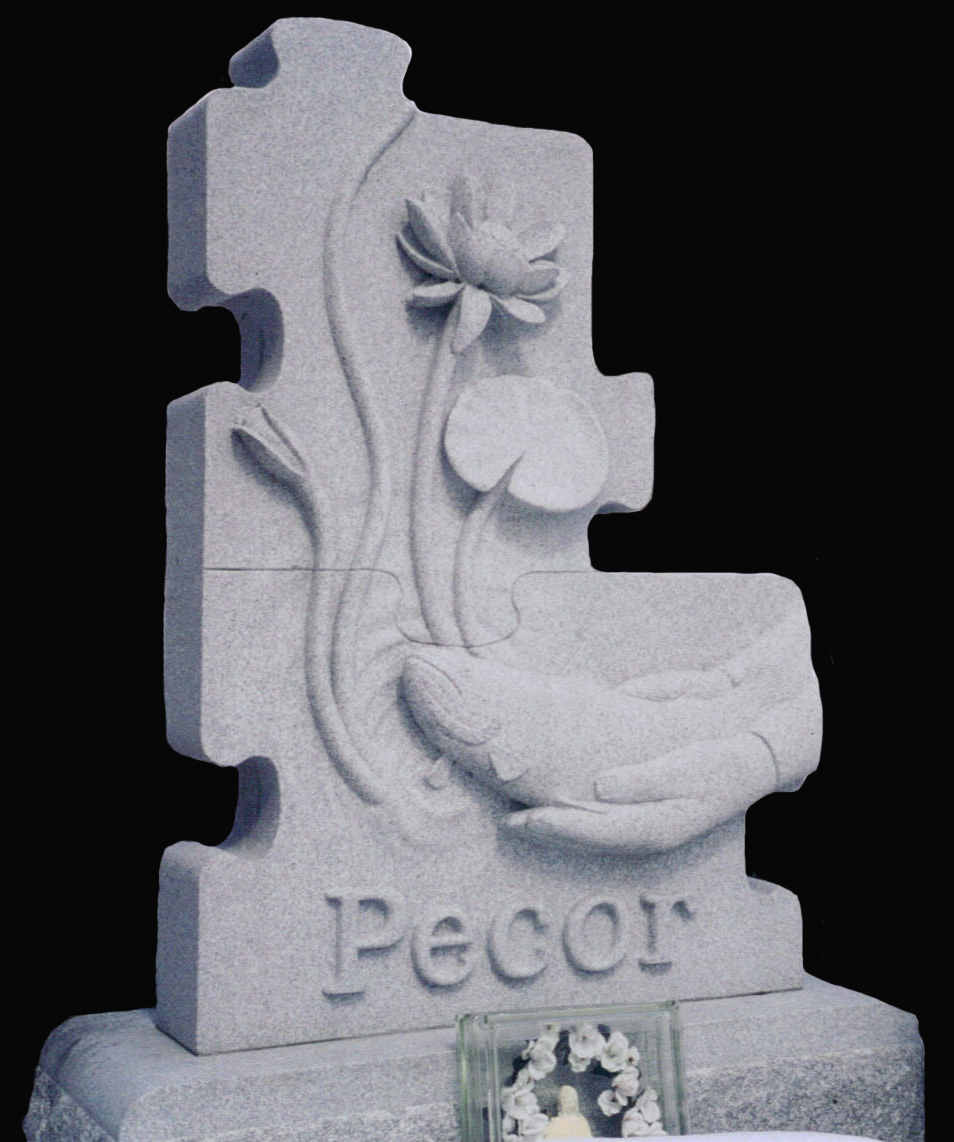
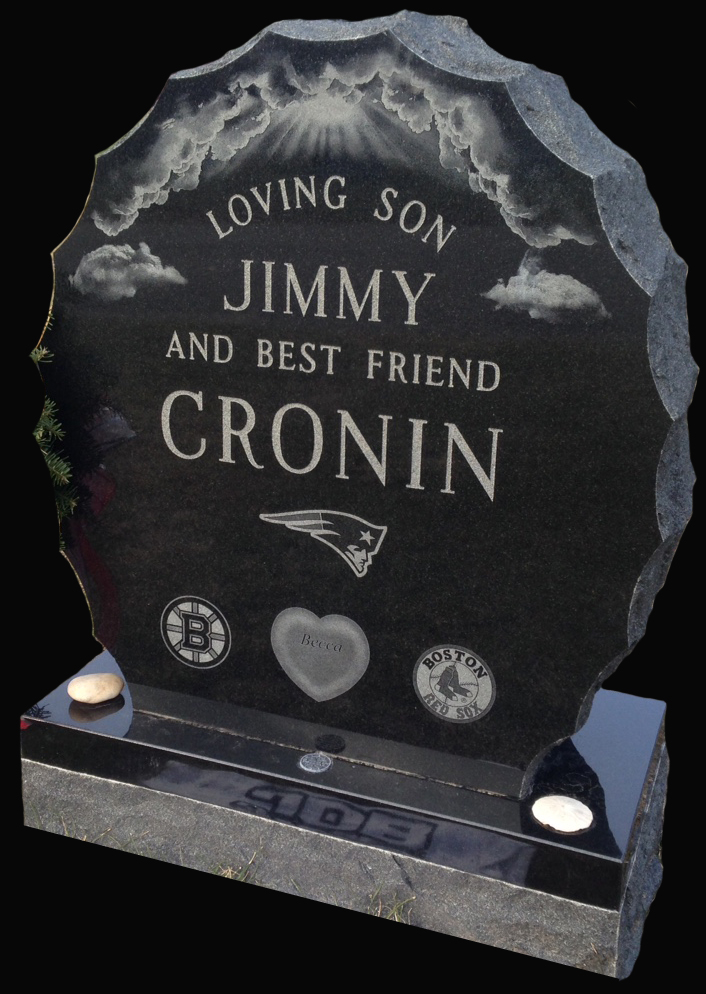


^ Jet Black Monument 2'-6" x 0-8" x 2'-4" with Custom Hand Etching ^

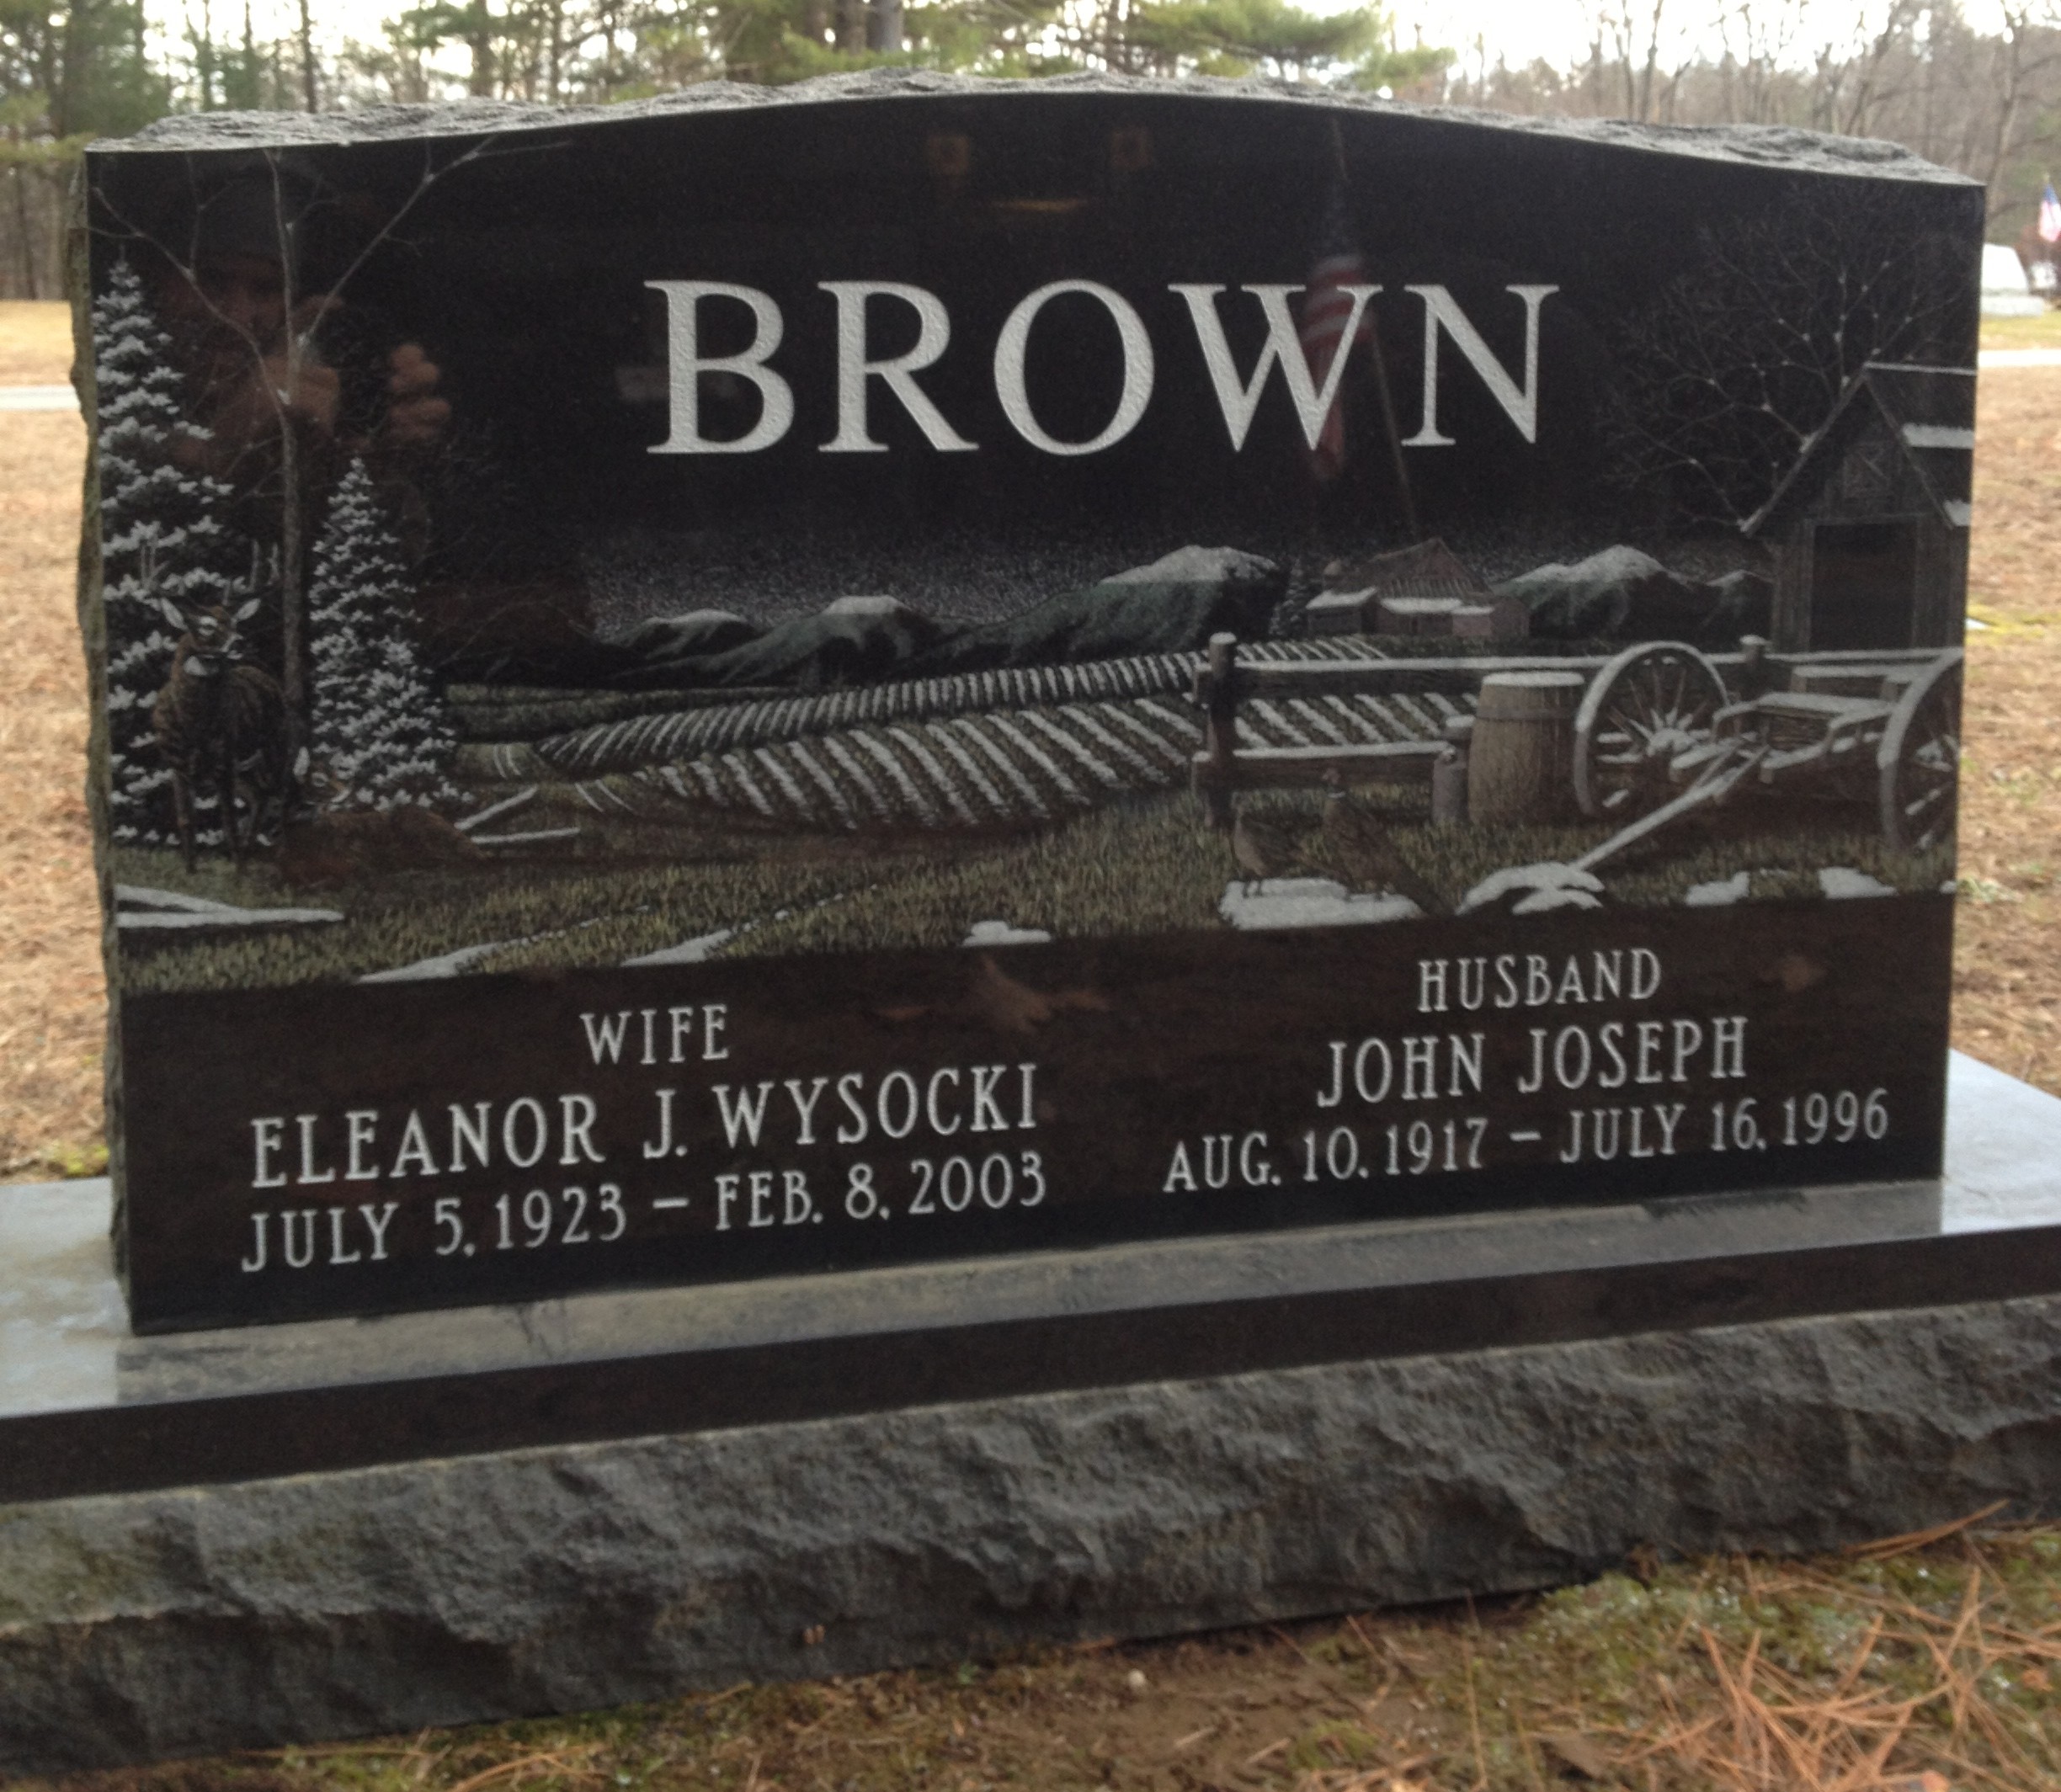
Polished India Black with custom etching
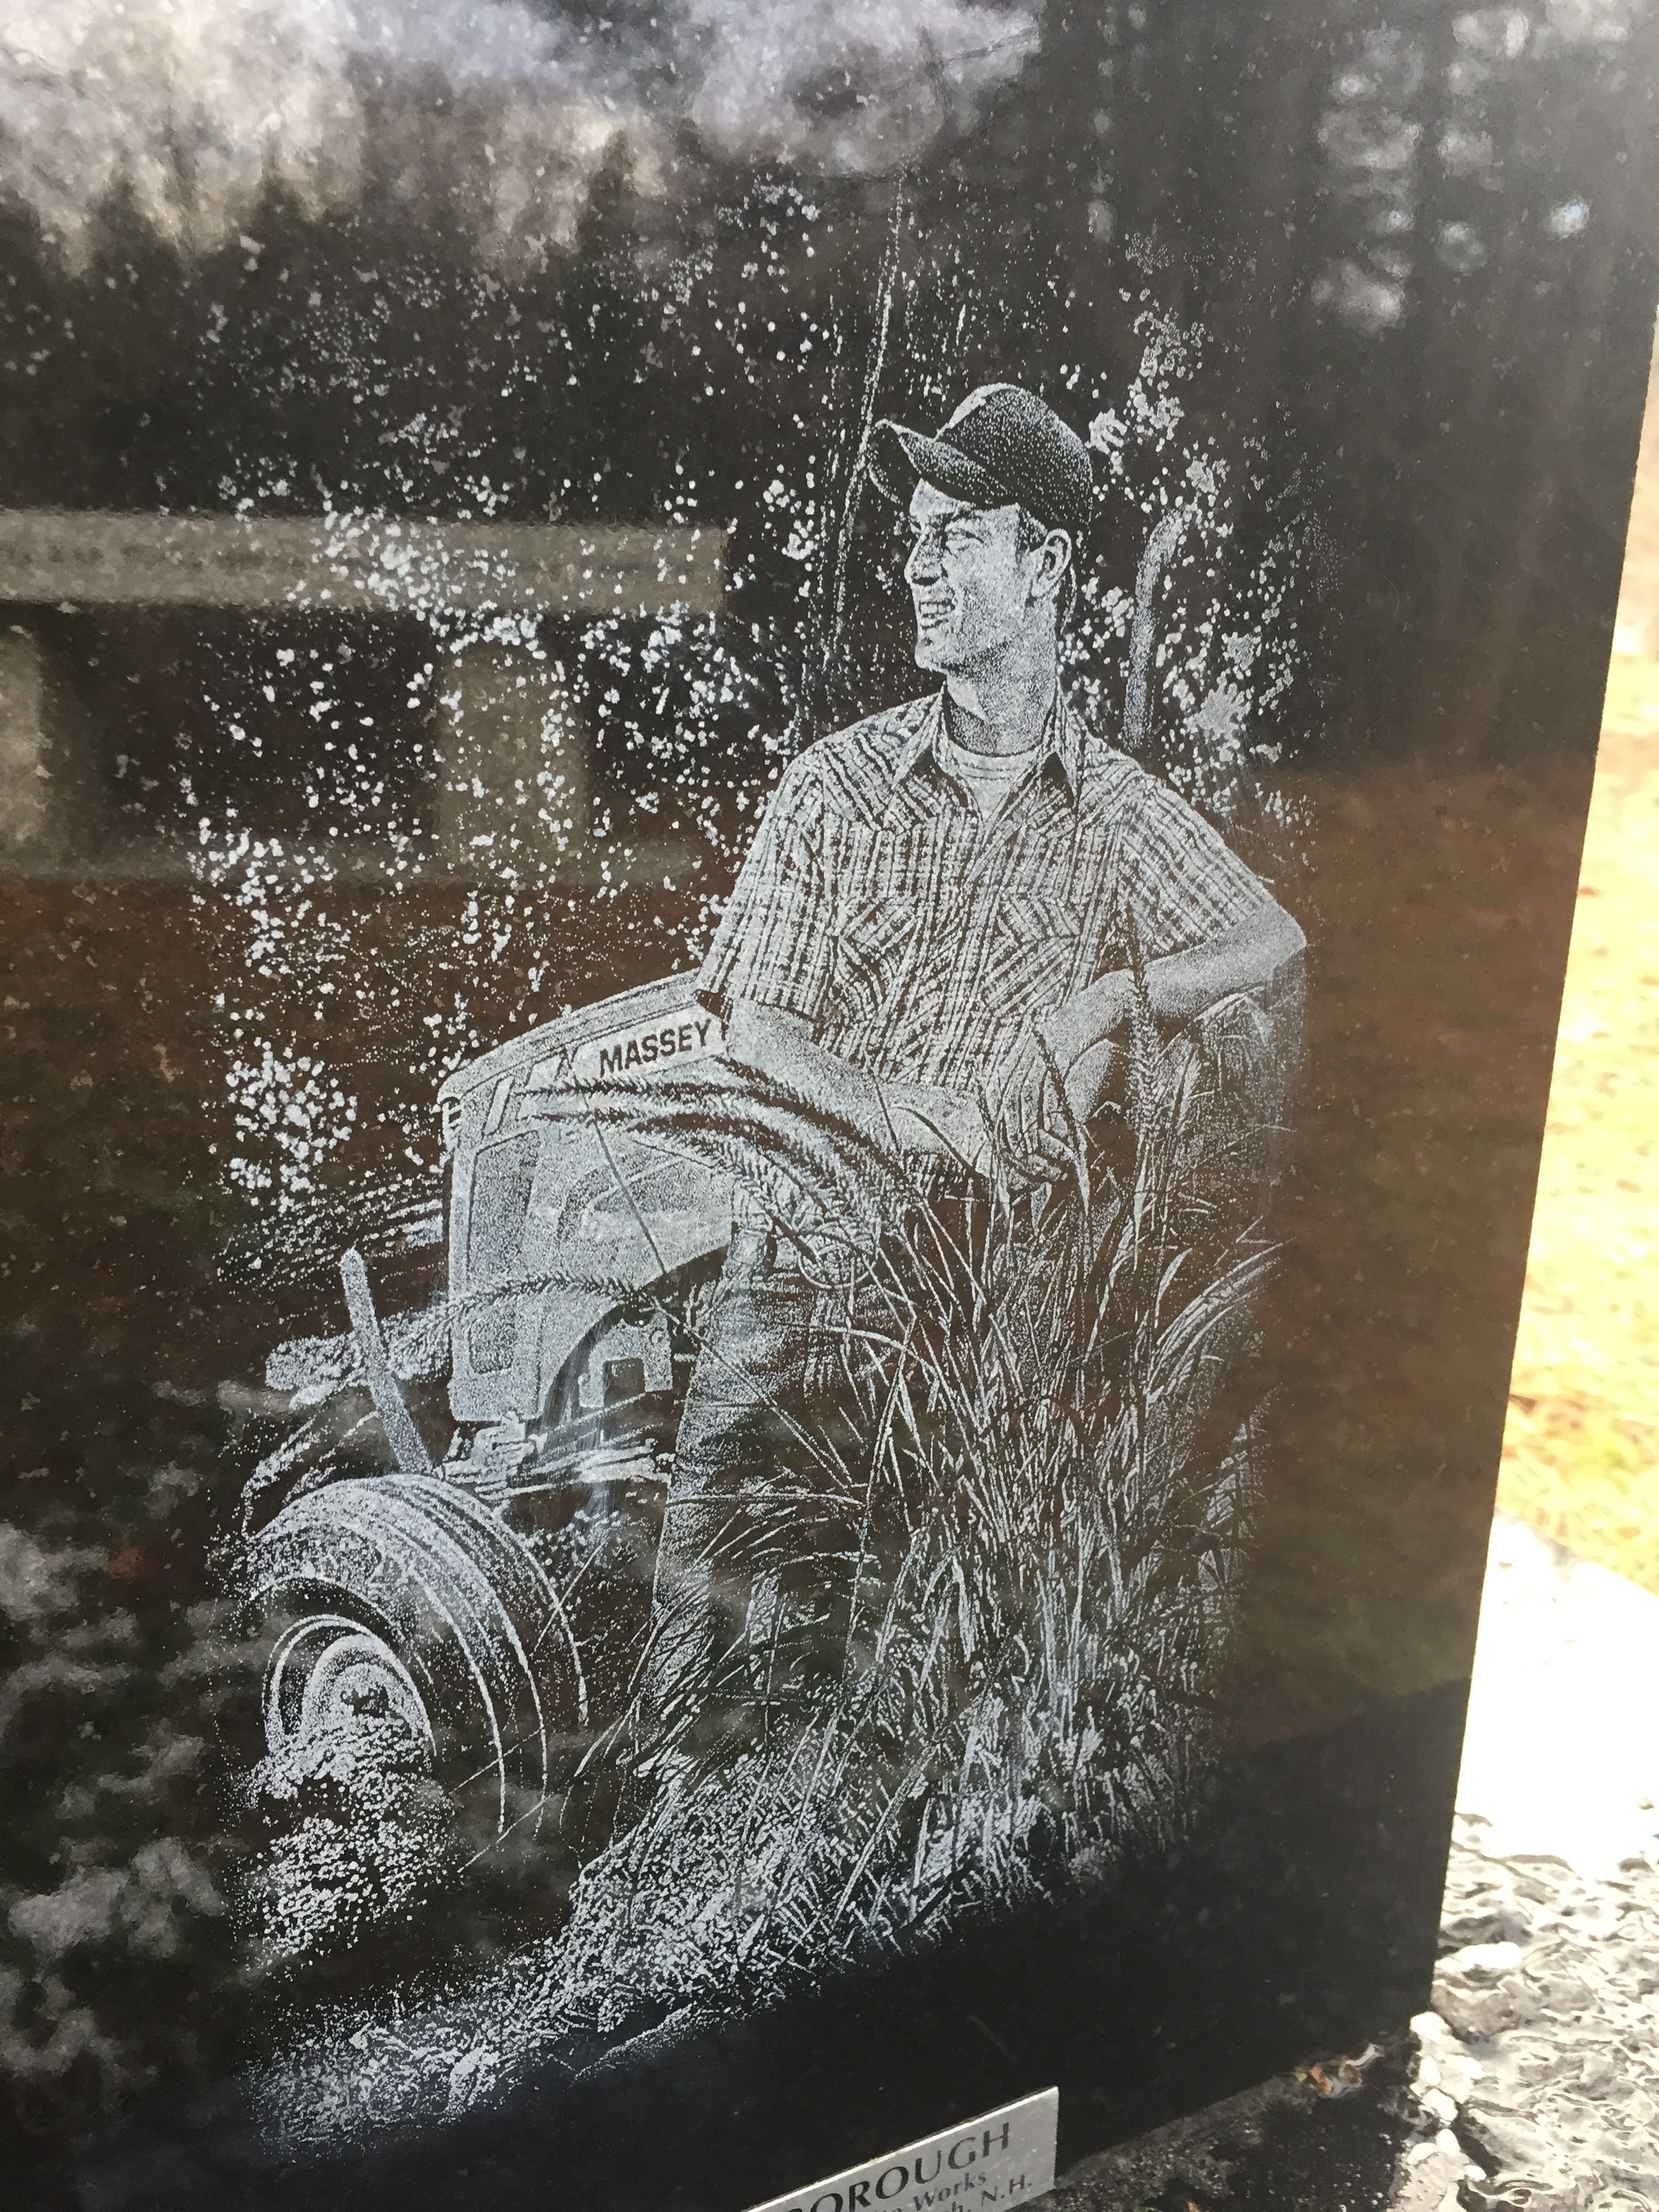
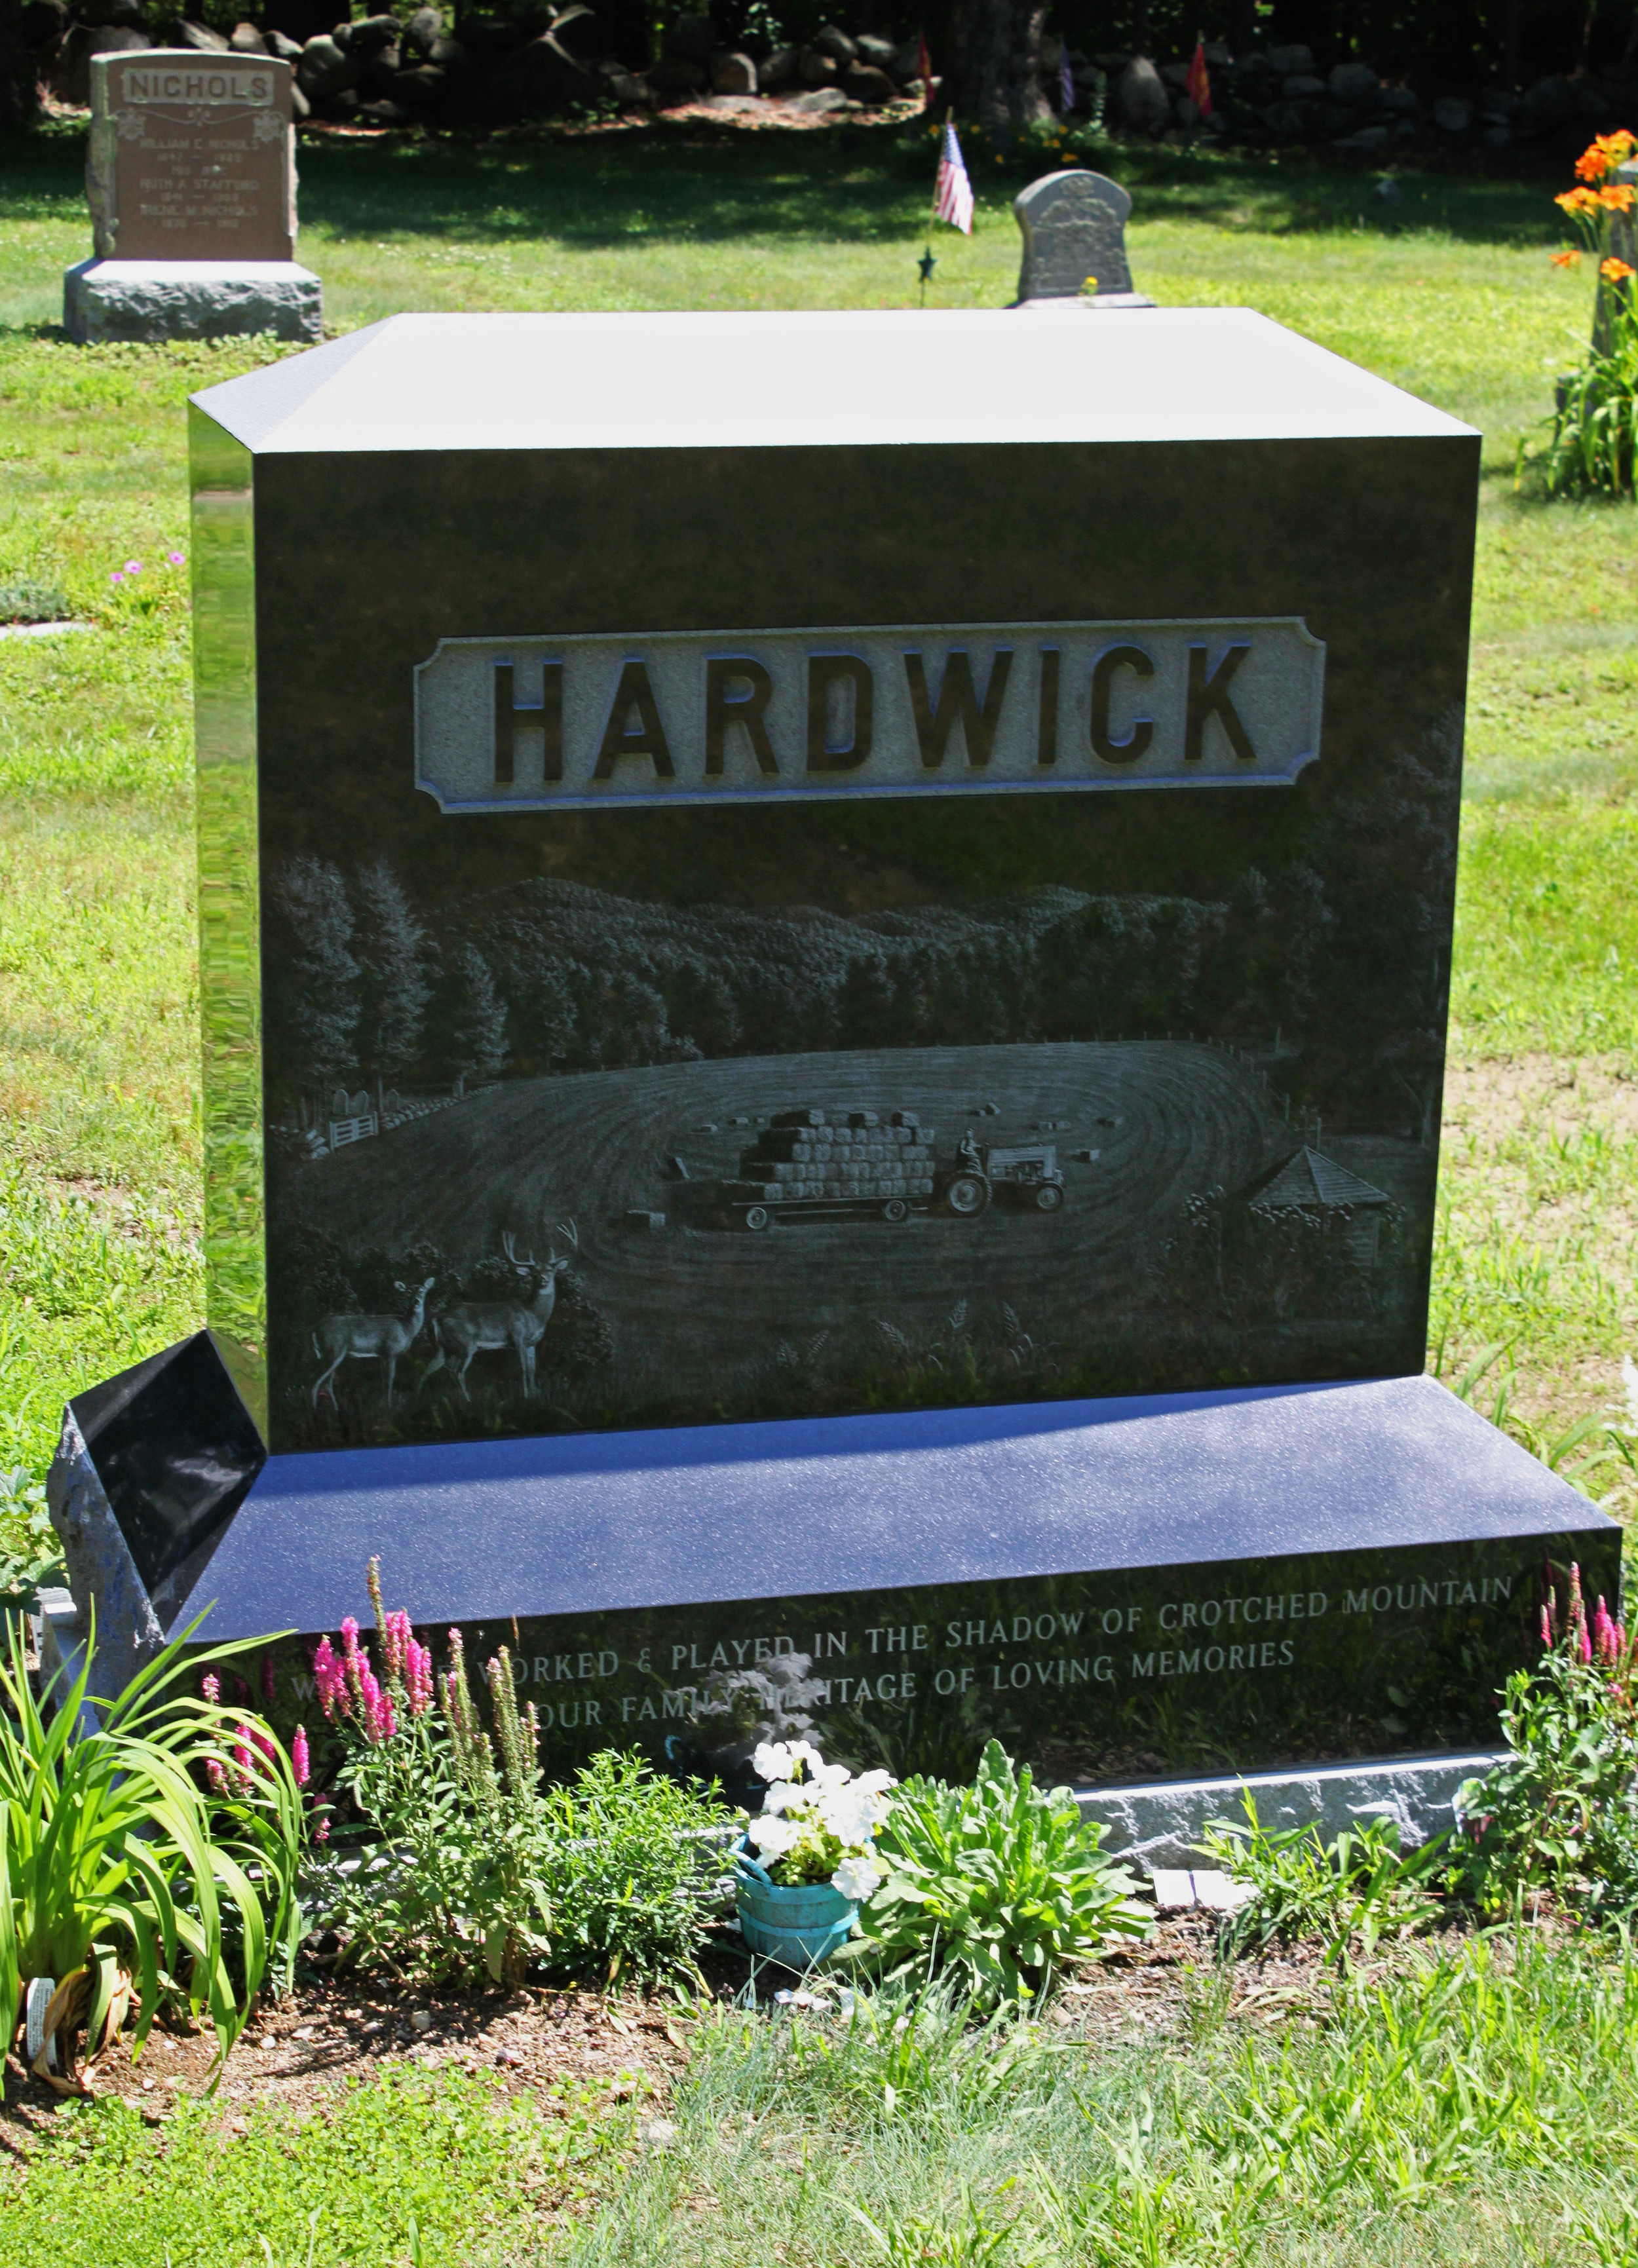
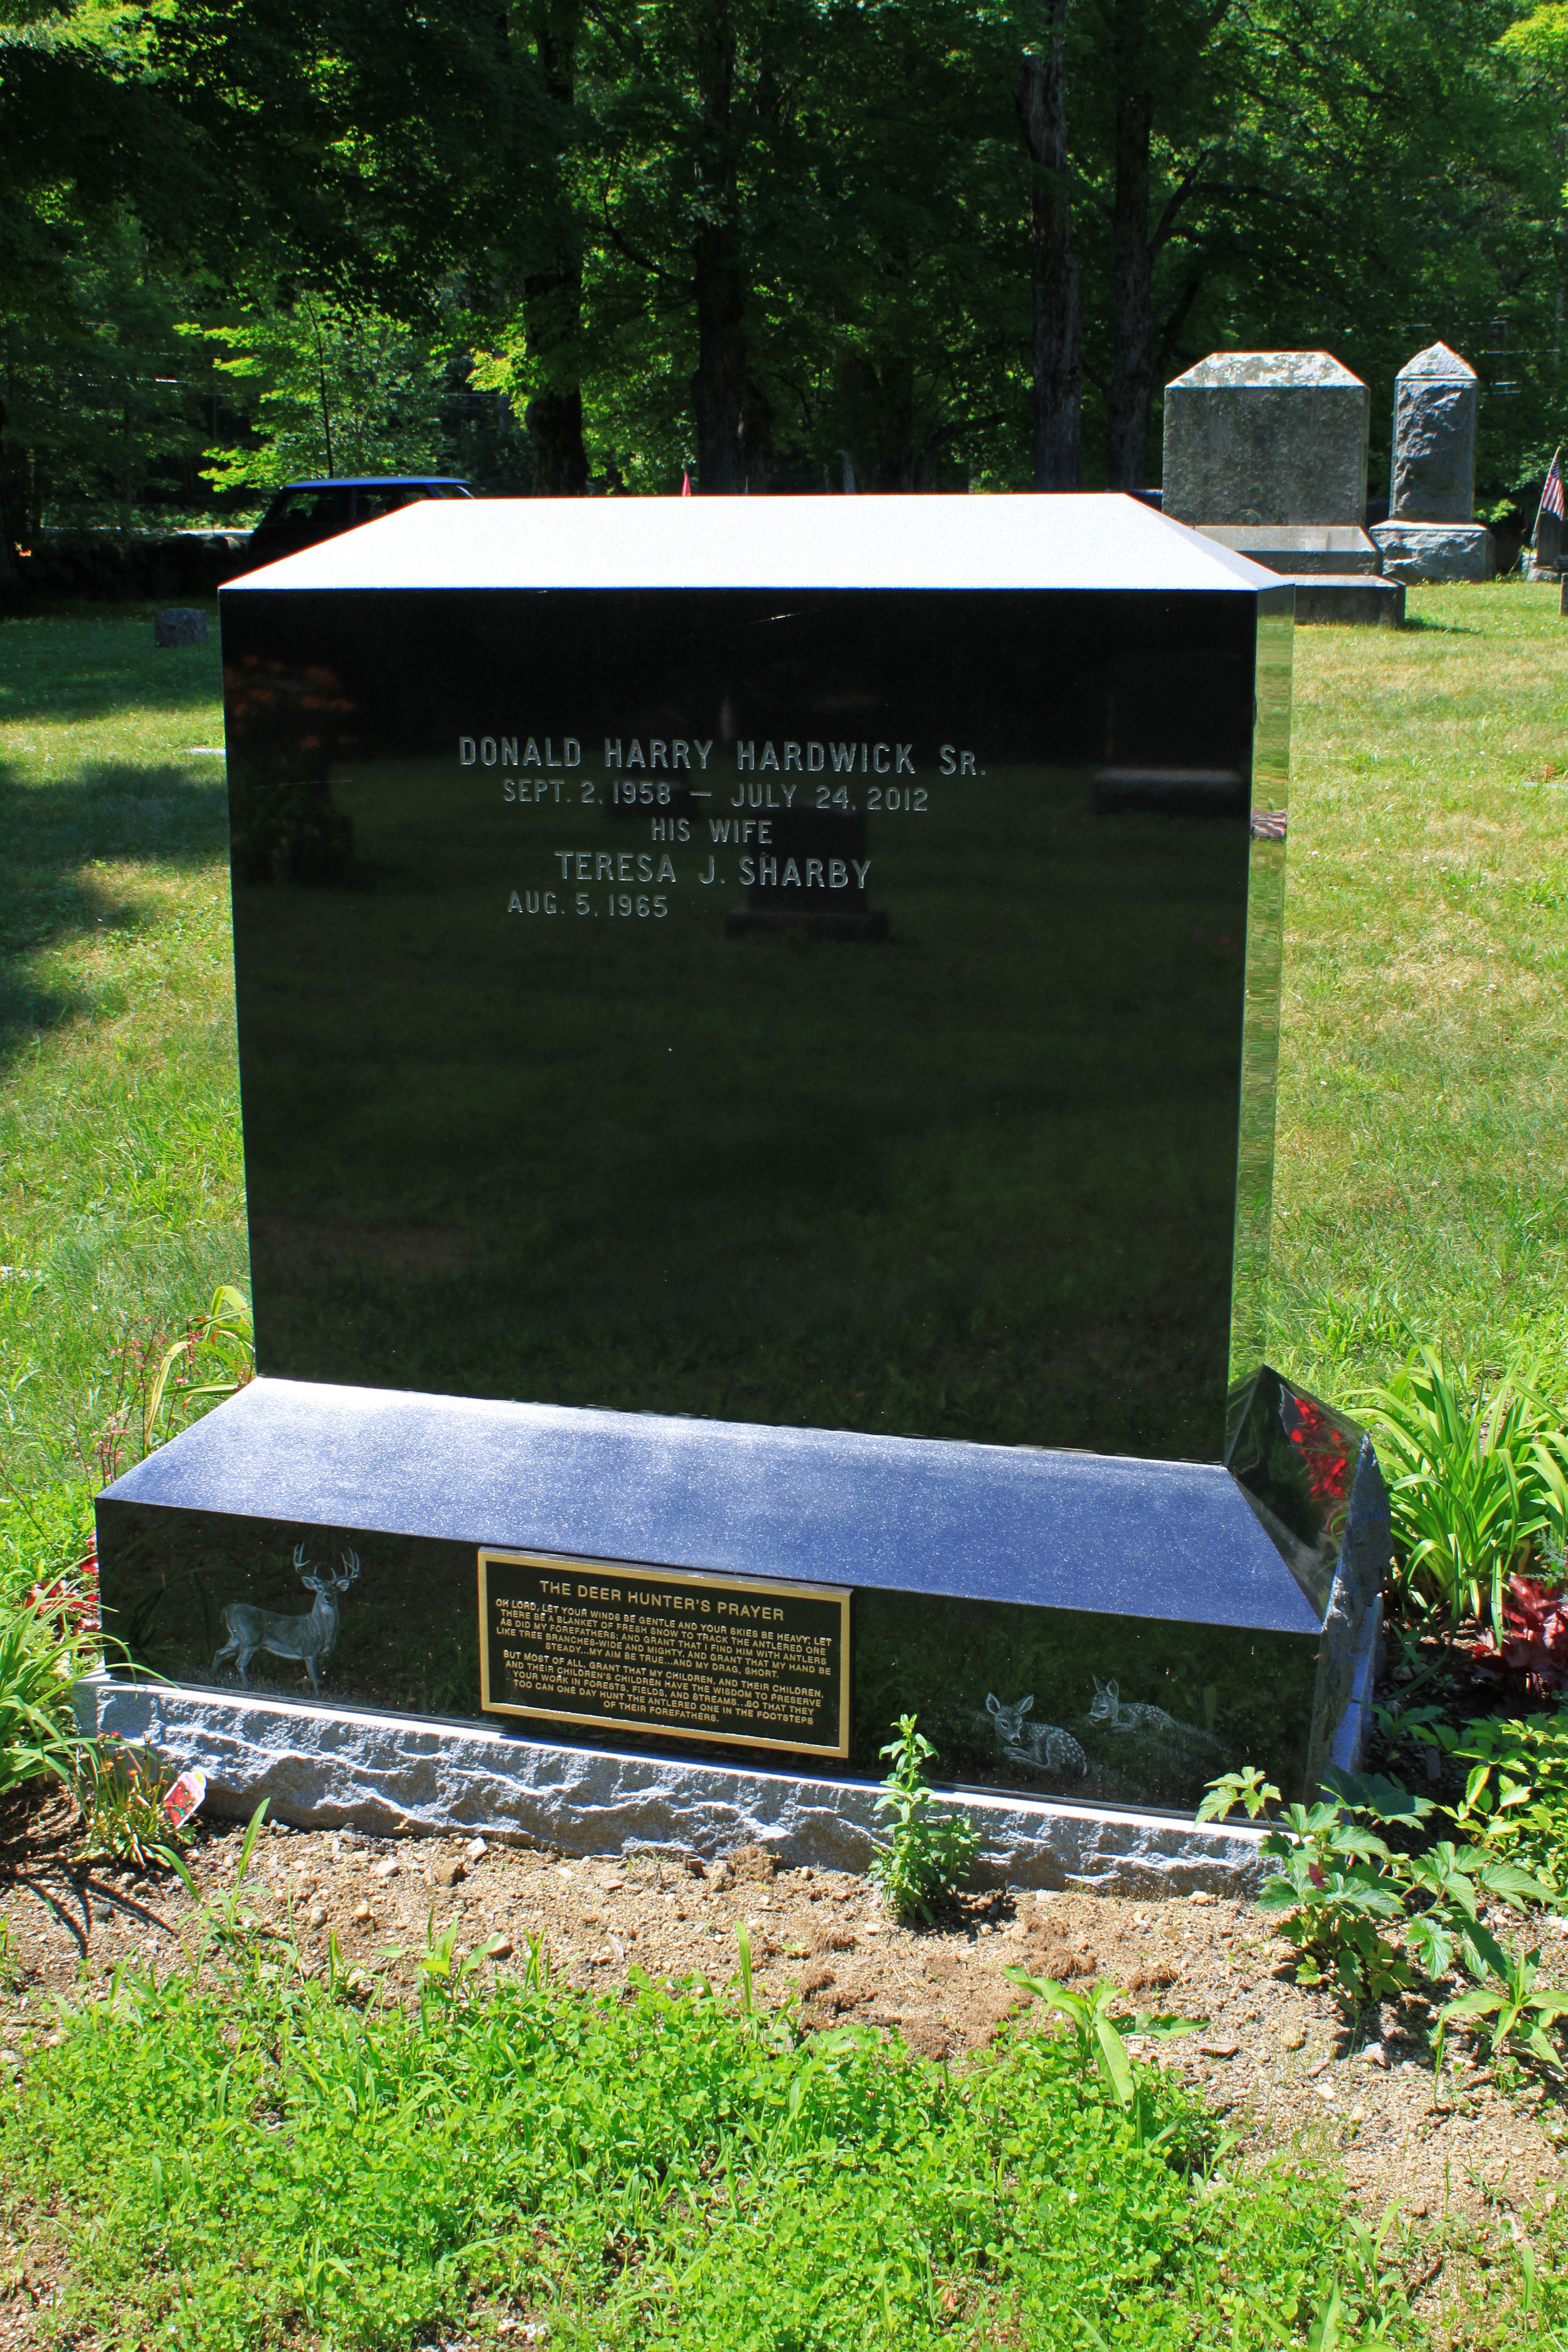
This beautiful existing family monument (shown bottom left) made of India Black Granite took this addition to it's blank rear, (bottom right) a brand new full color hand etching of a man riding his tractor on his farm from a family photo.
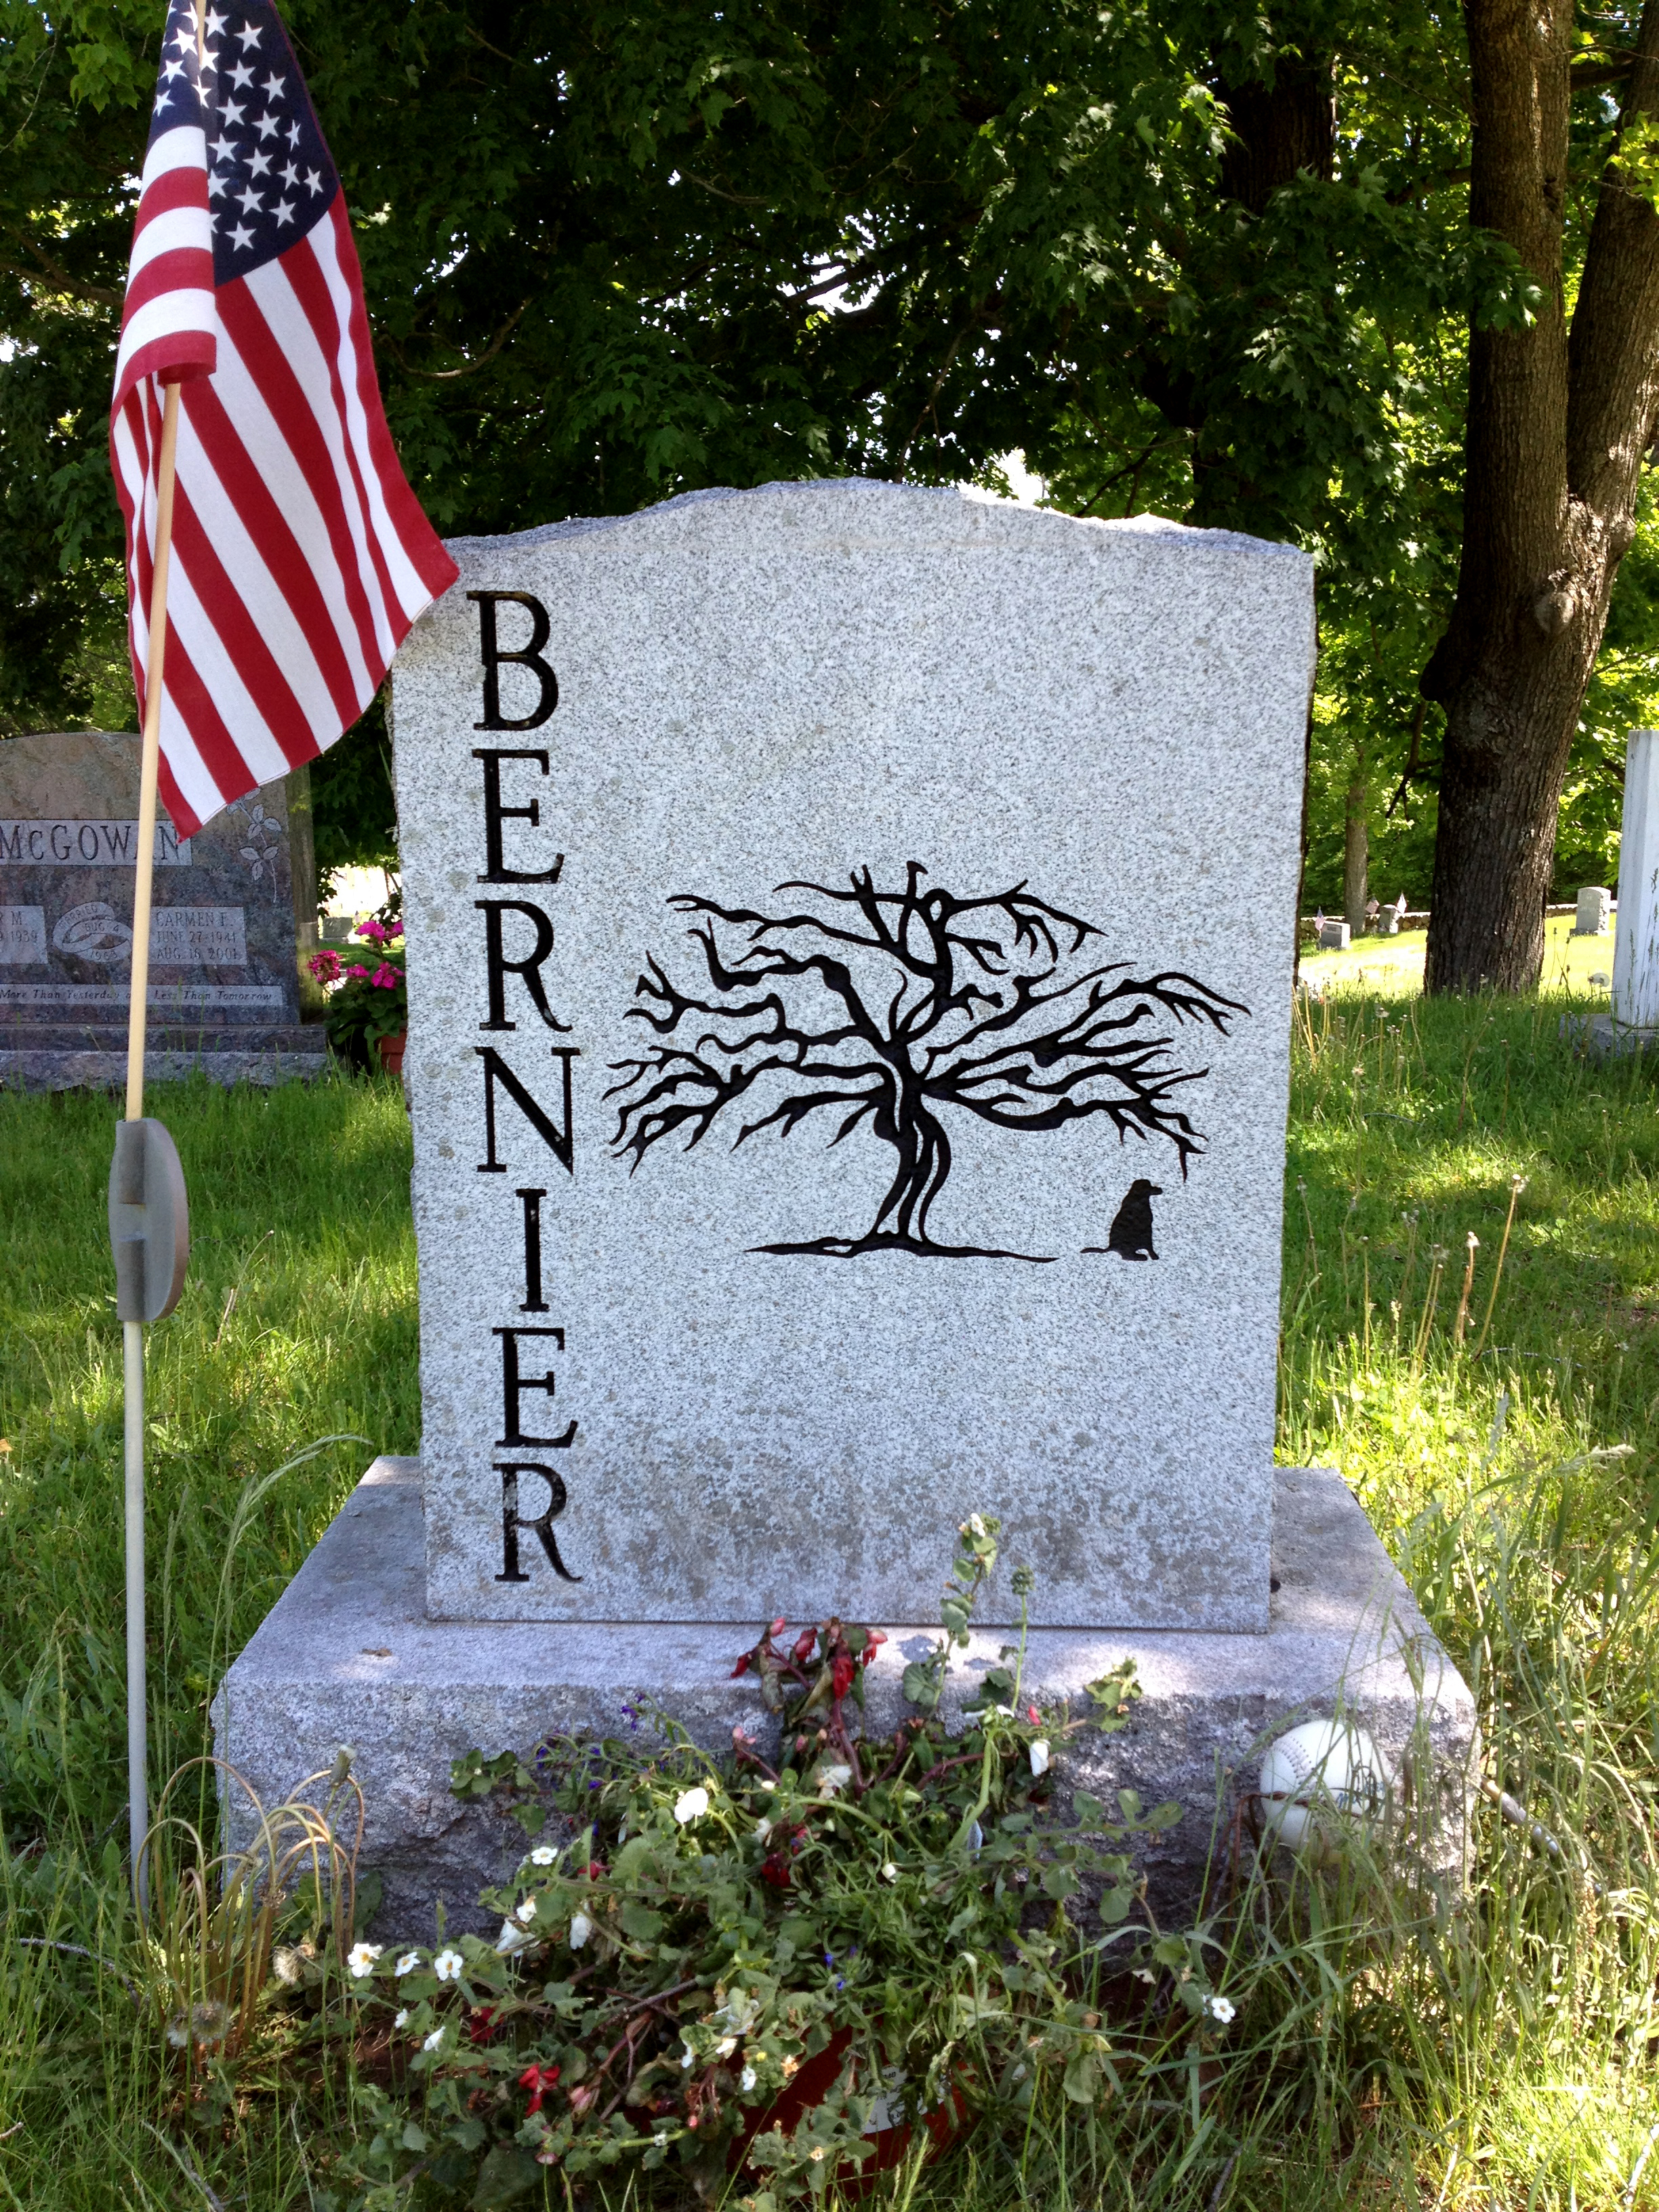
This tree and dog design were a personal image brought to PMGW to be added to the family memorial nearly 20 years after the monument had originally been installed.
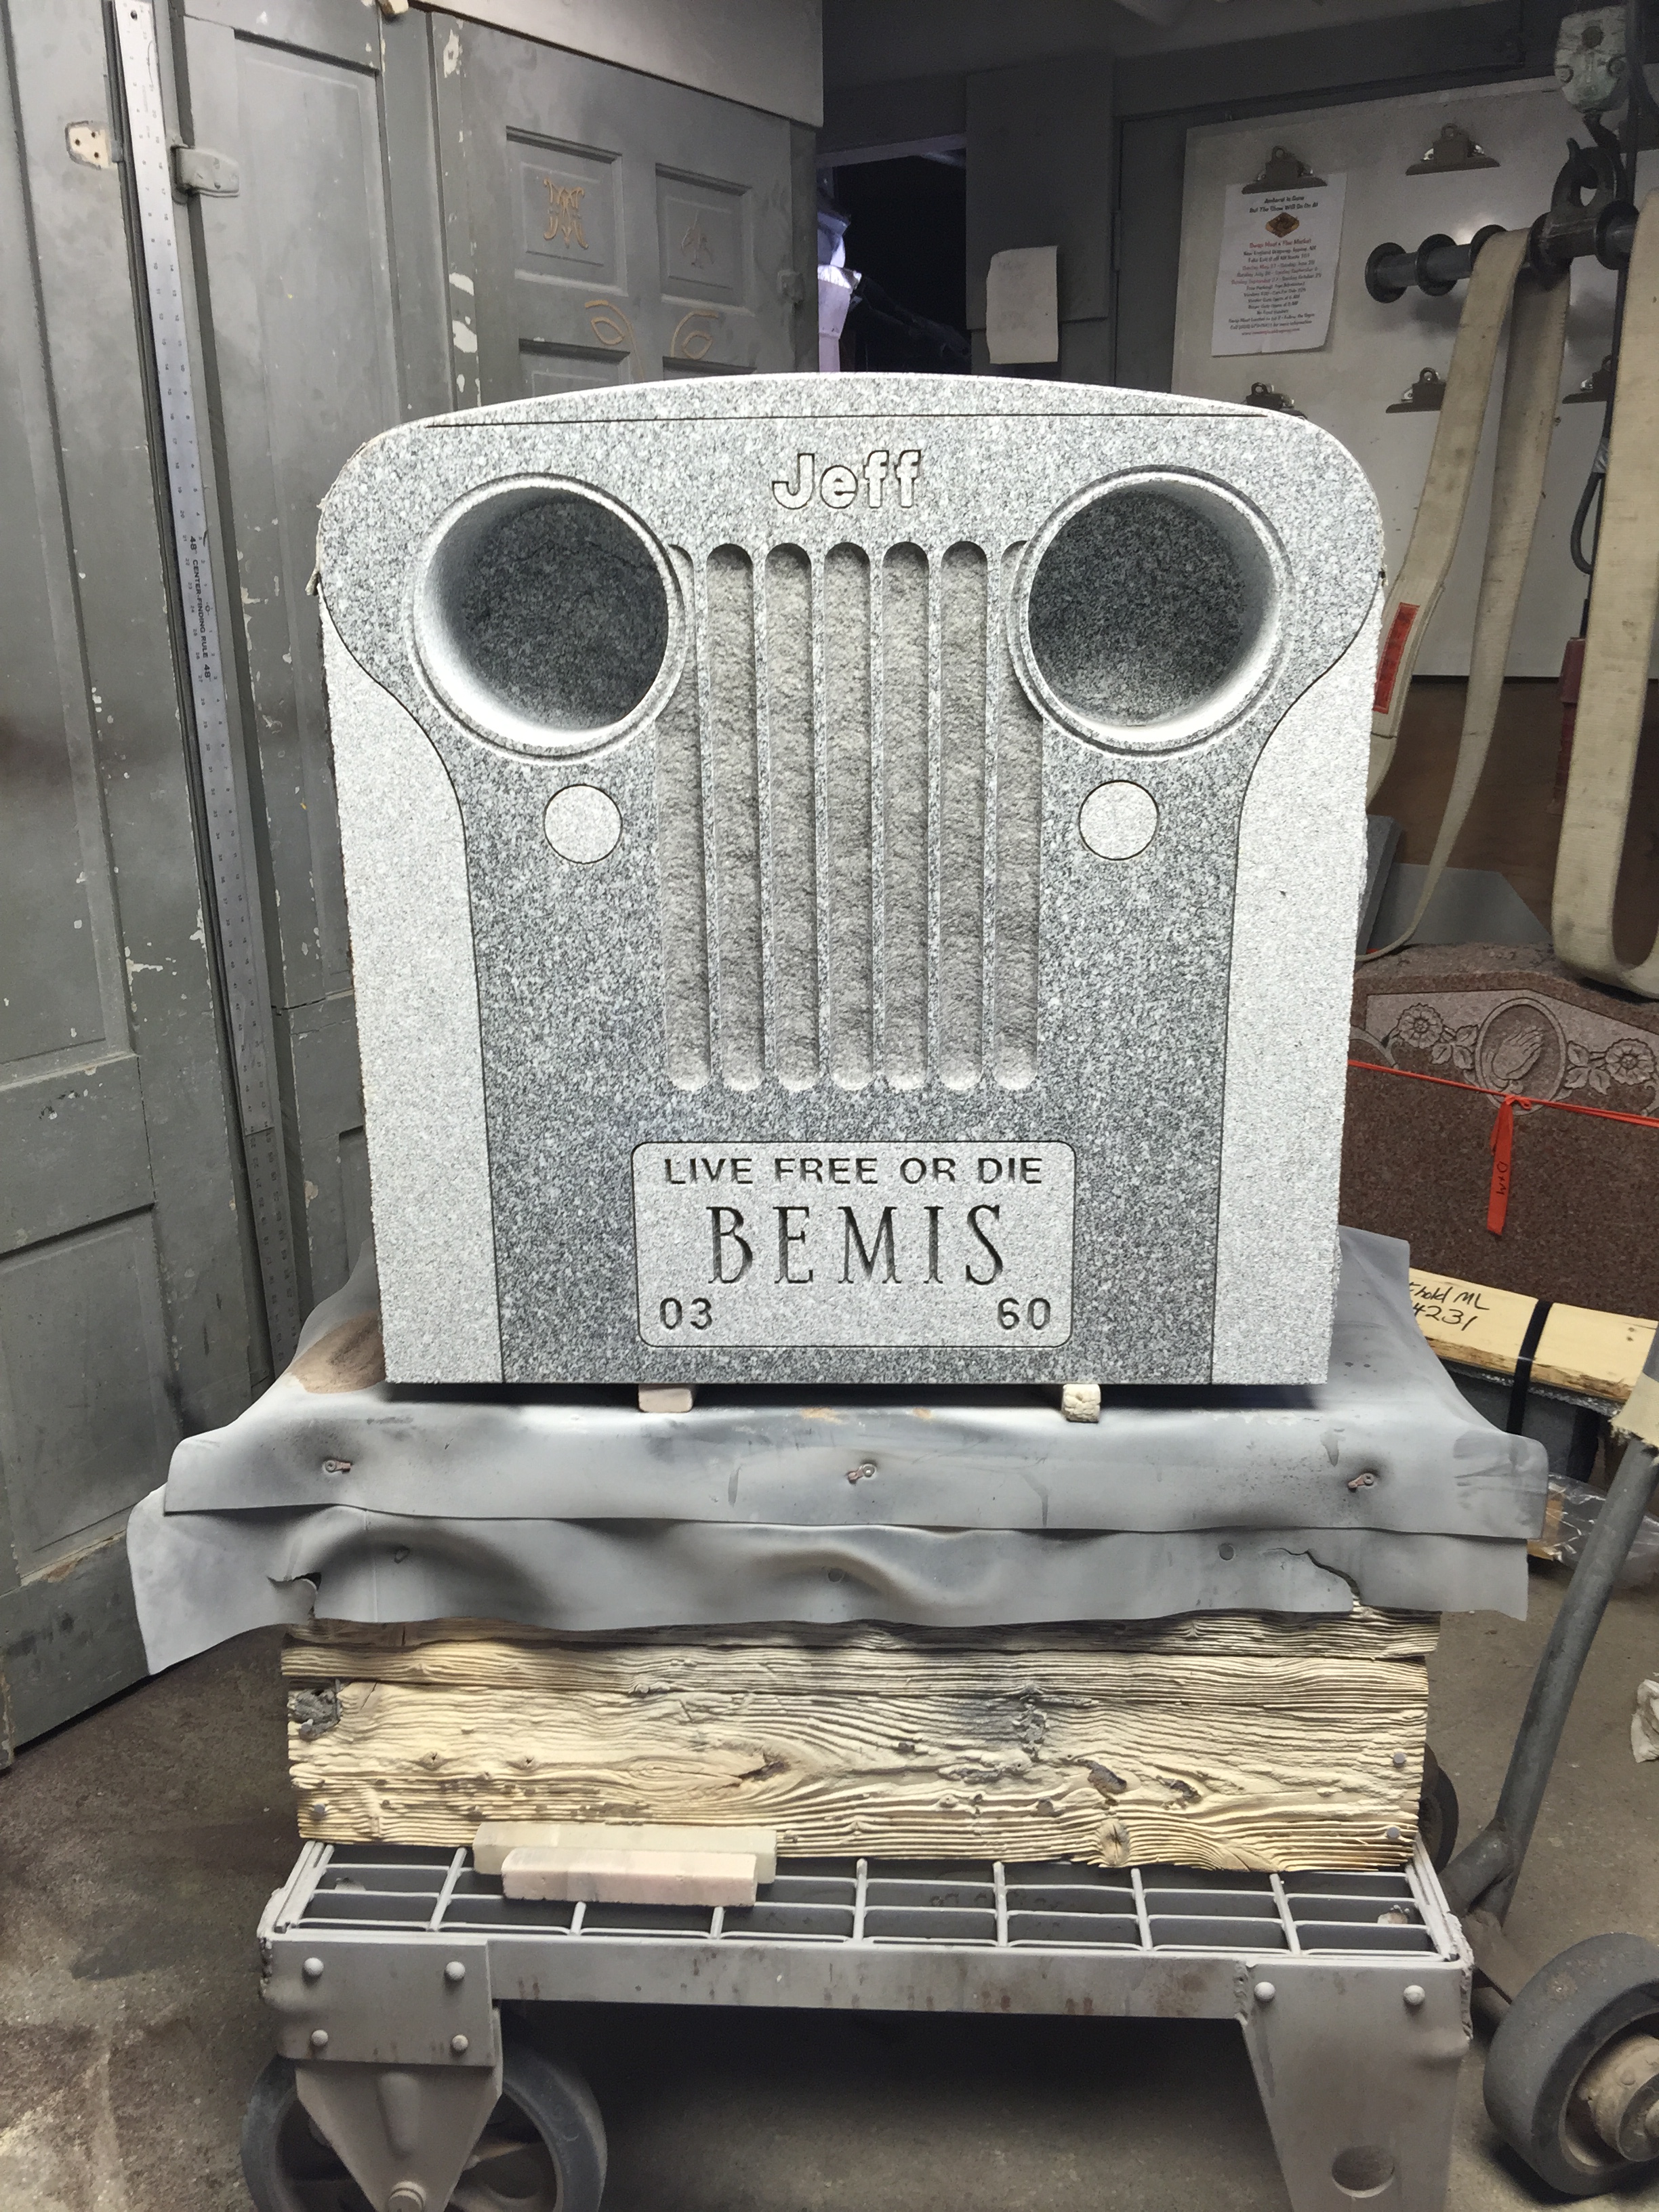
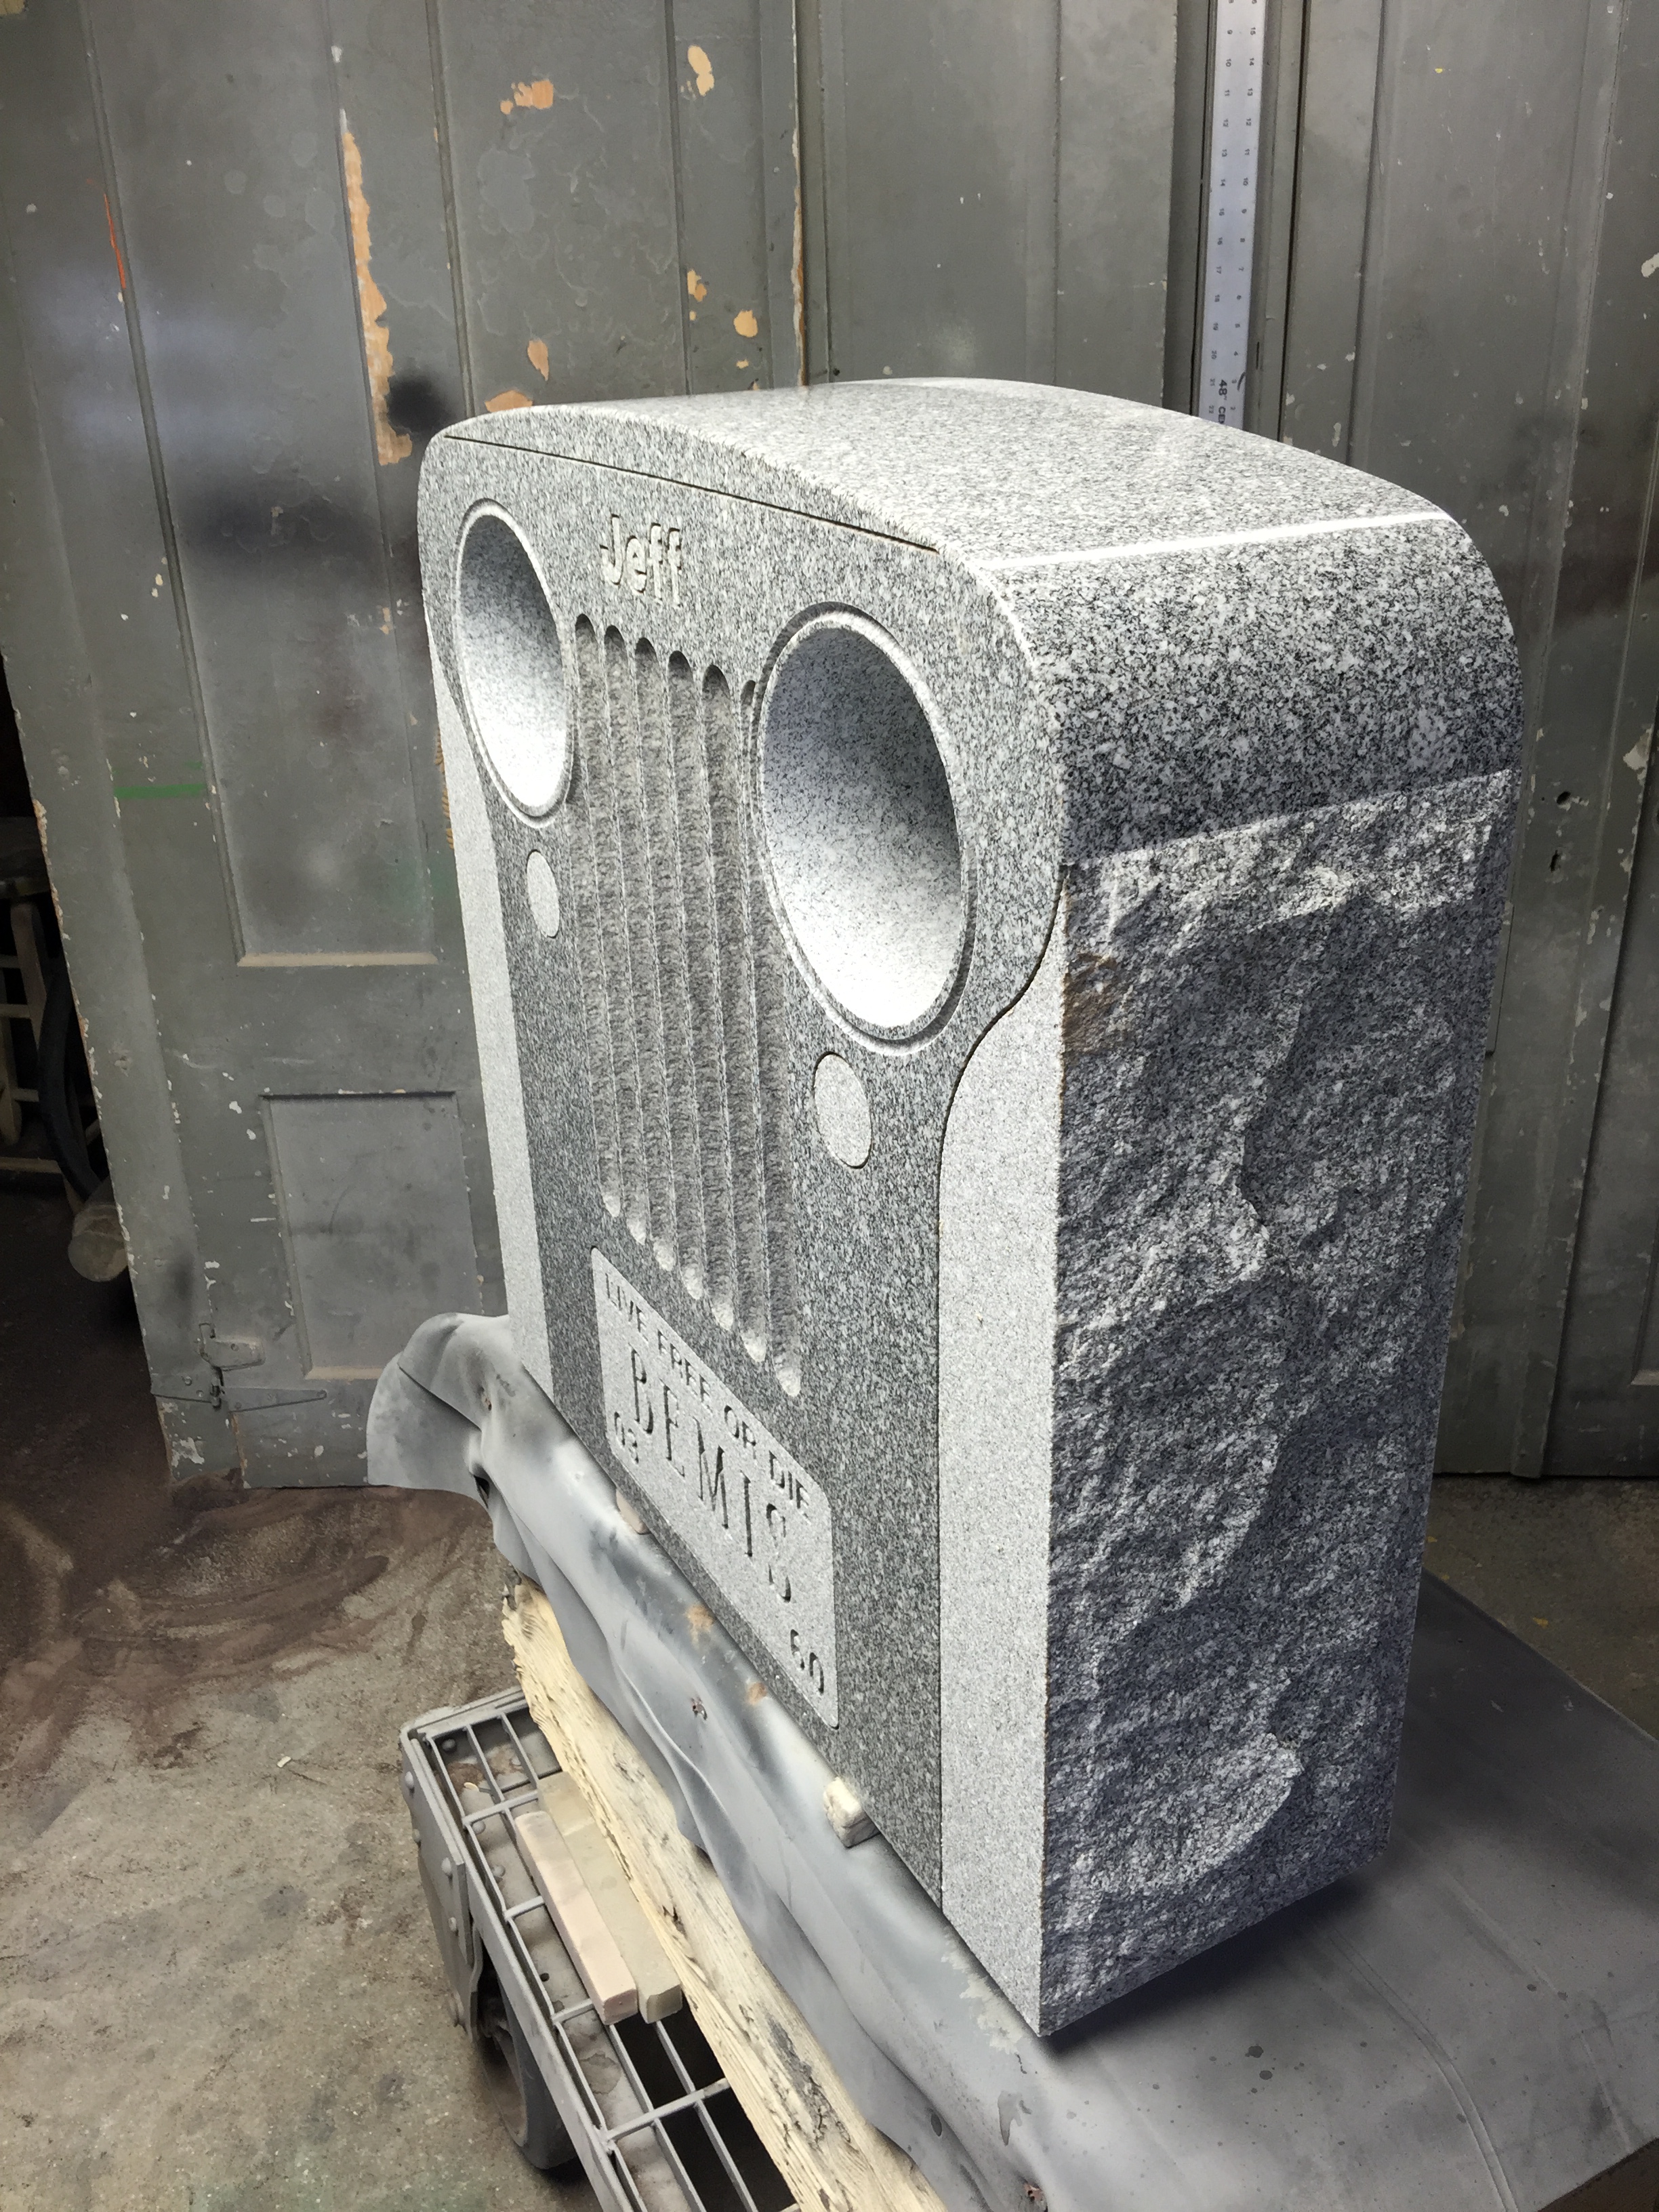
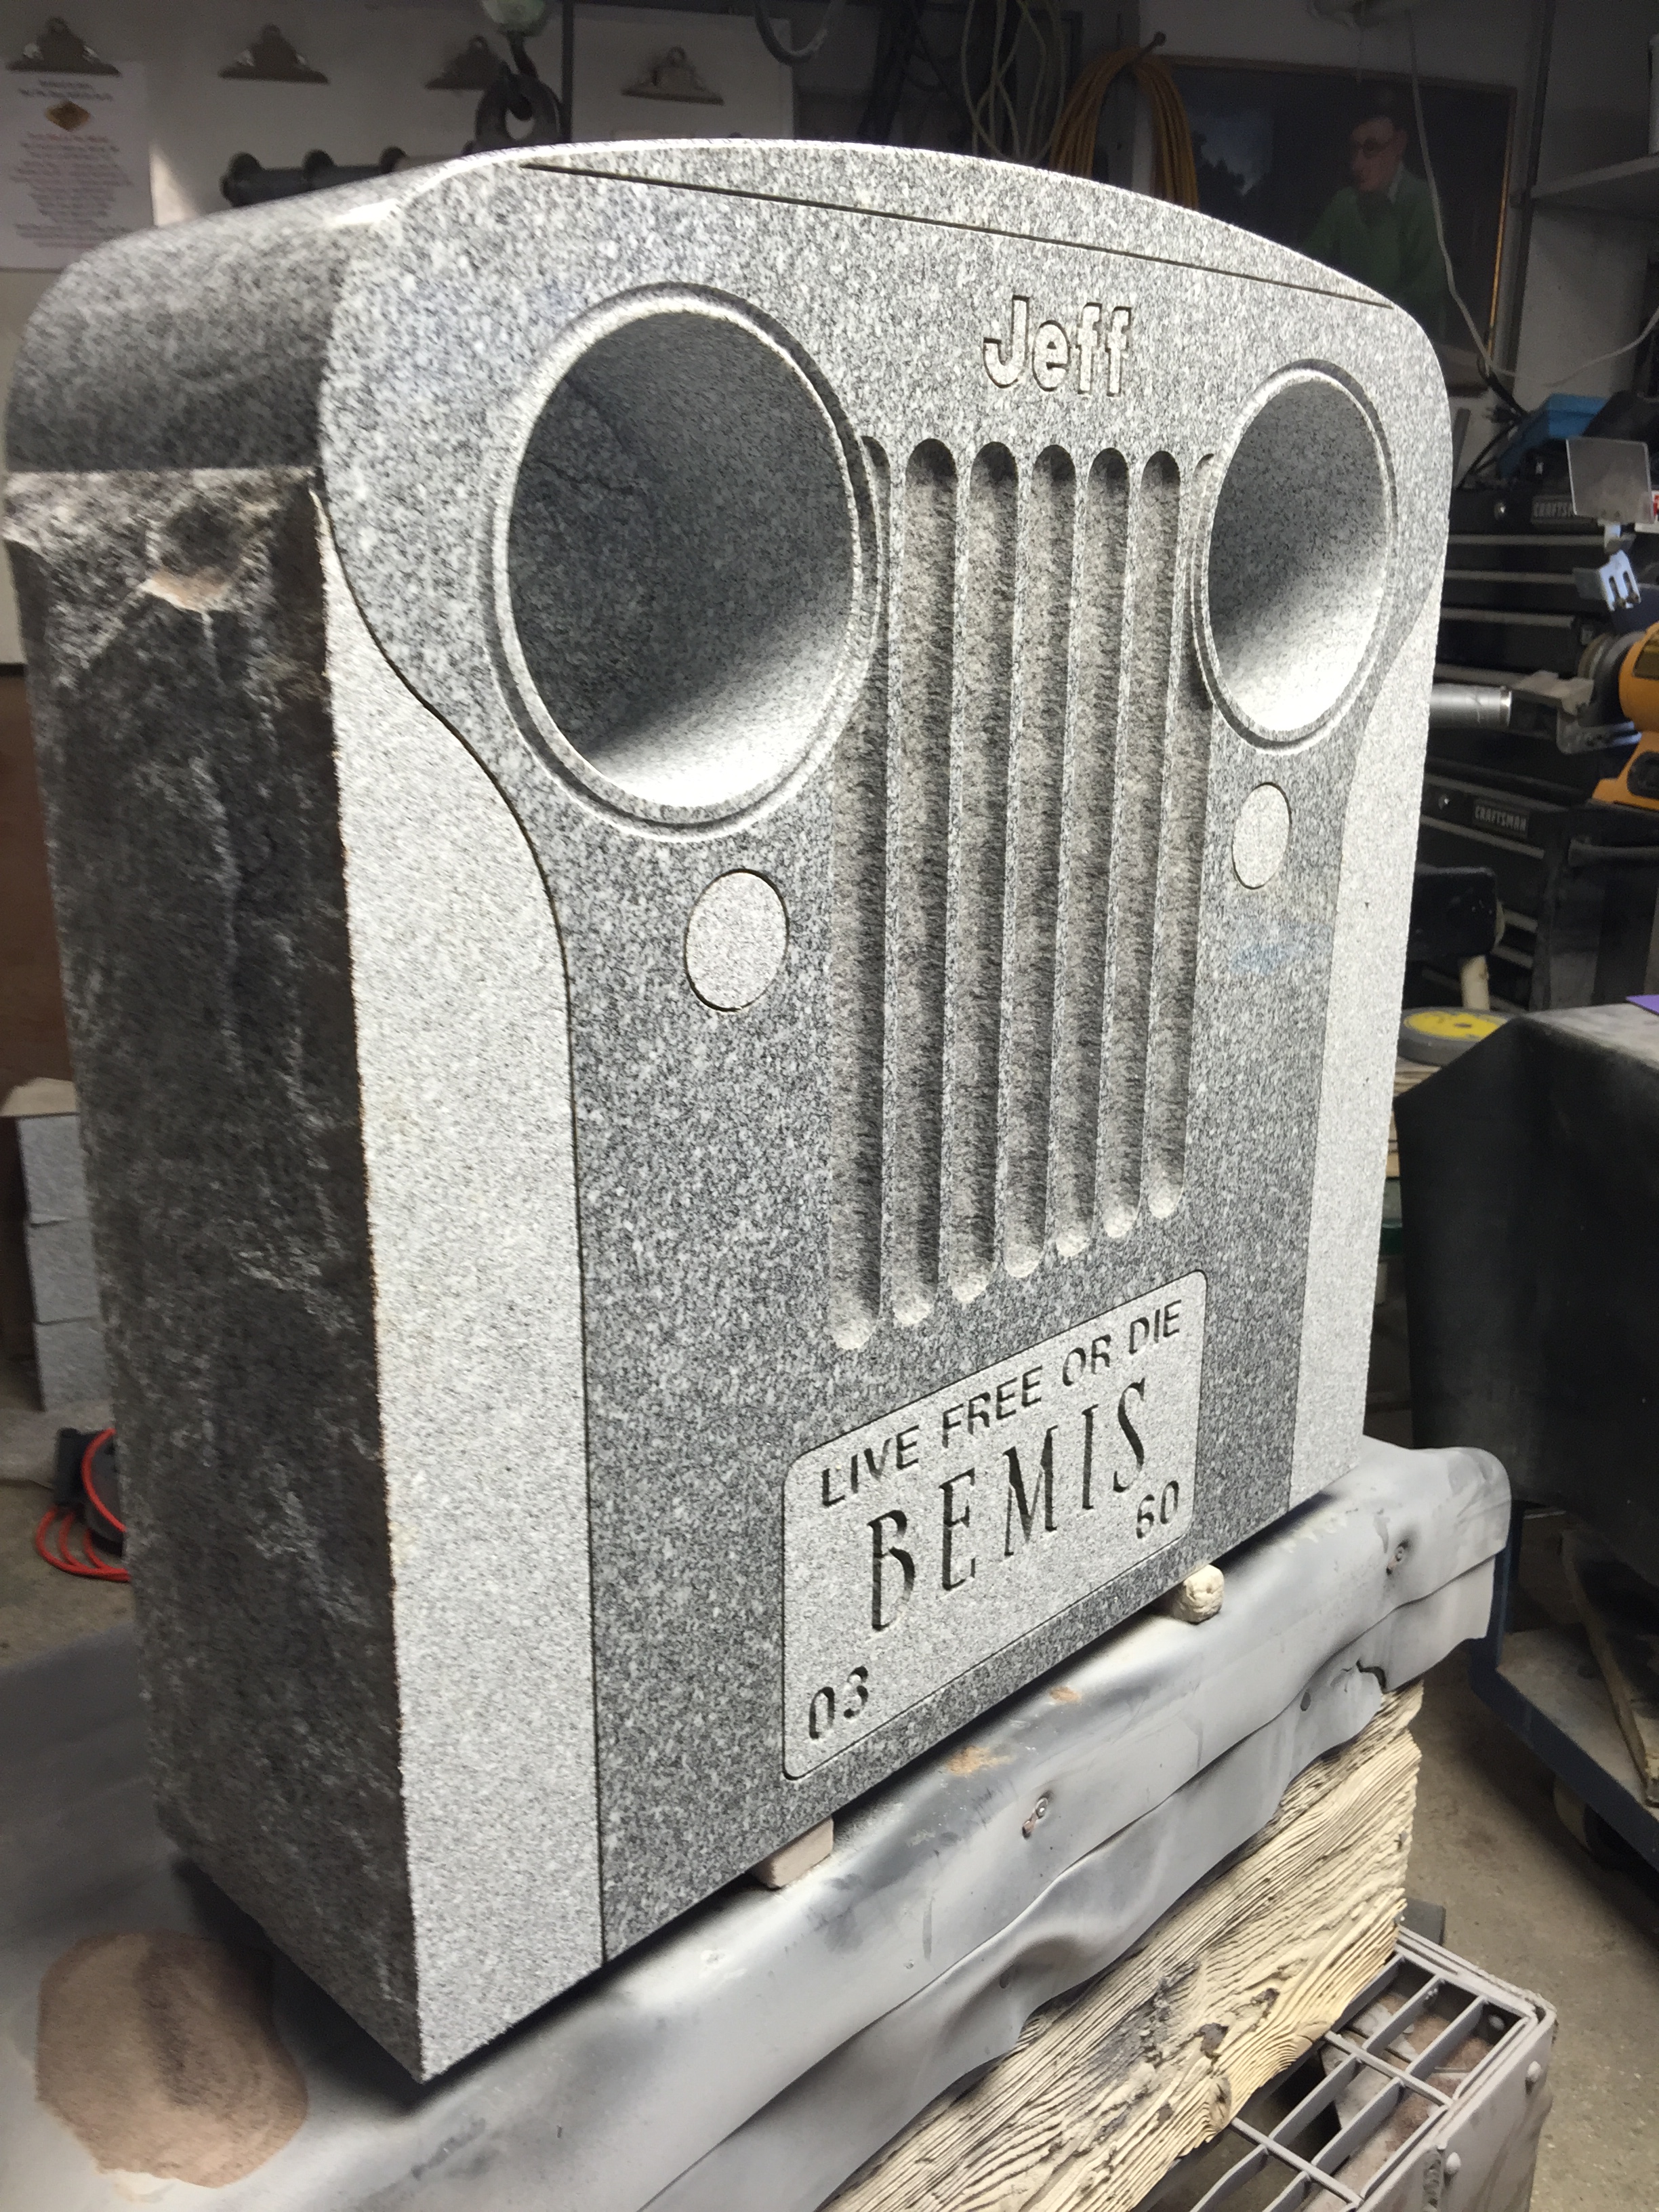
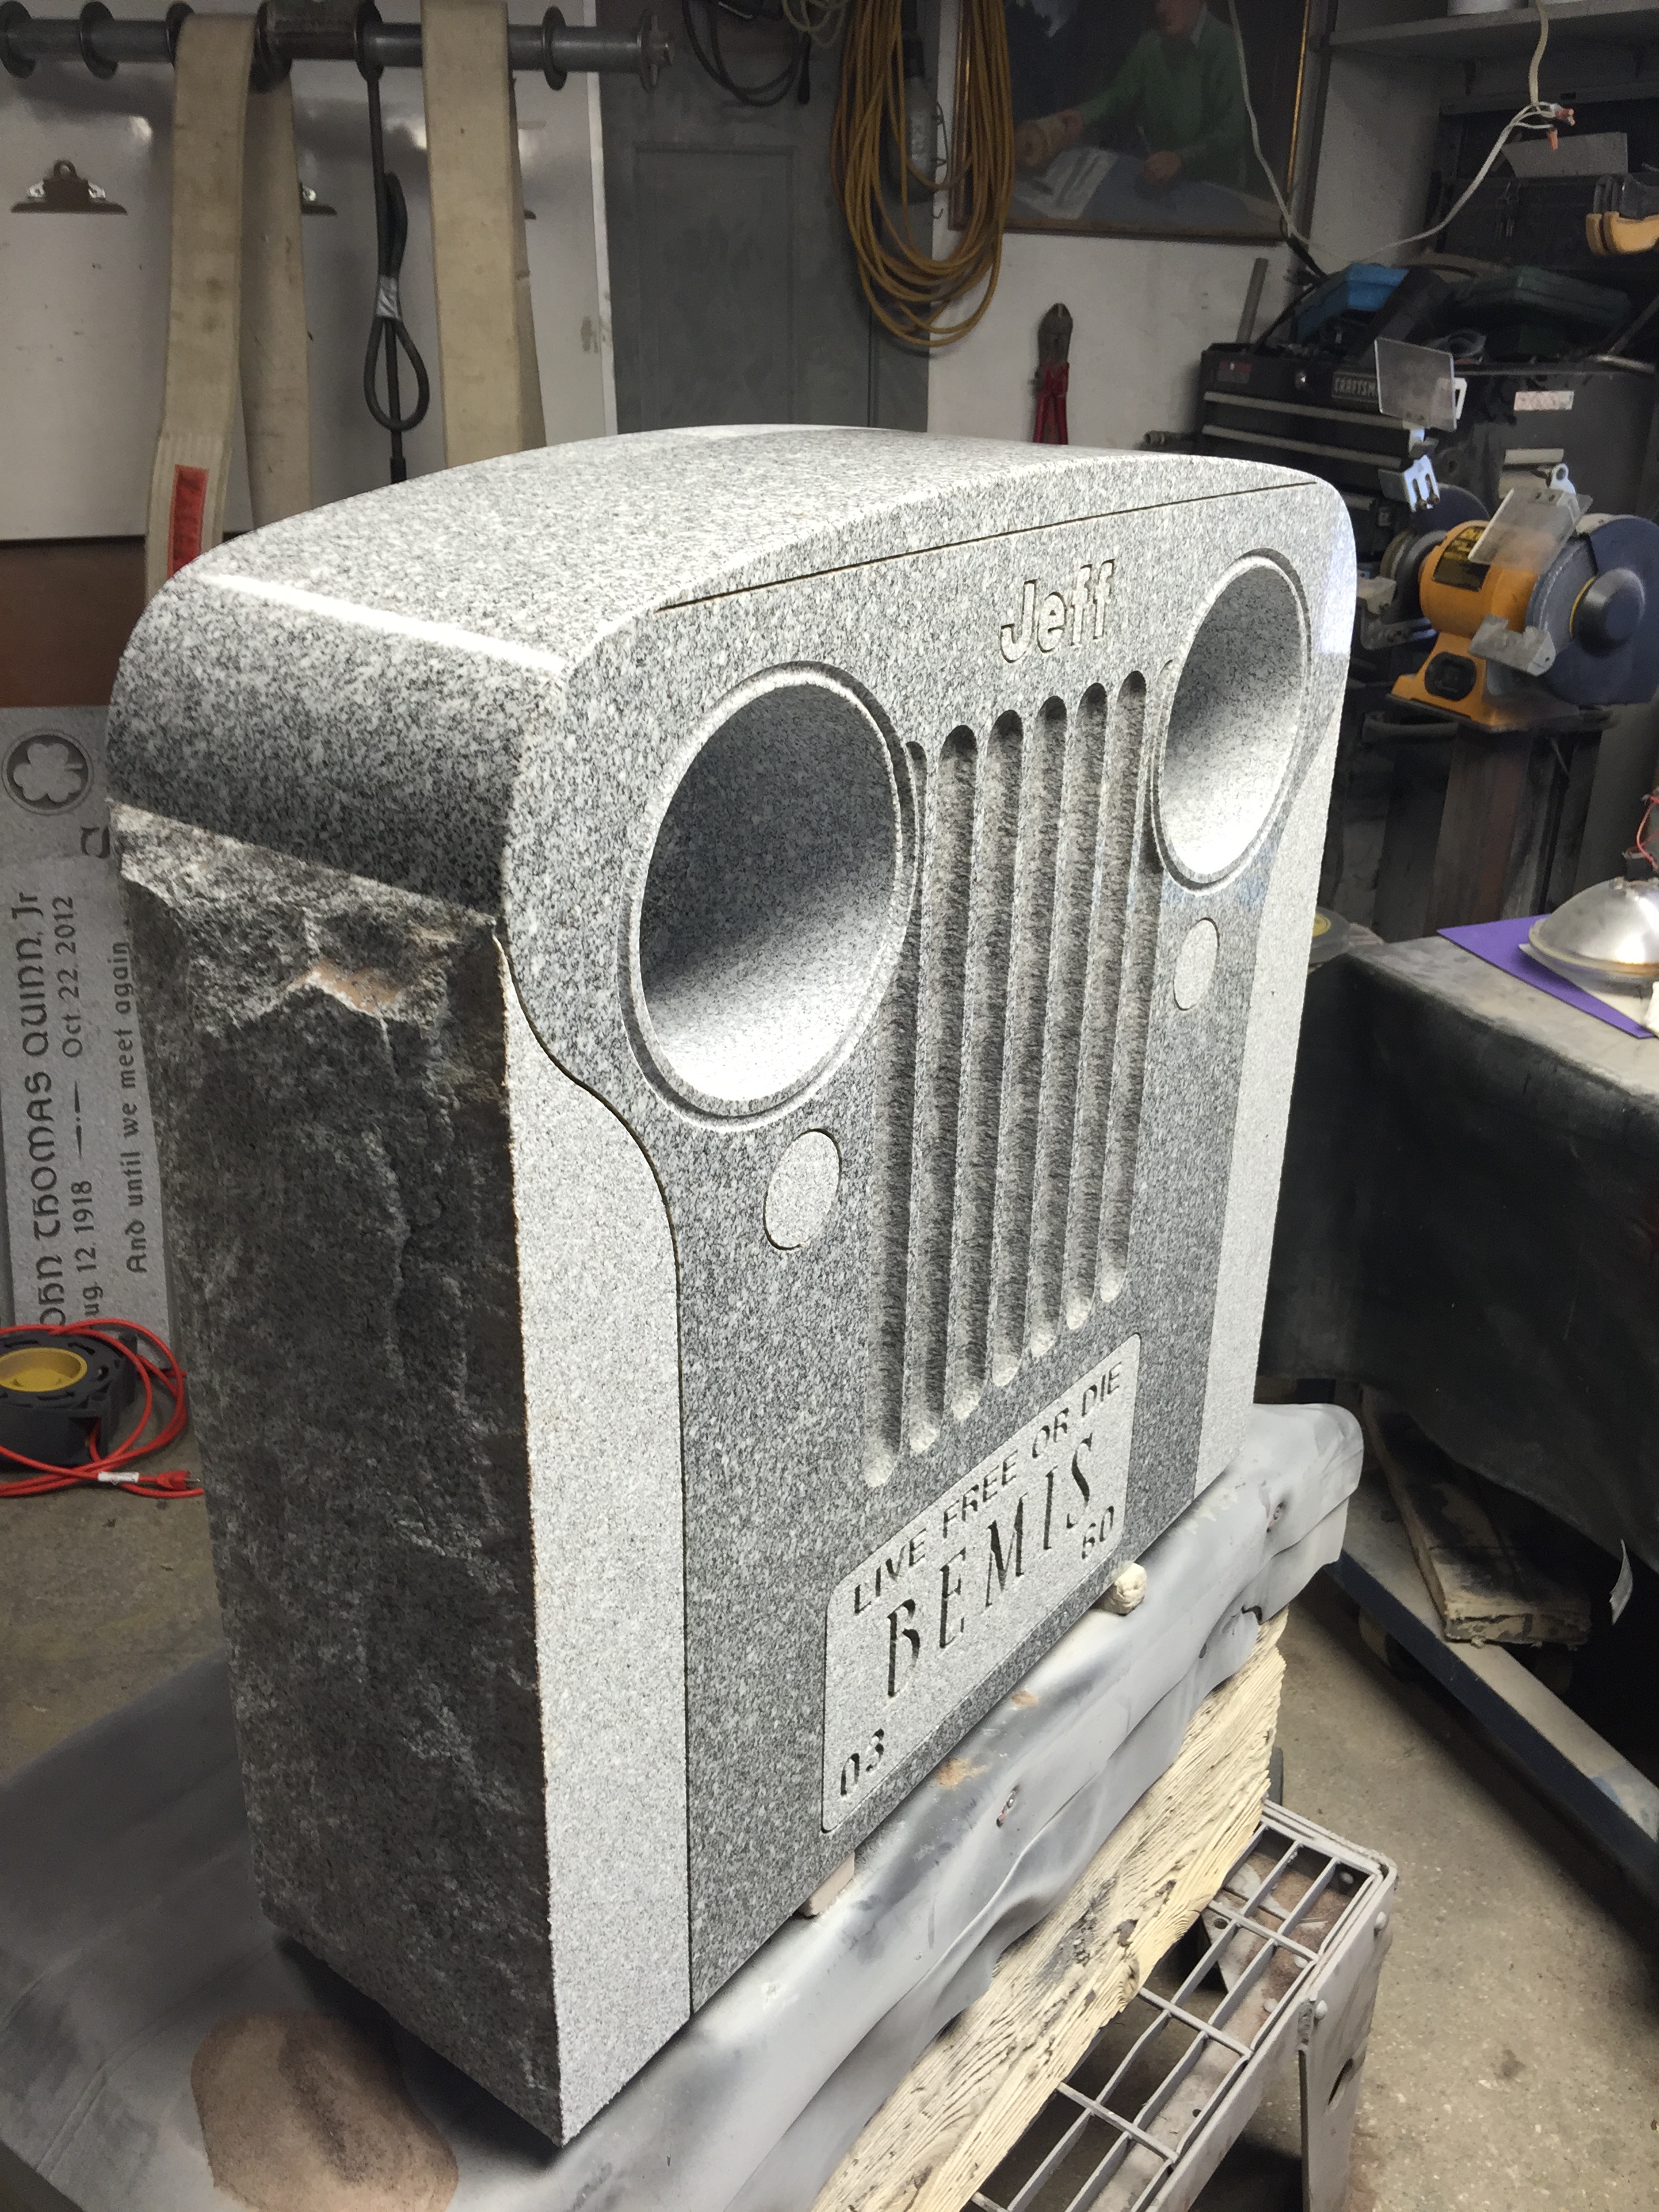
Inspiration for the design '55 Willy's Jeep. See the steps in creating this memorial in the next slides.
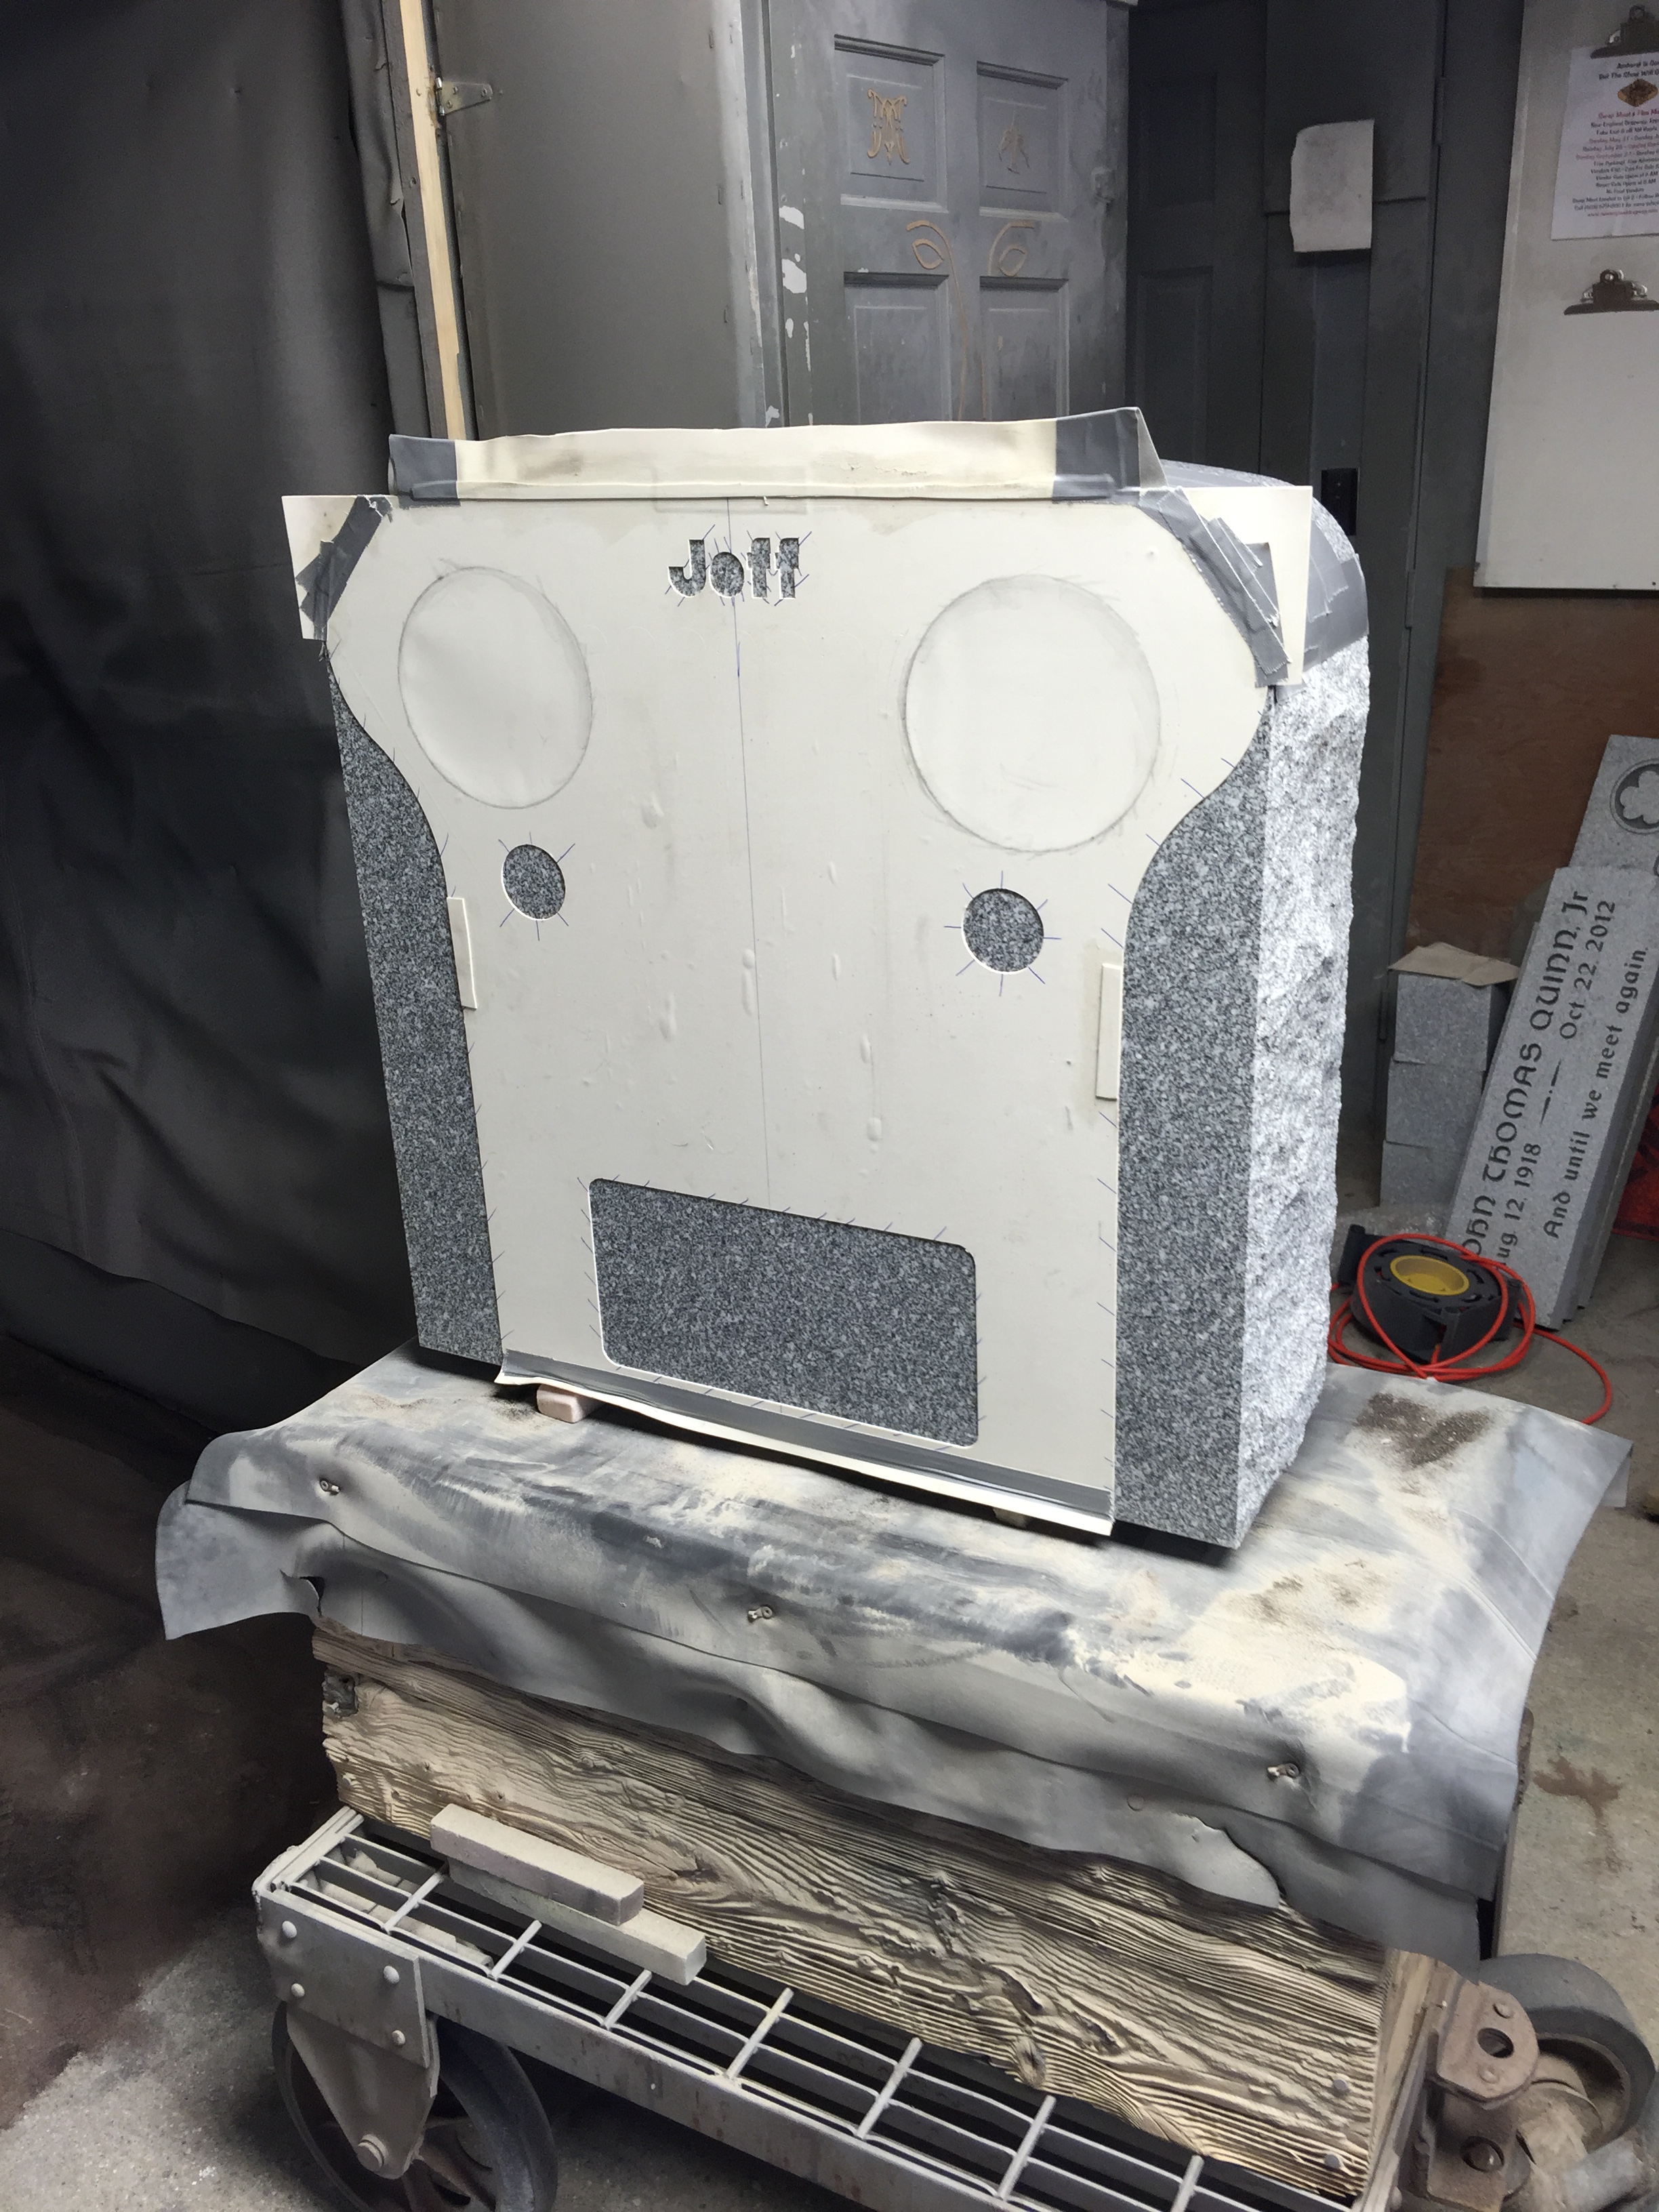
To the blank front of the stone the stencil is laid out and stuck to the stone removing any areas wanted to be made into Panels or Designs.
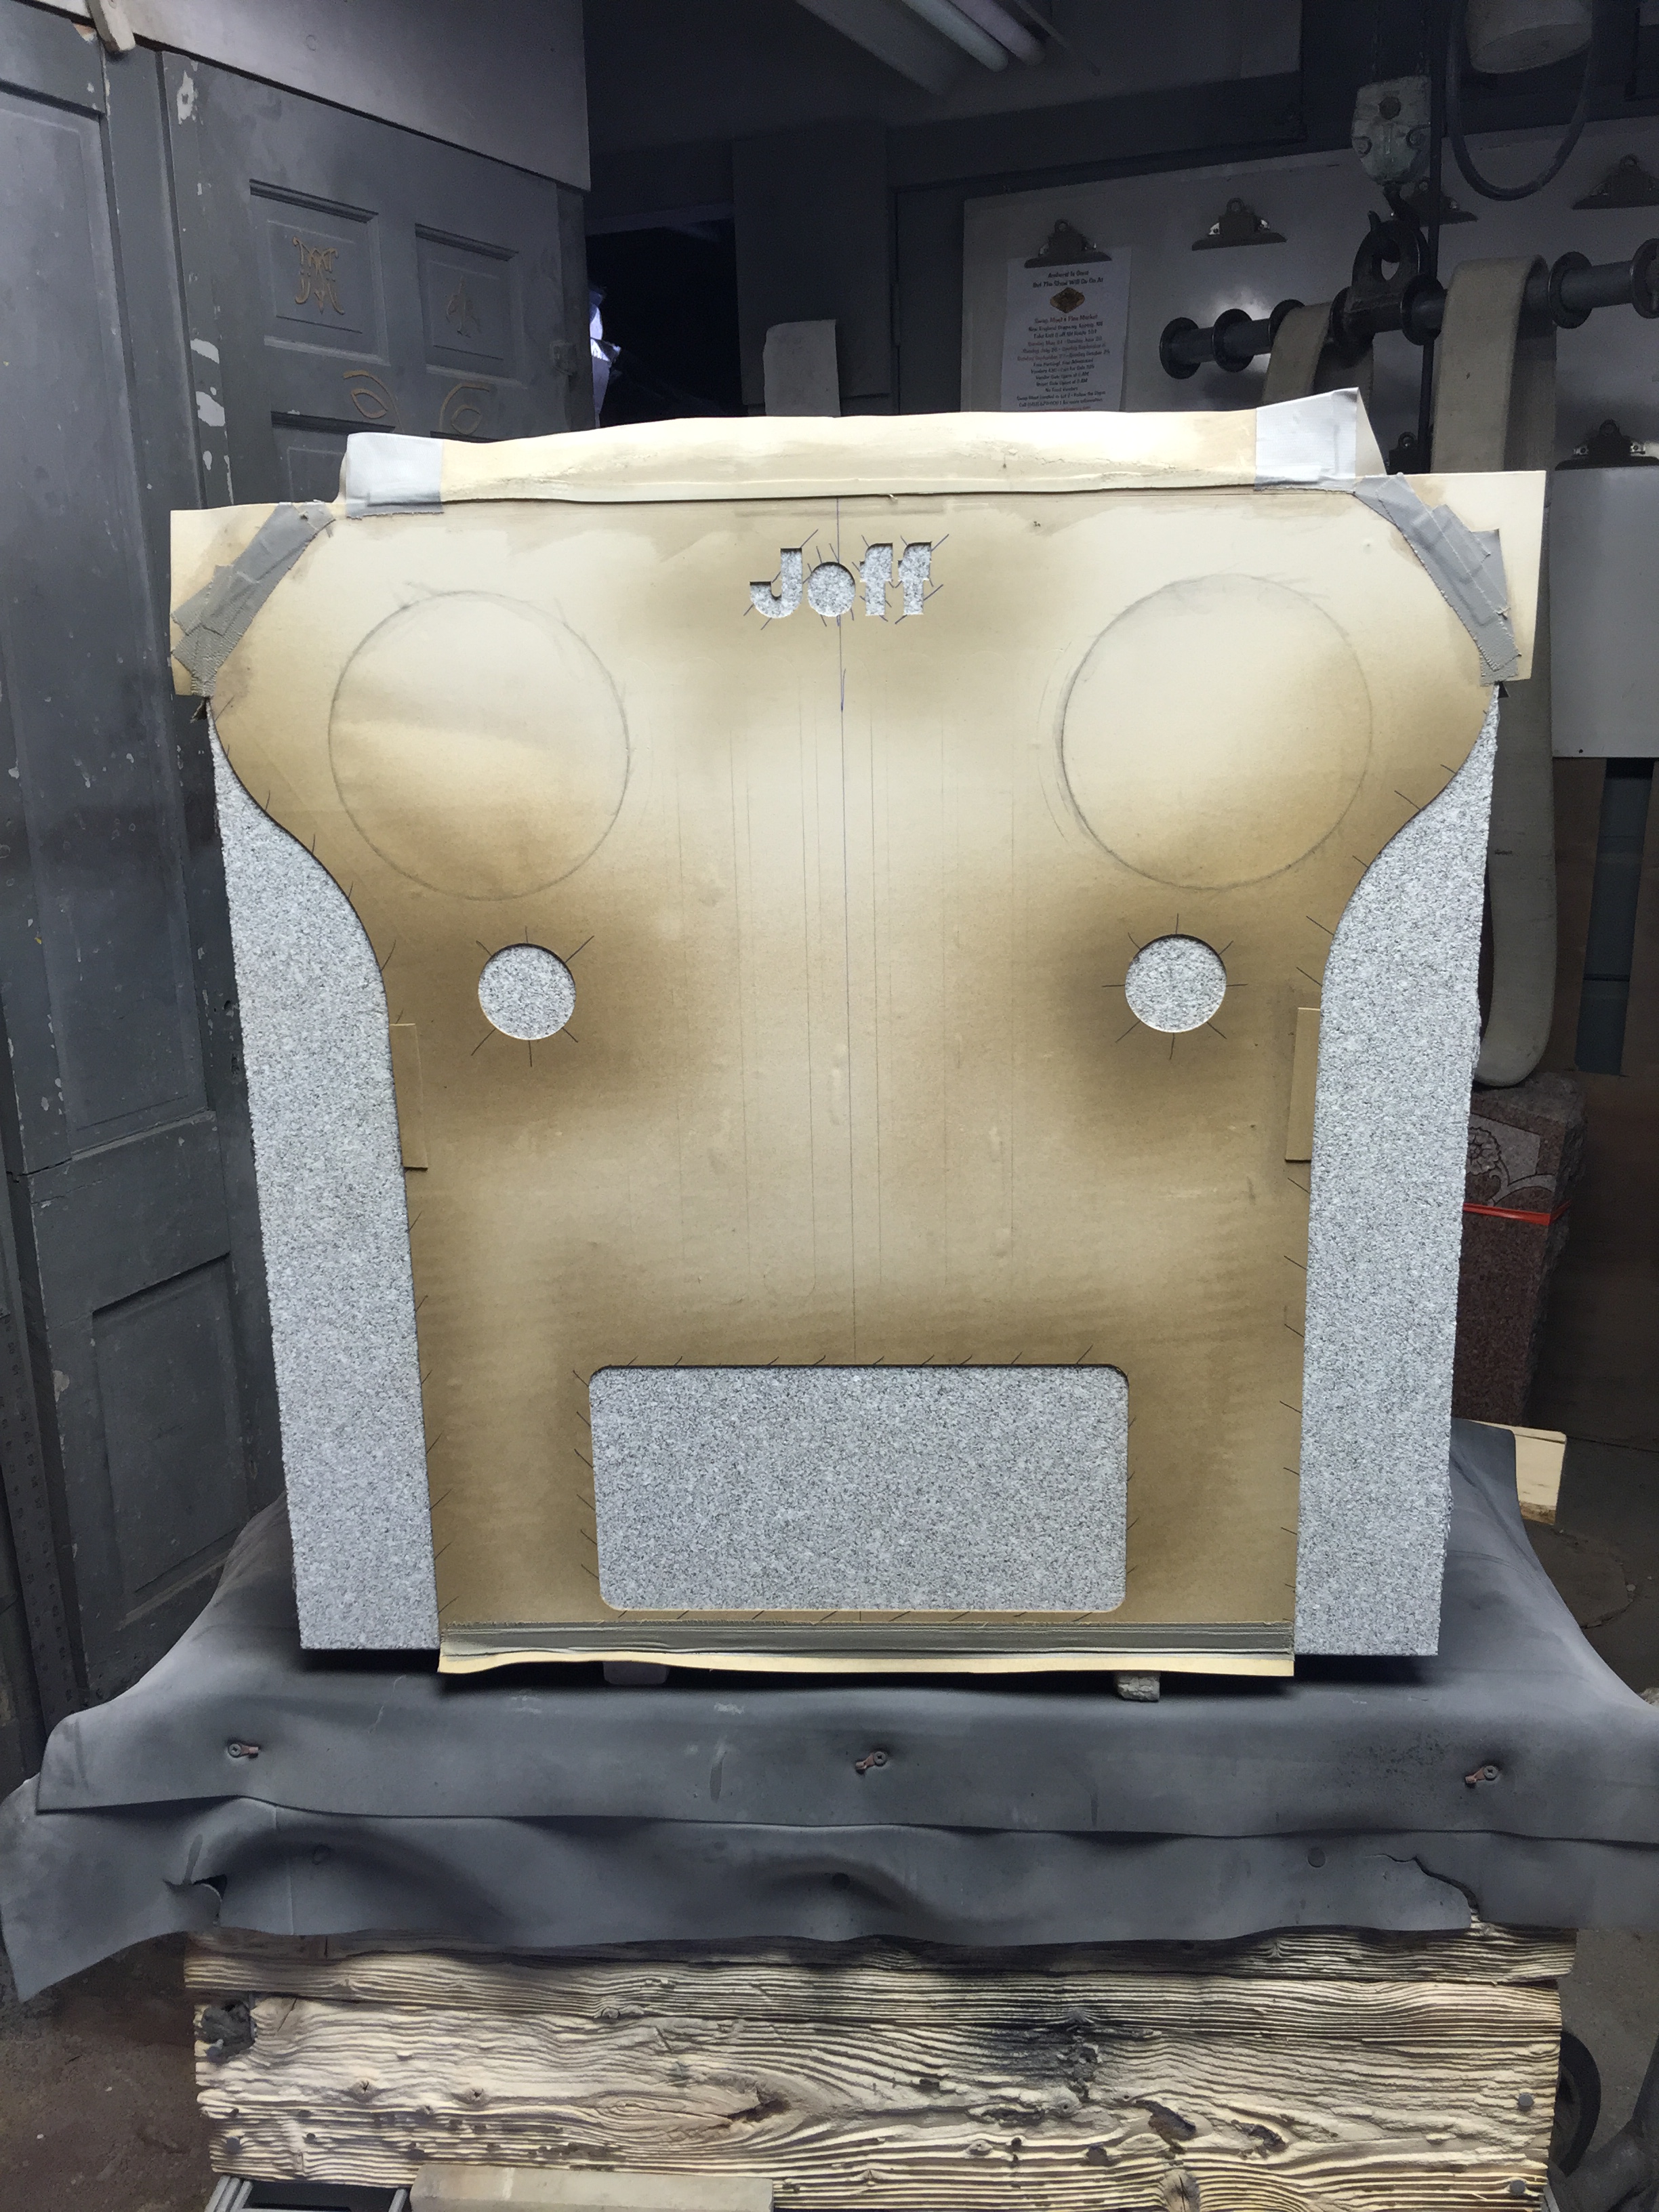
With the Panels and Design areas created glue is applied to these areas so the stencil can be stuck back to the stone for further engraving.
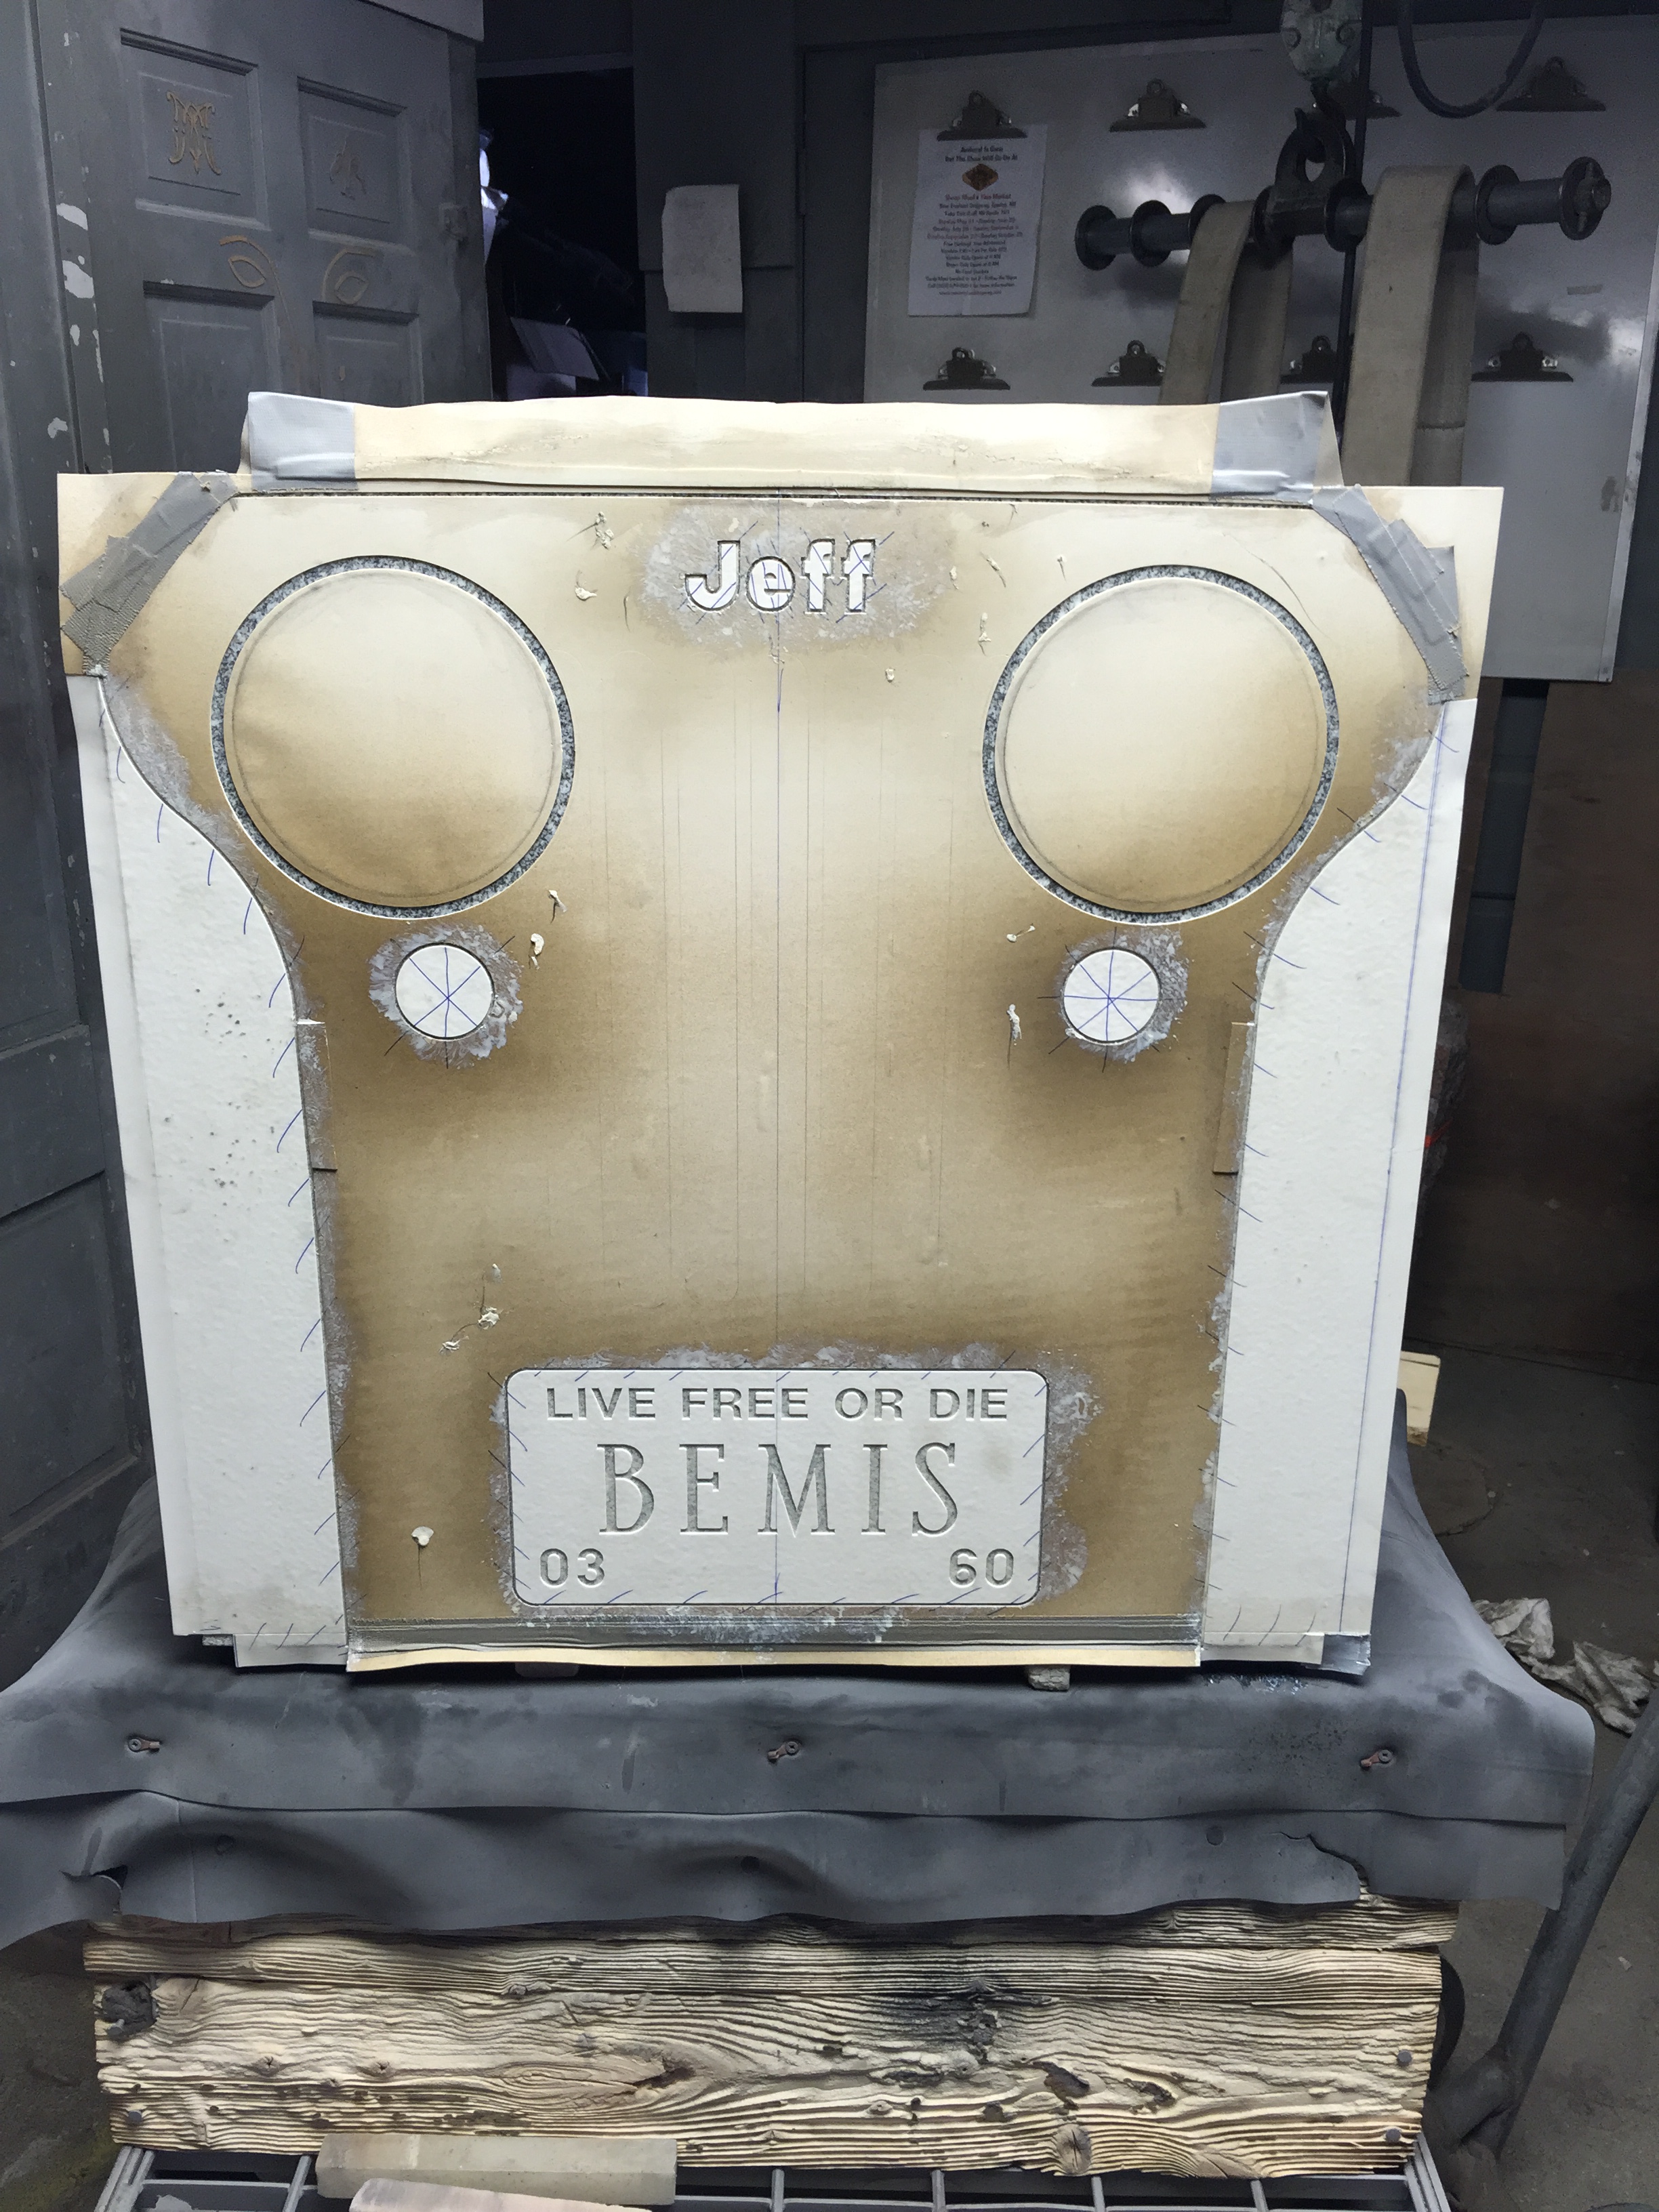
With the stencil back in place the stone is ready to be engraved with the lettering and lines.
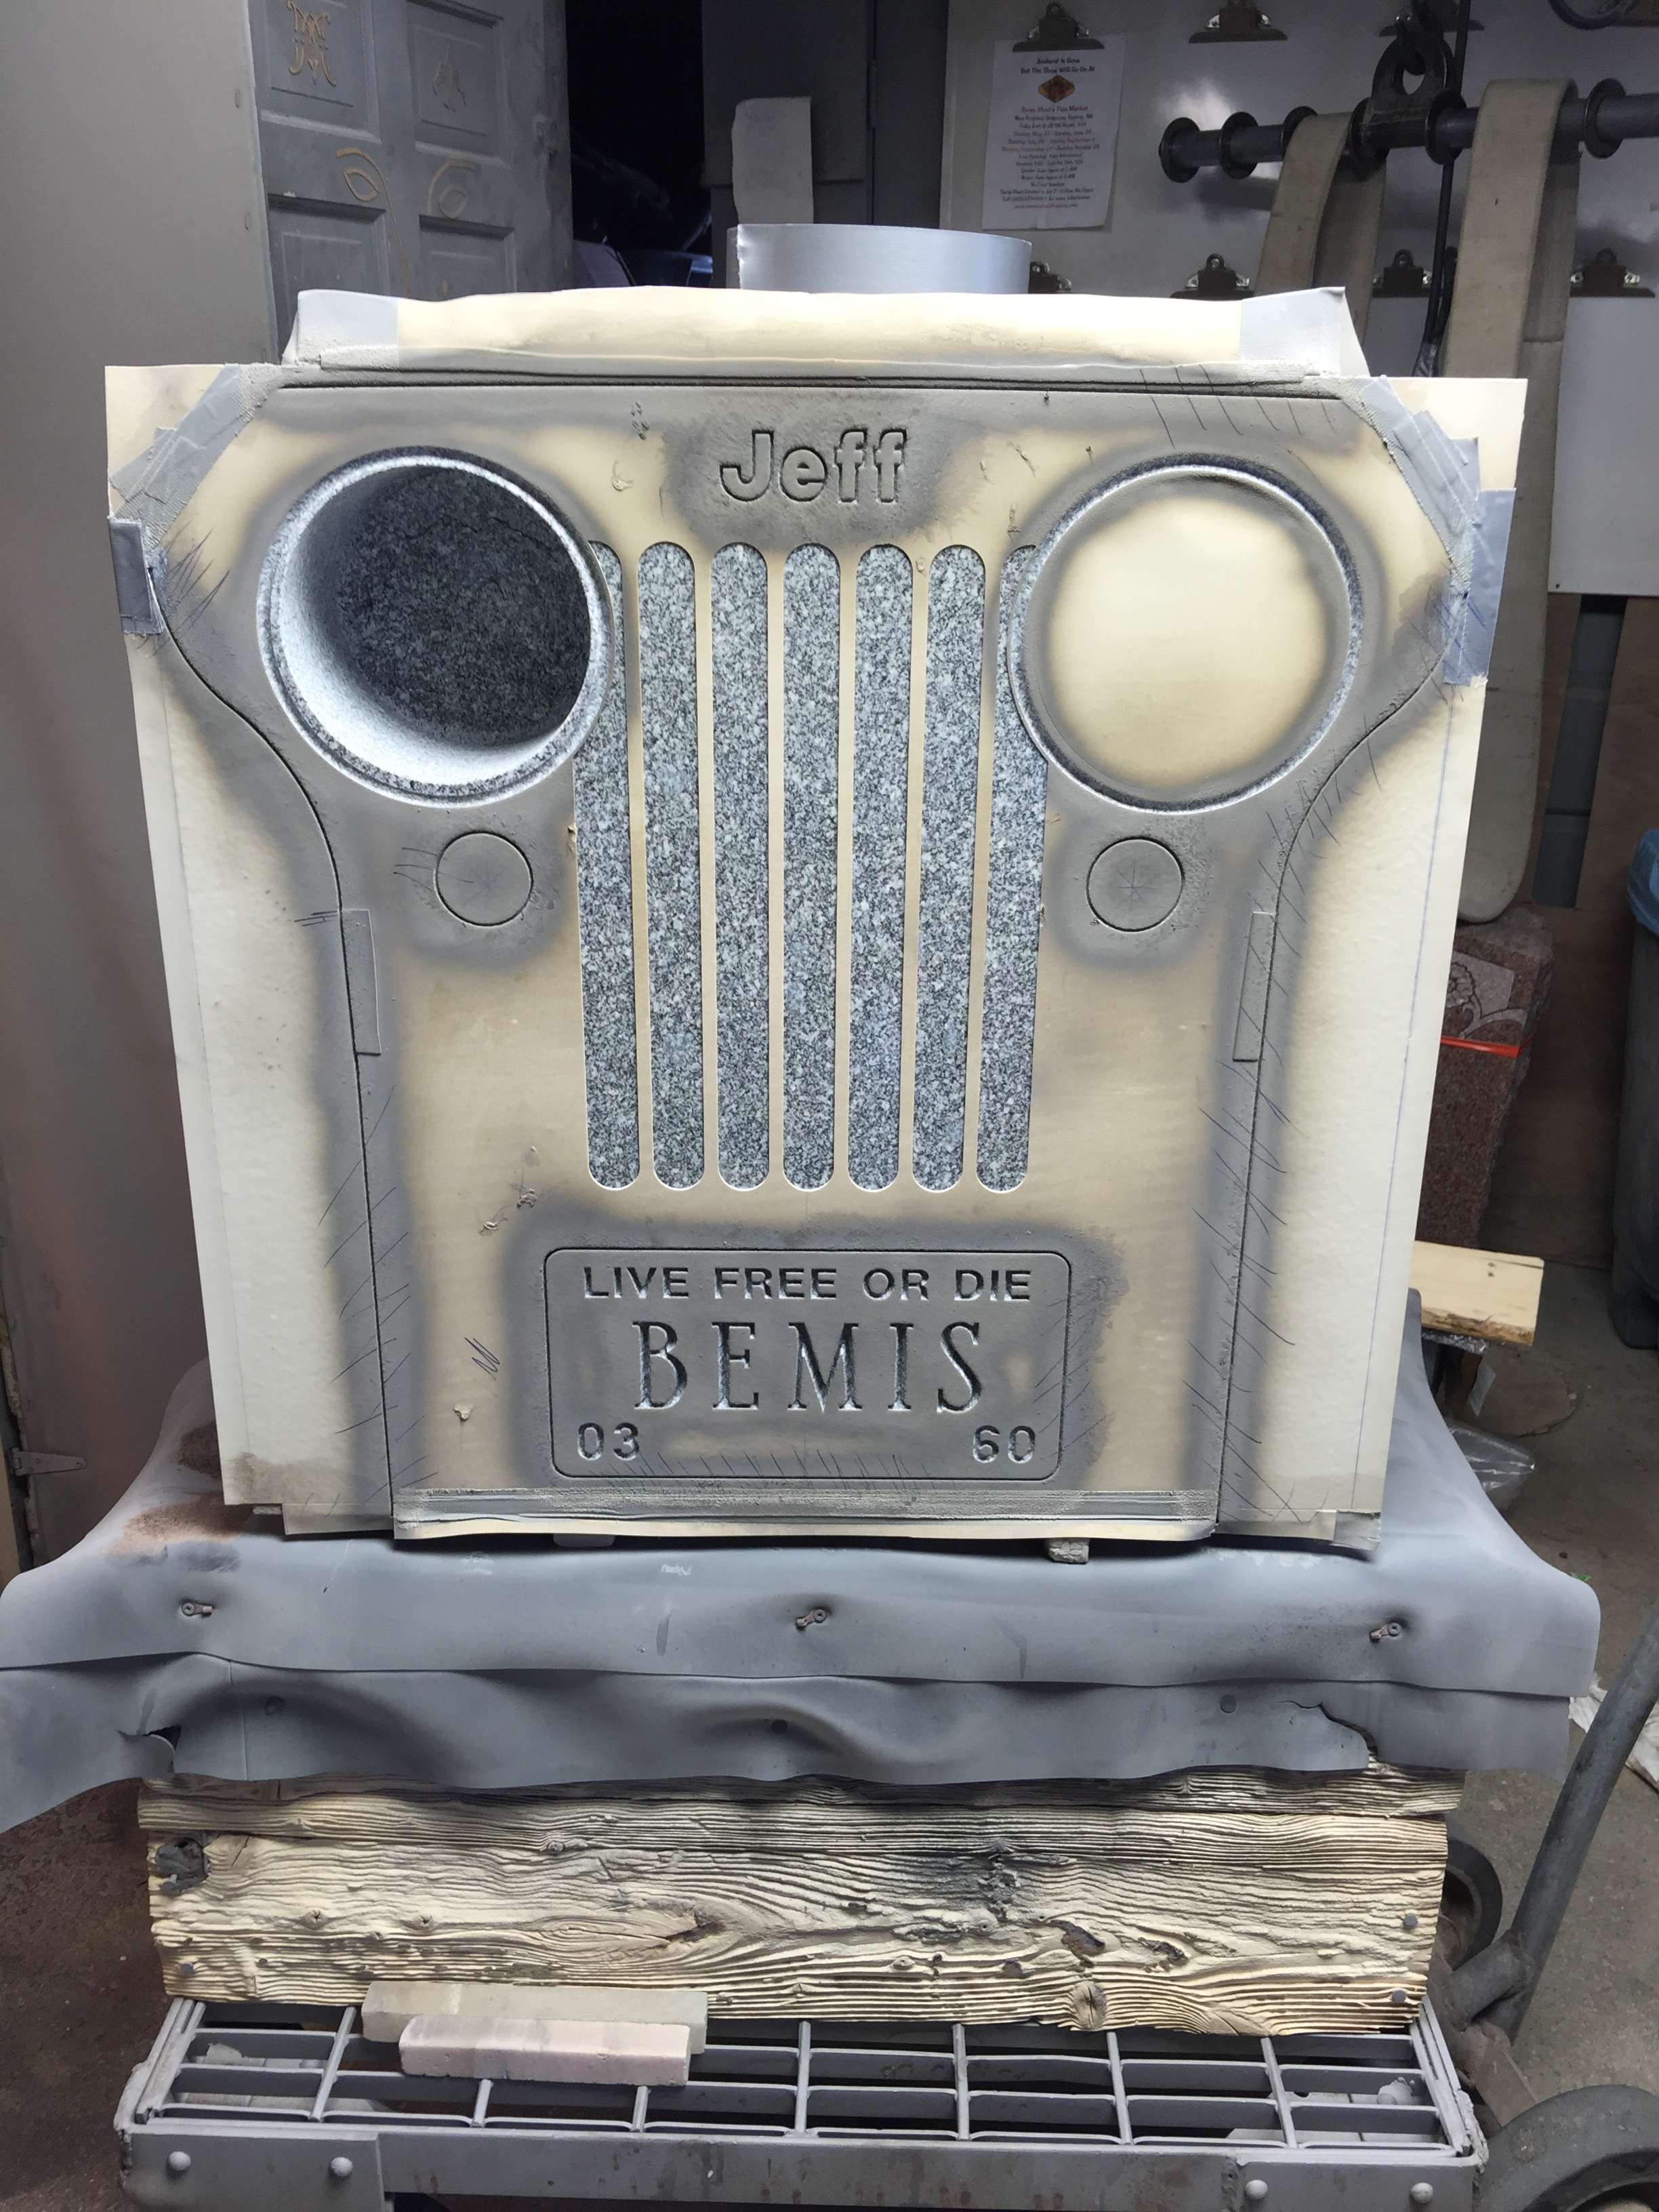
Once the lettering and lines have been sandblasted to depth the stencil is removed from the center to create the flutes. Doing this engraving in two steps allows control of the depth from the lines and letters to the flutes so neither goes too deep.
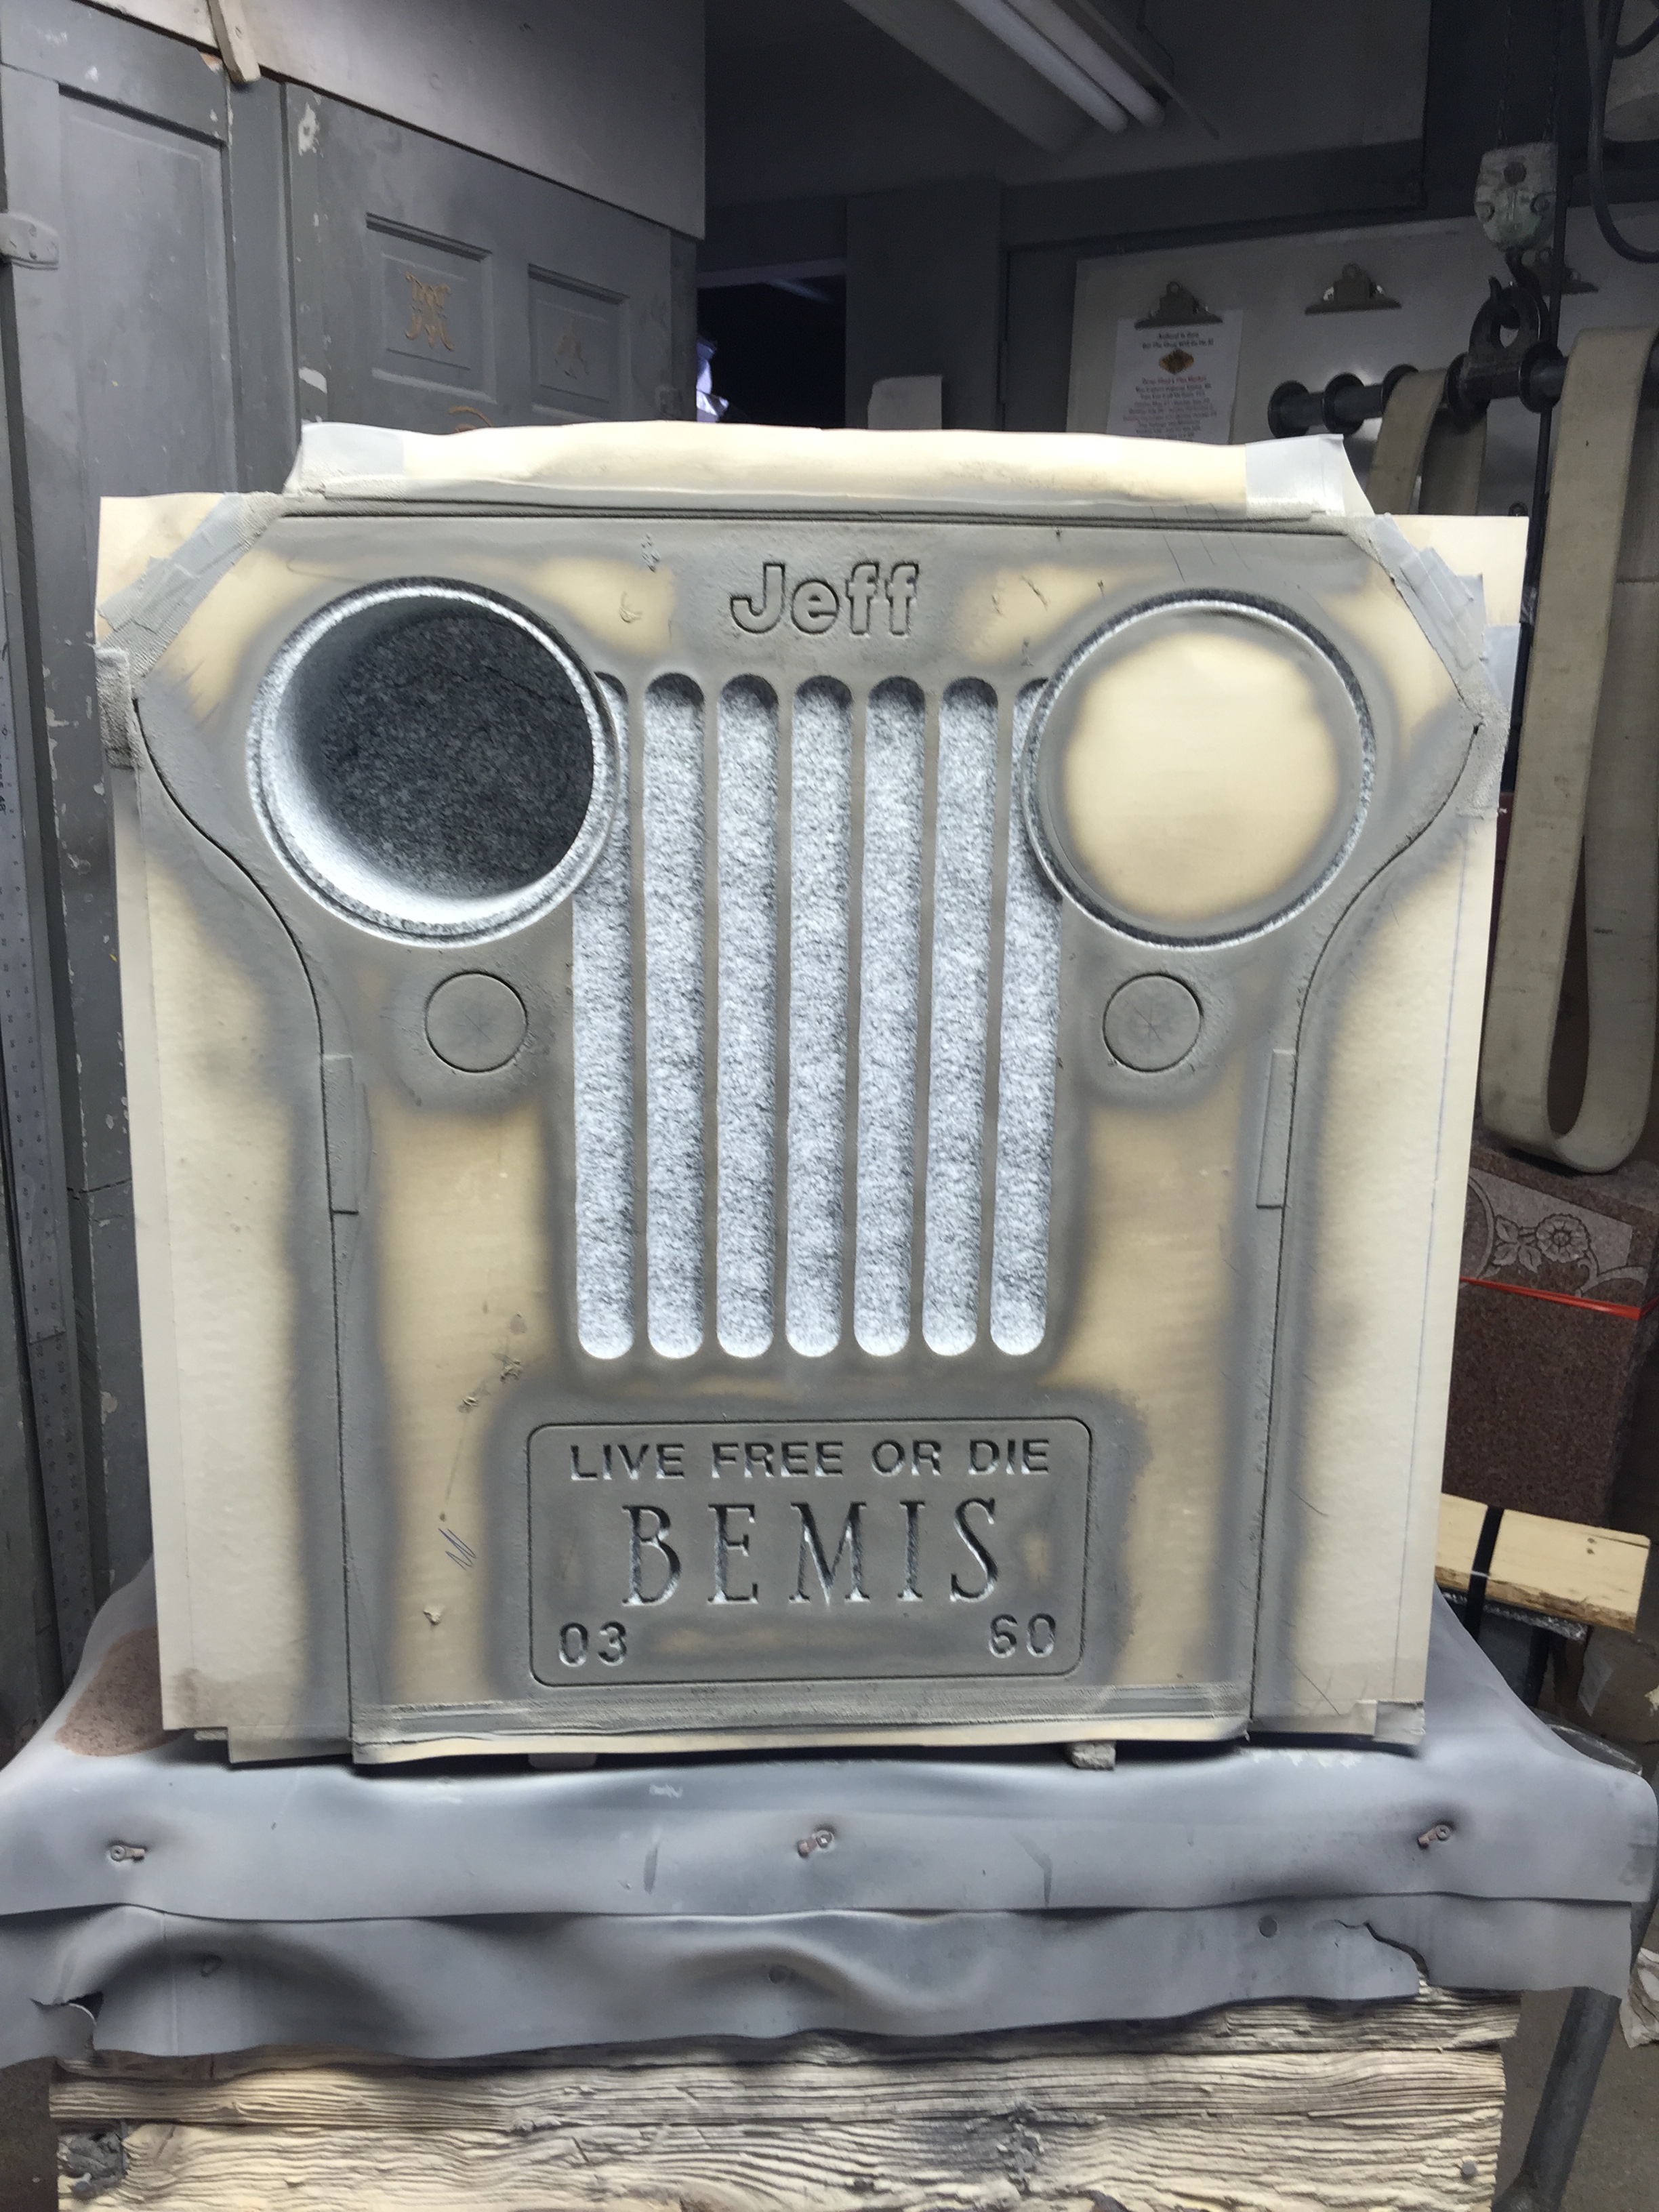
Now the flutes are shaped into the stone and all the letters and lines are cut in they are ready to be highlighted or painted.
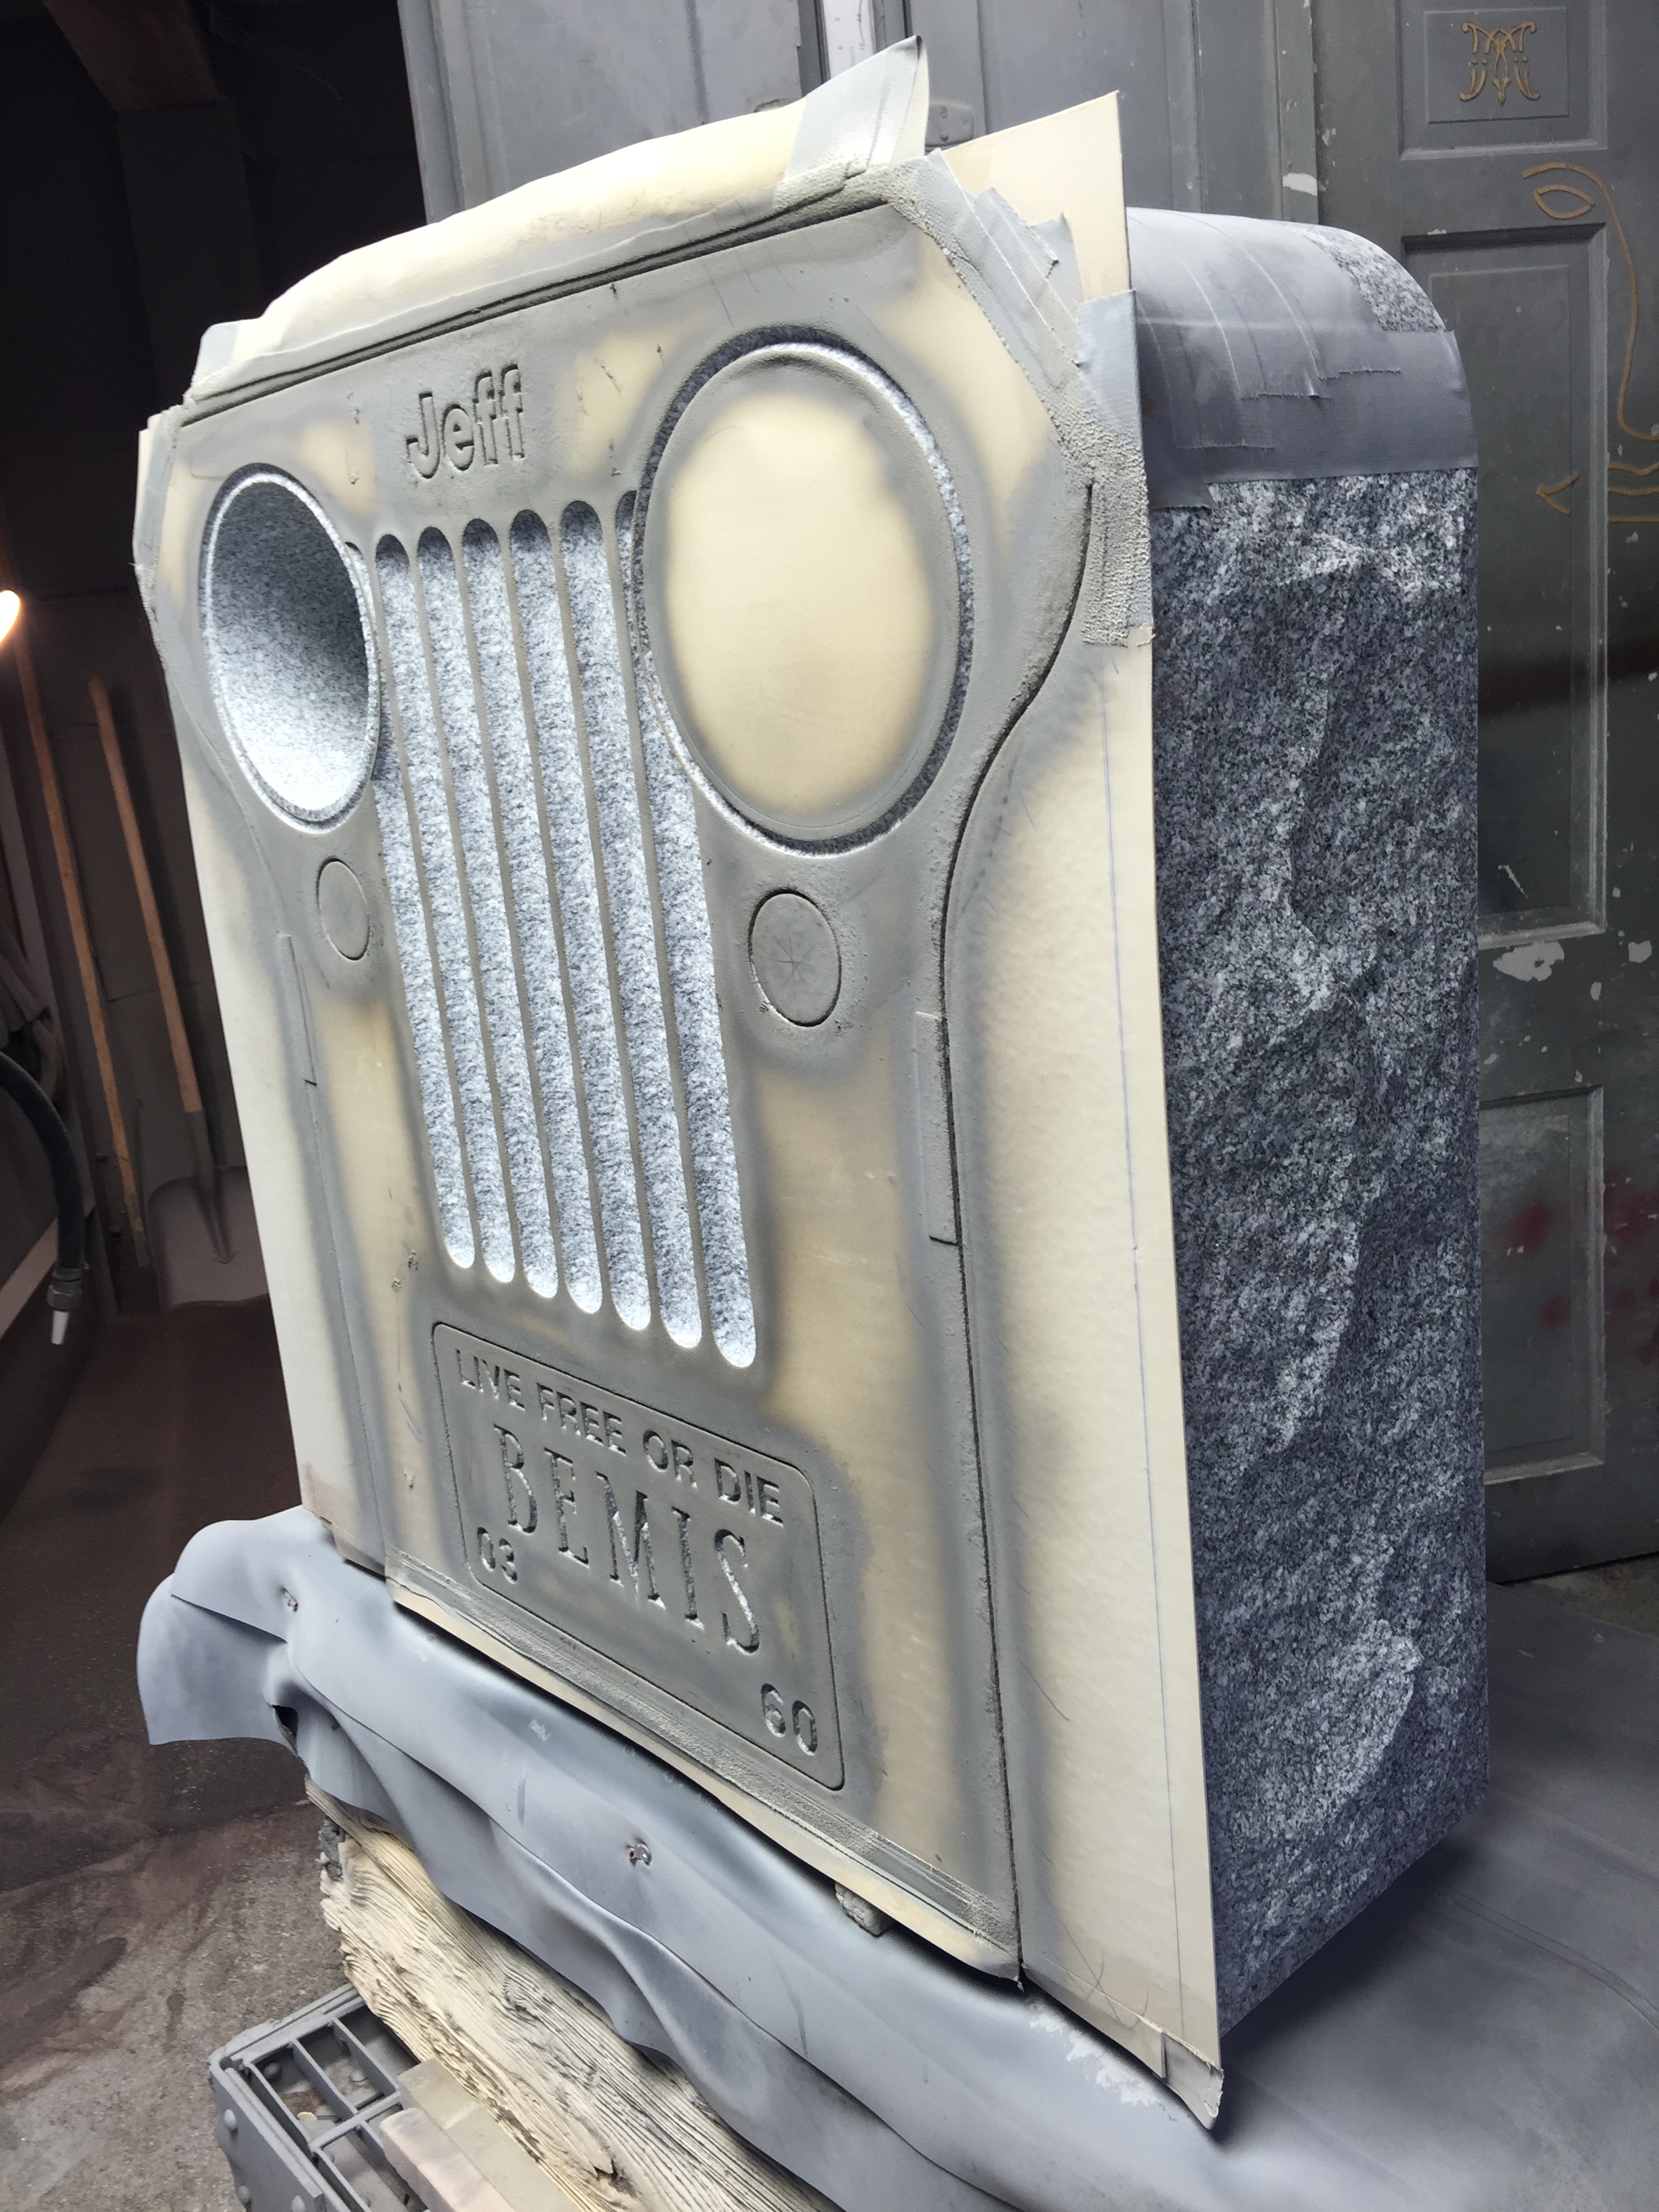
Side view to see depth and shape of flutes.
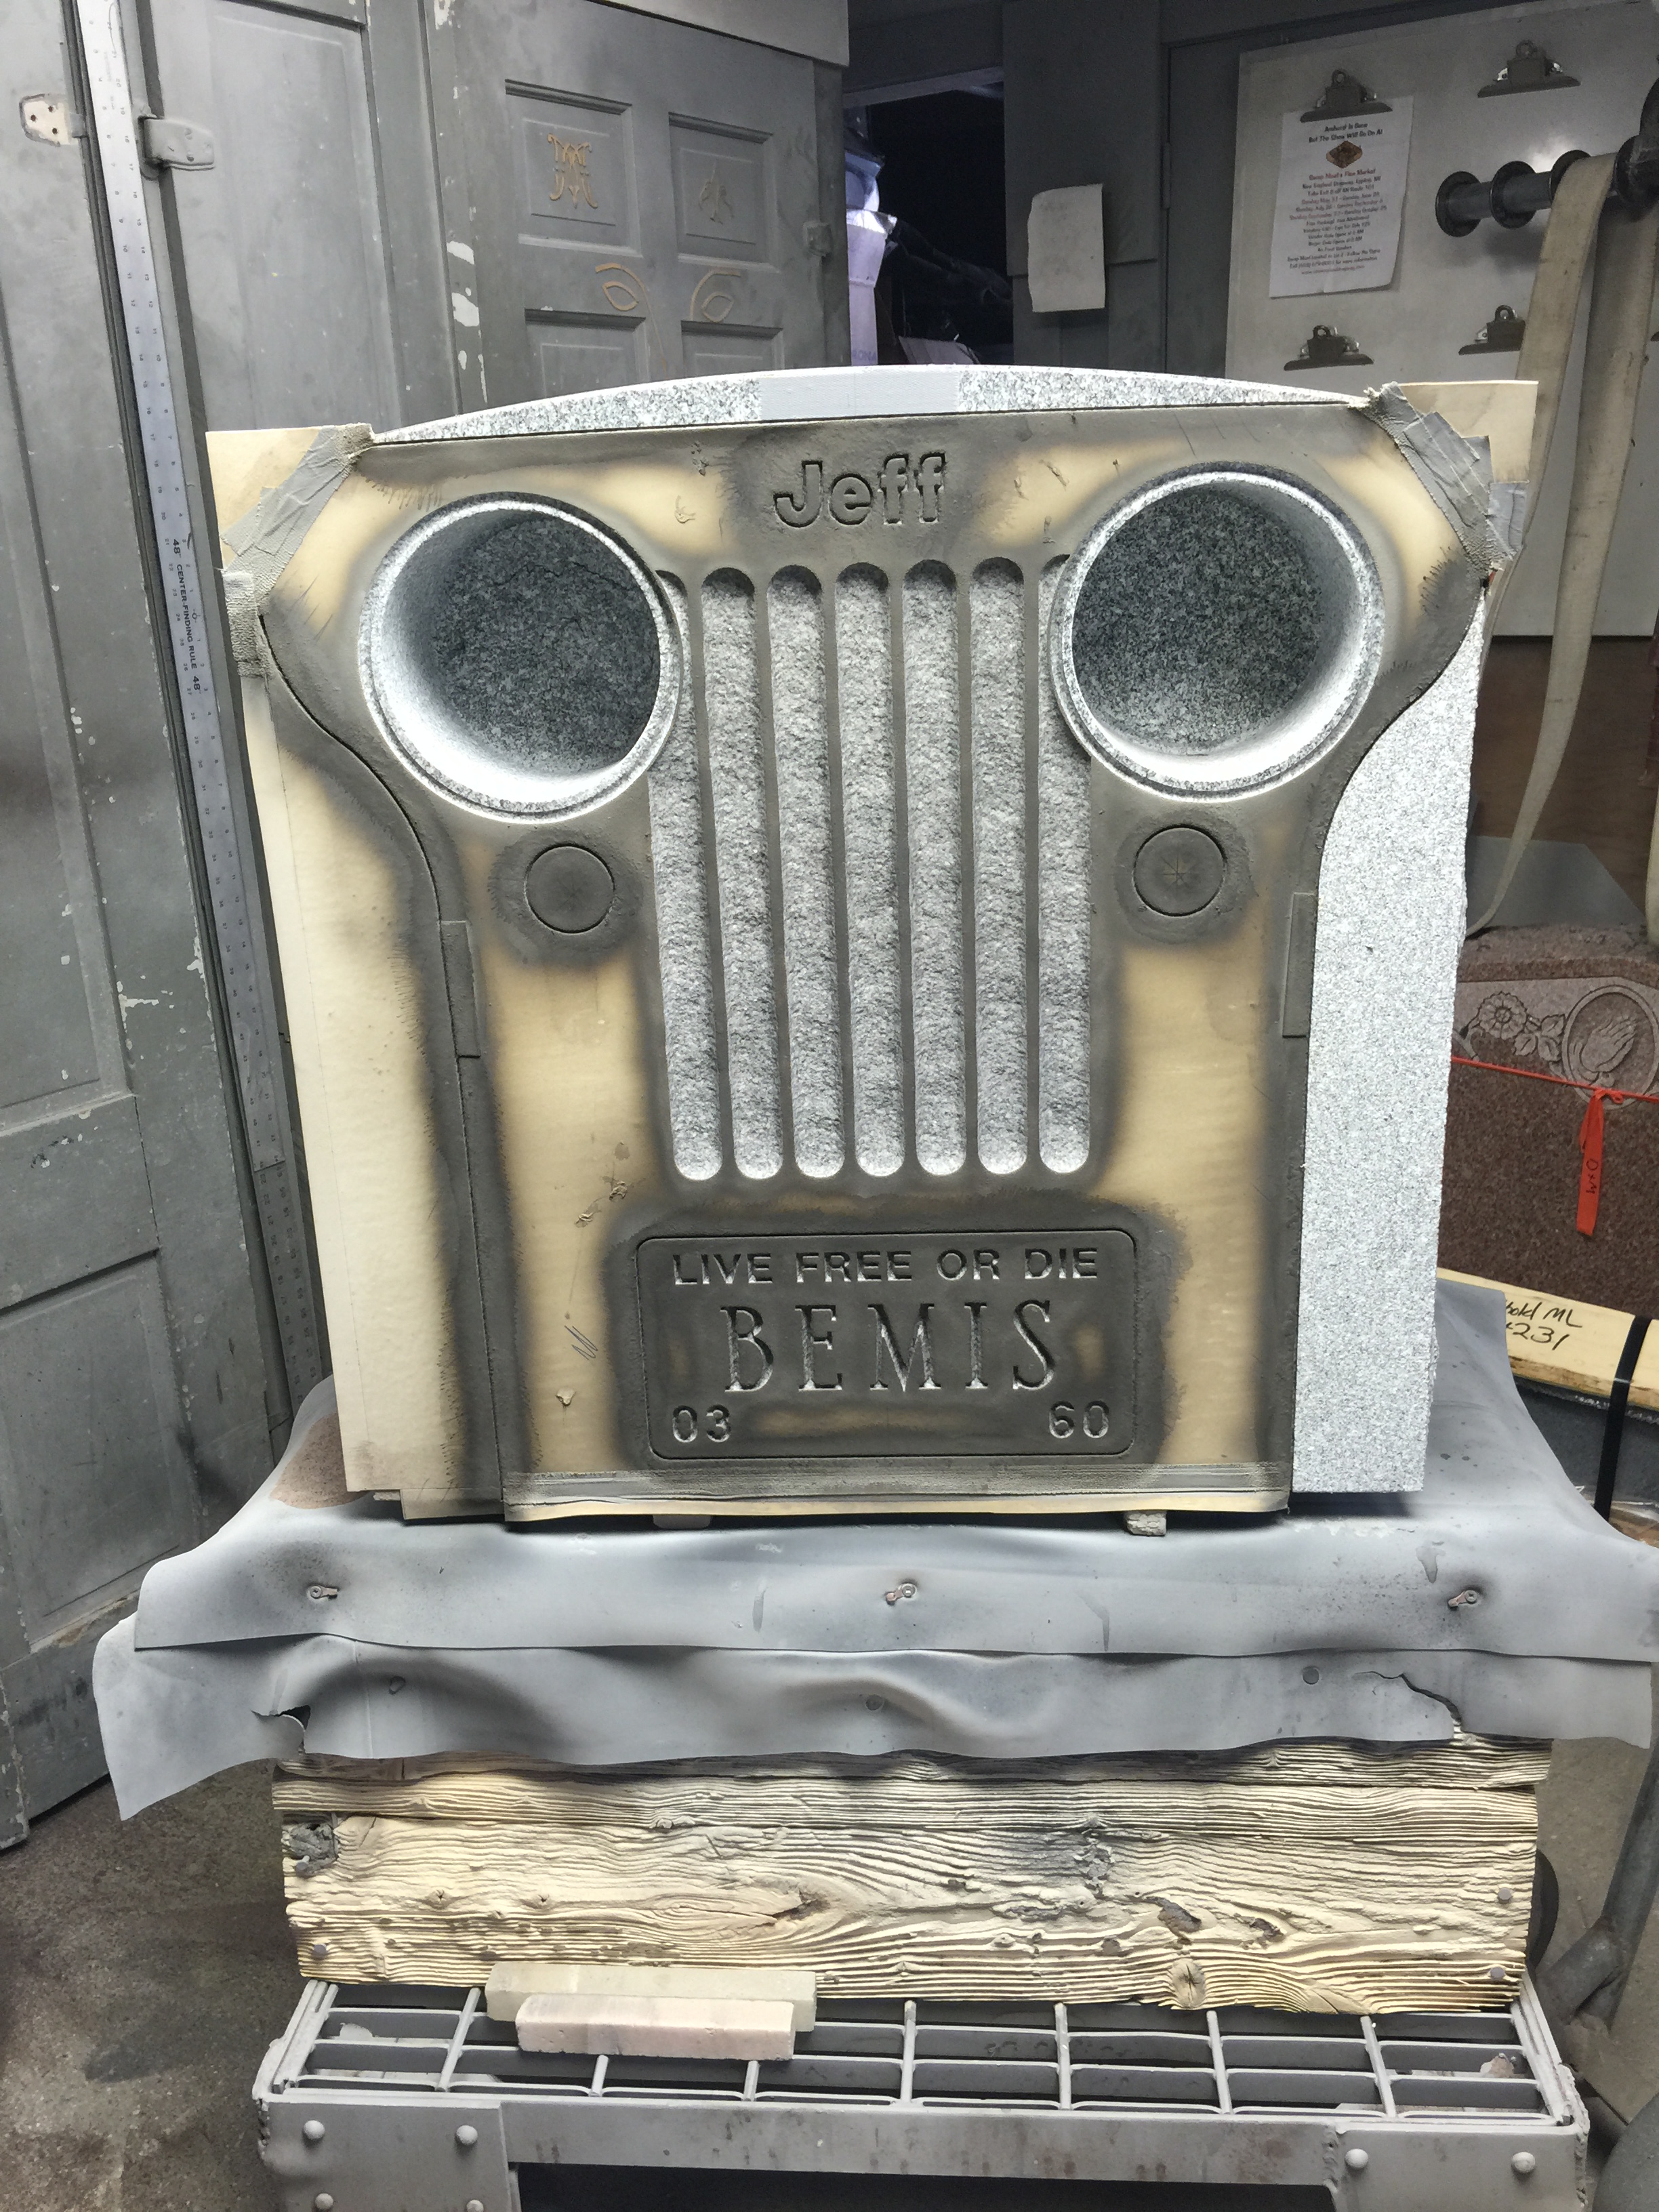
Gray Shadow Highlight Paint is sprayed into the lines letters and flutes to help them show up and stand out.
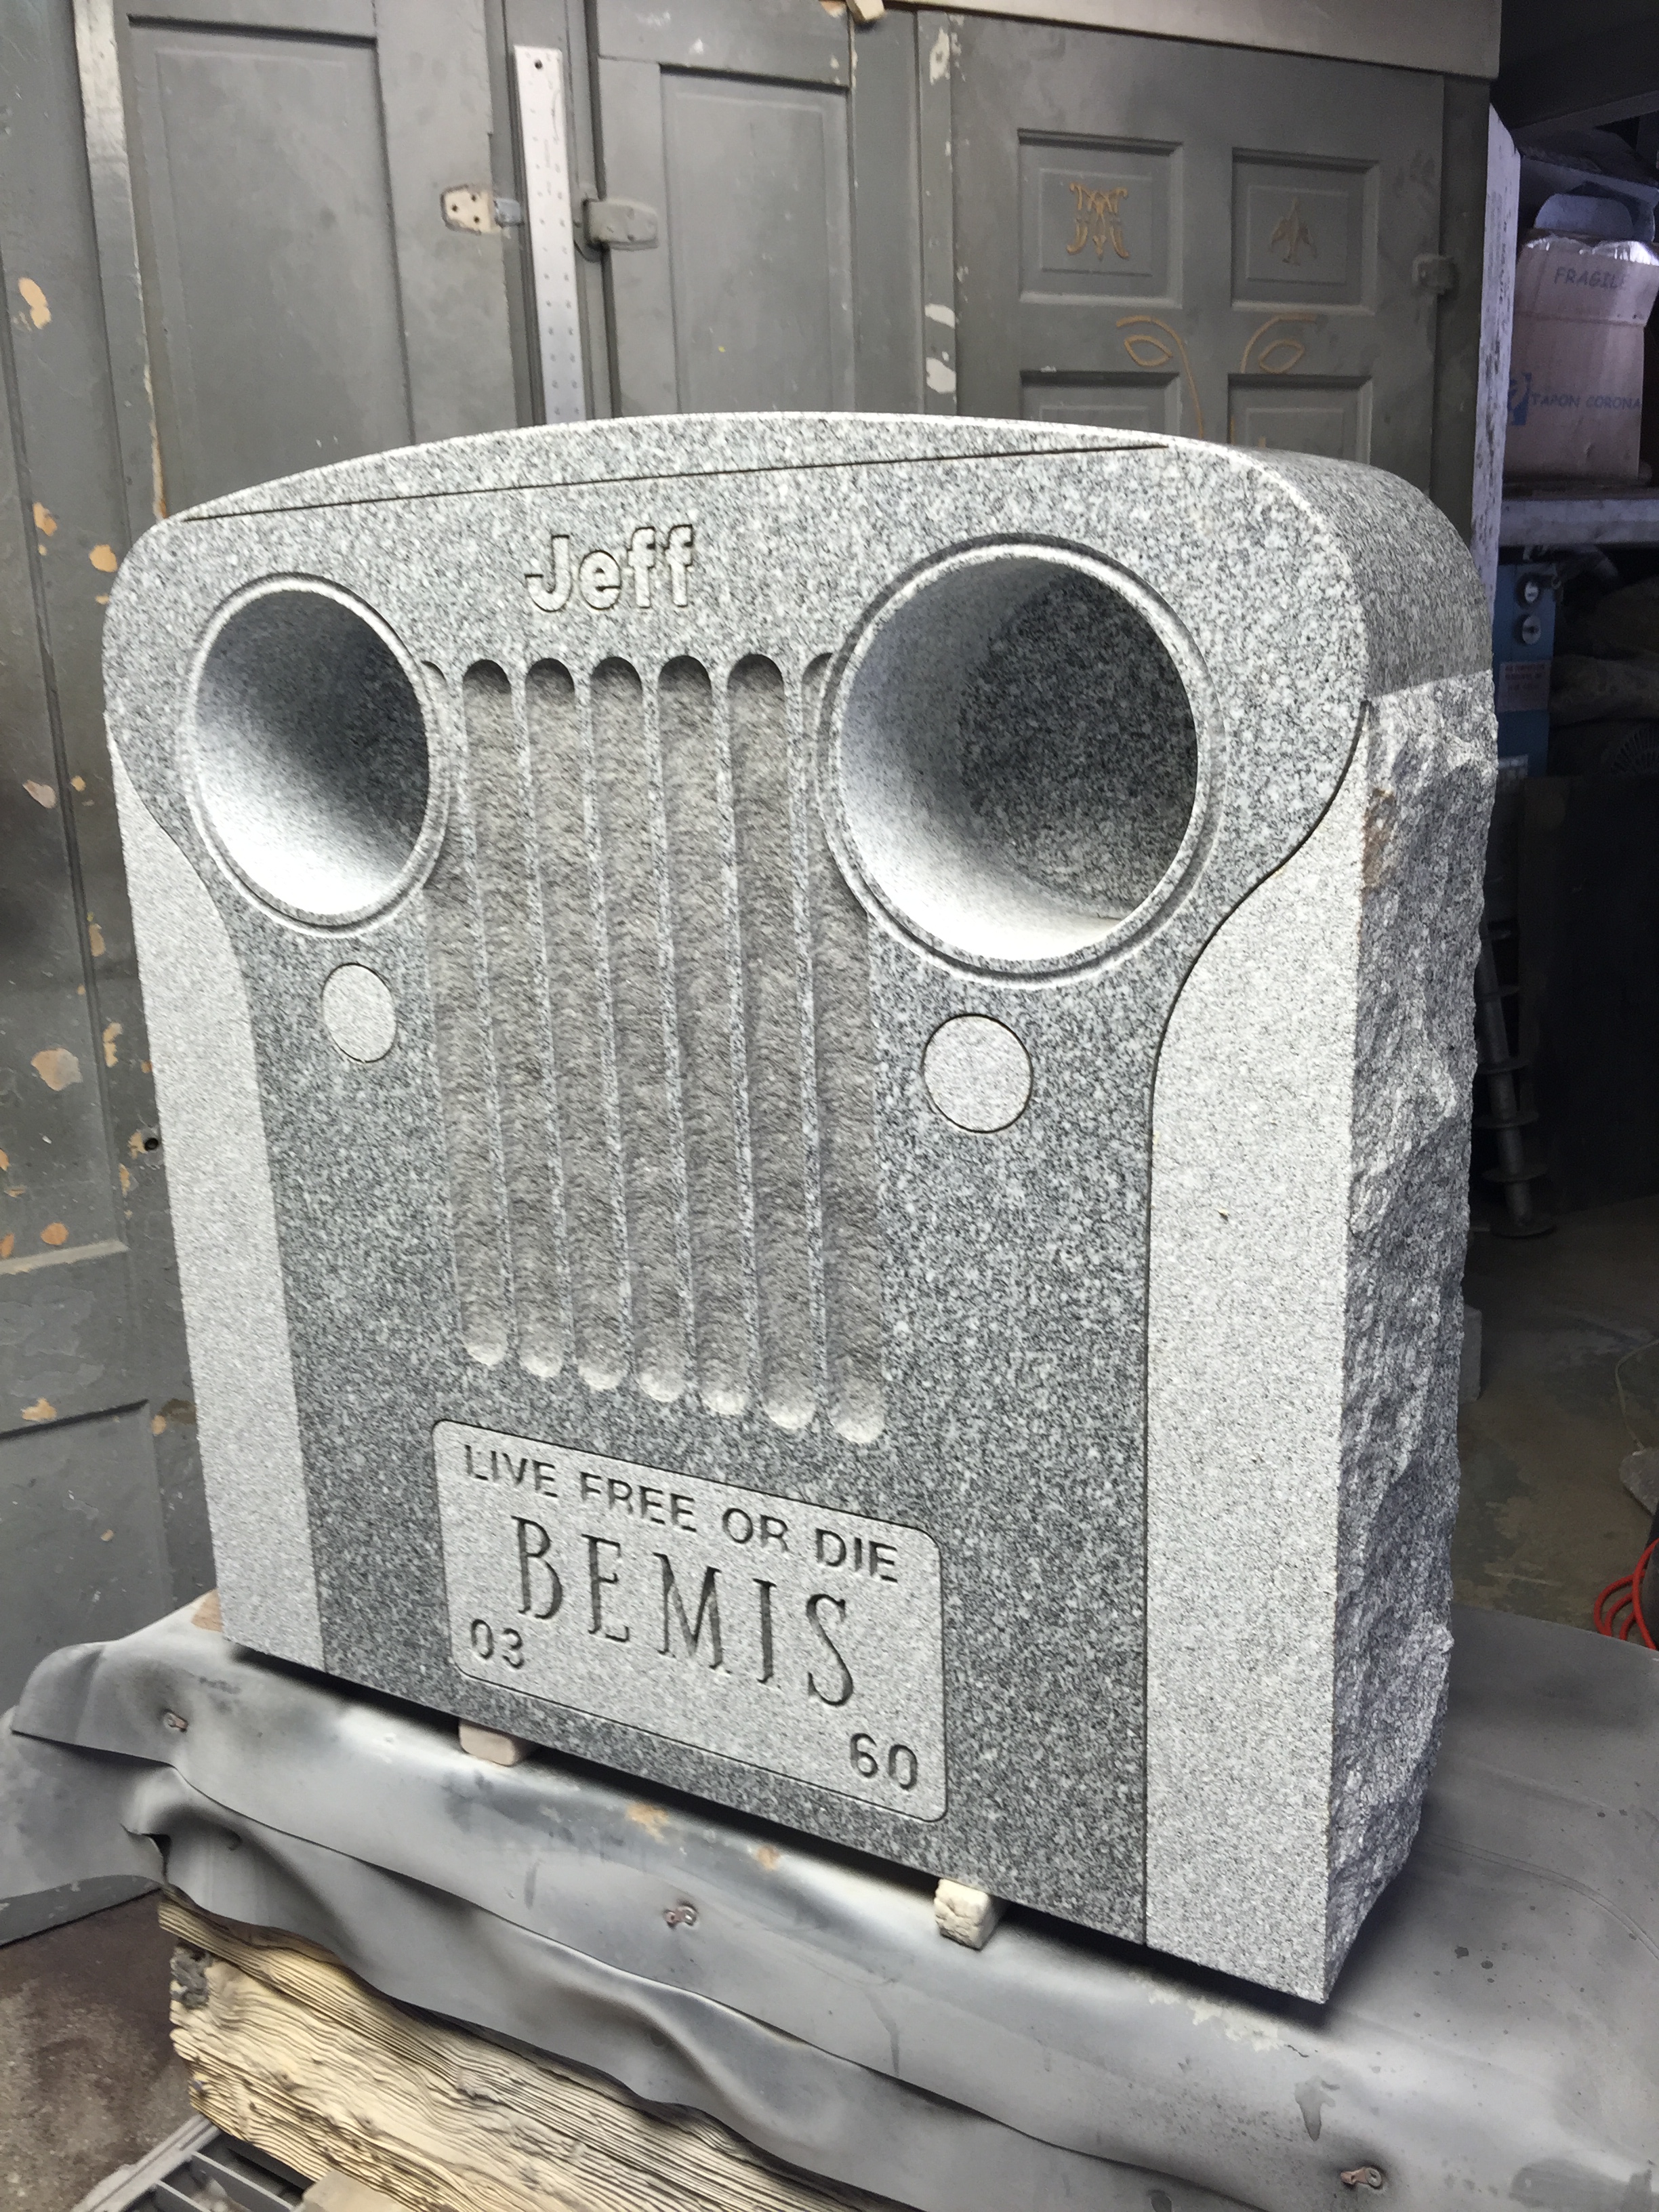
After paint, all the stencil is removed from the stone and the memorial is complete.
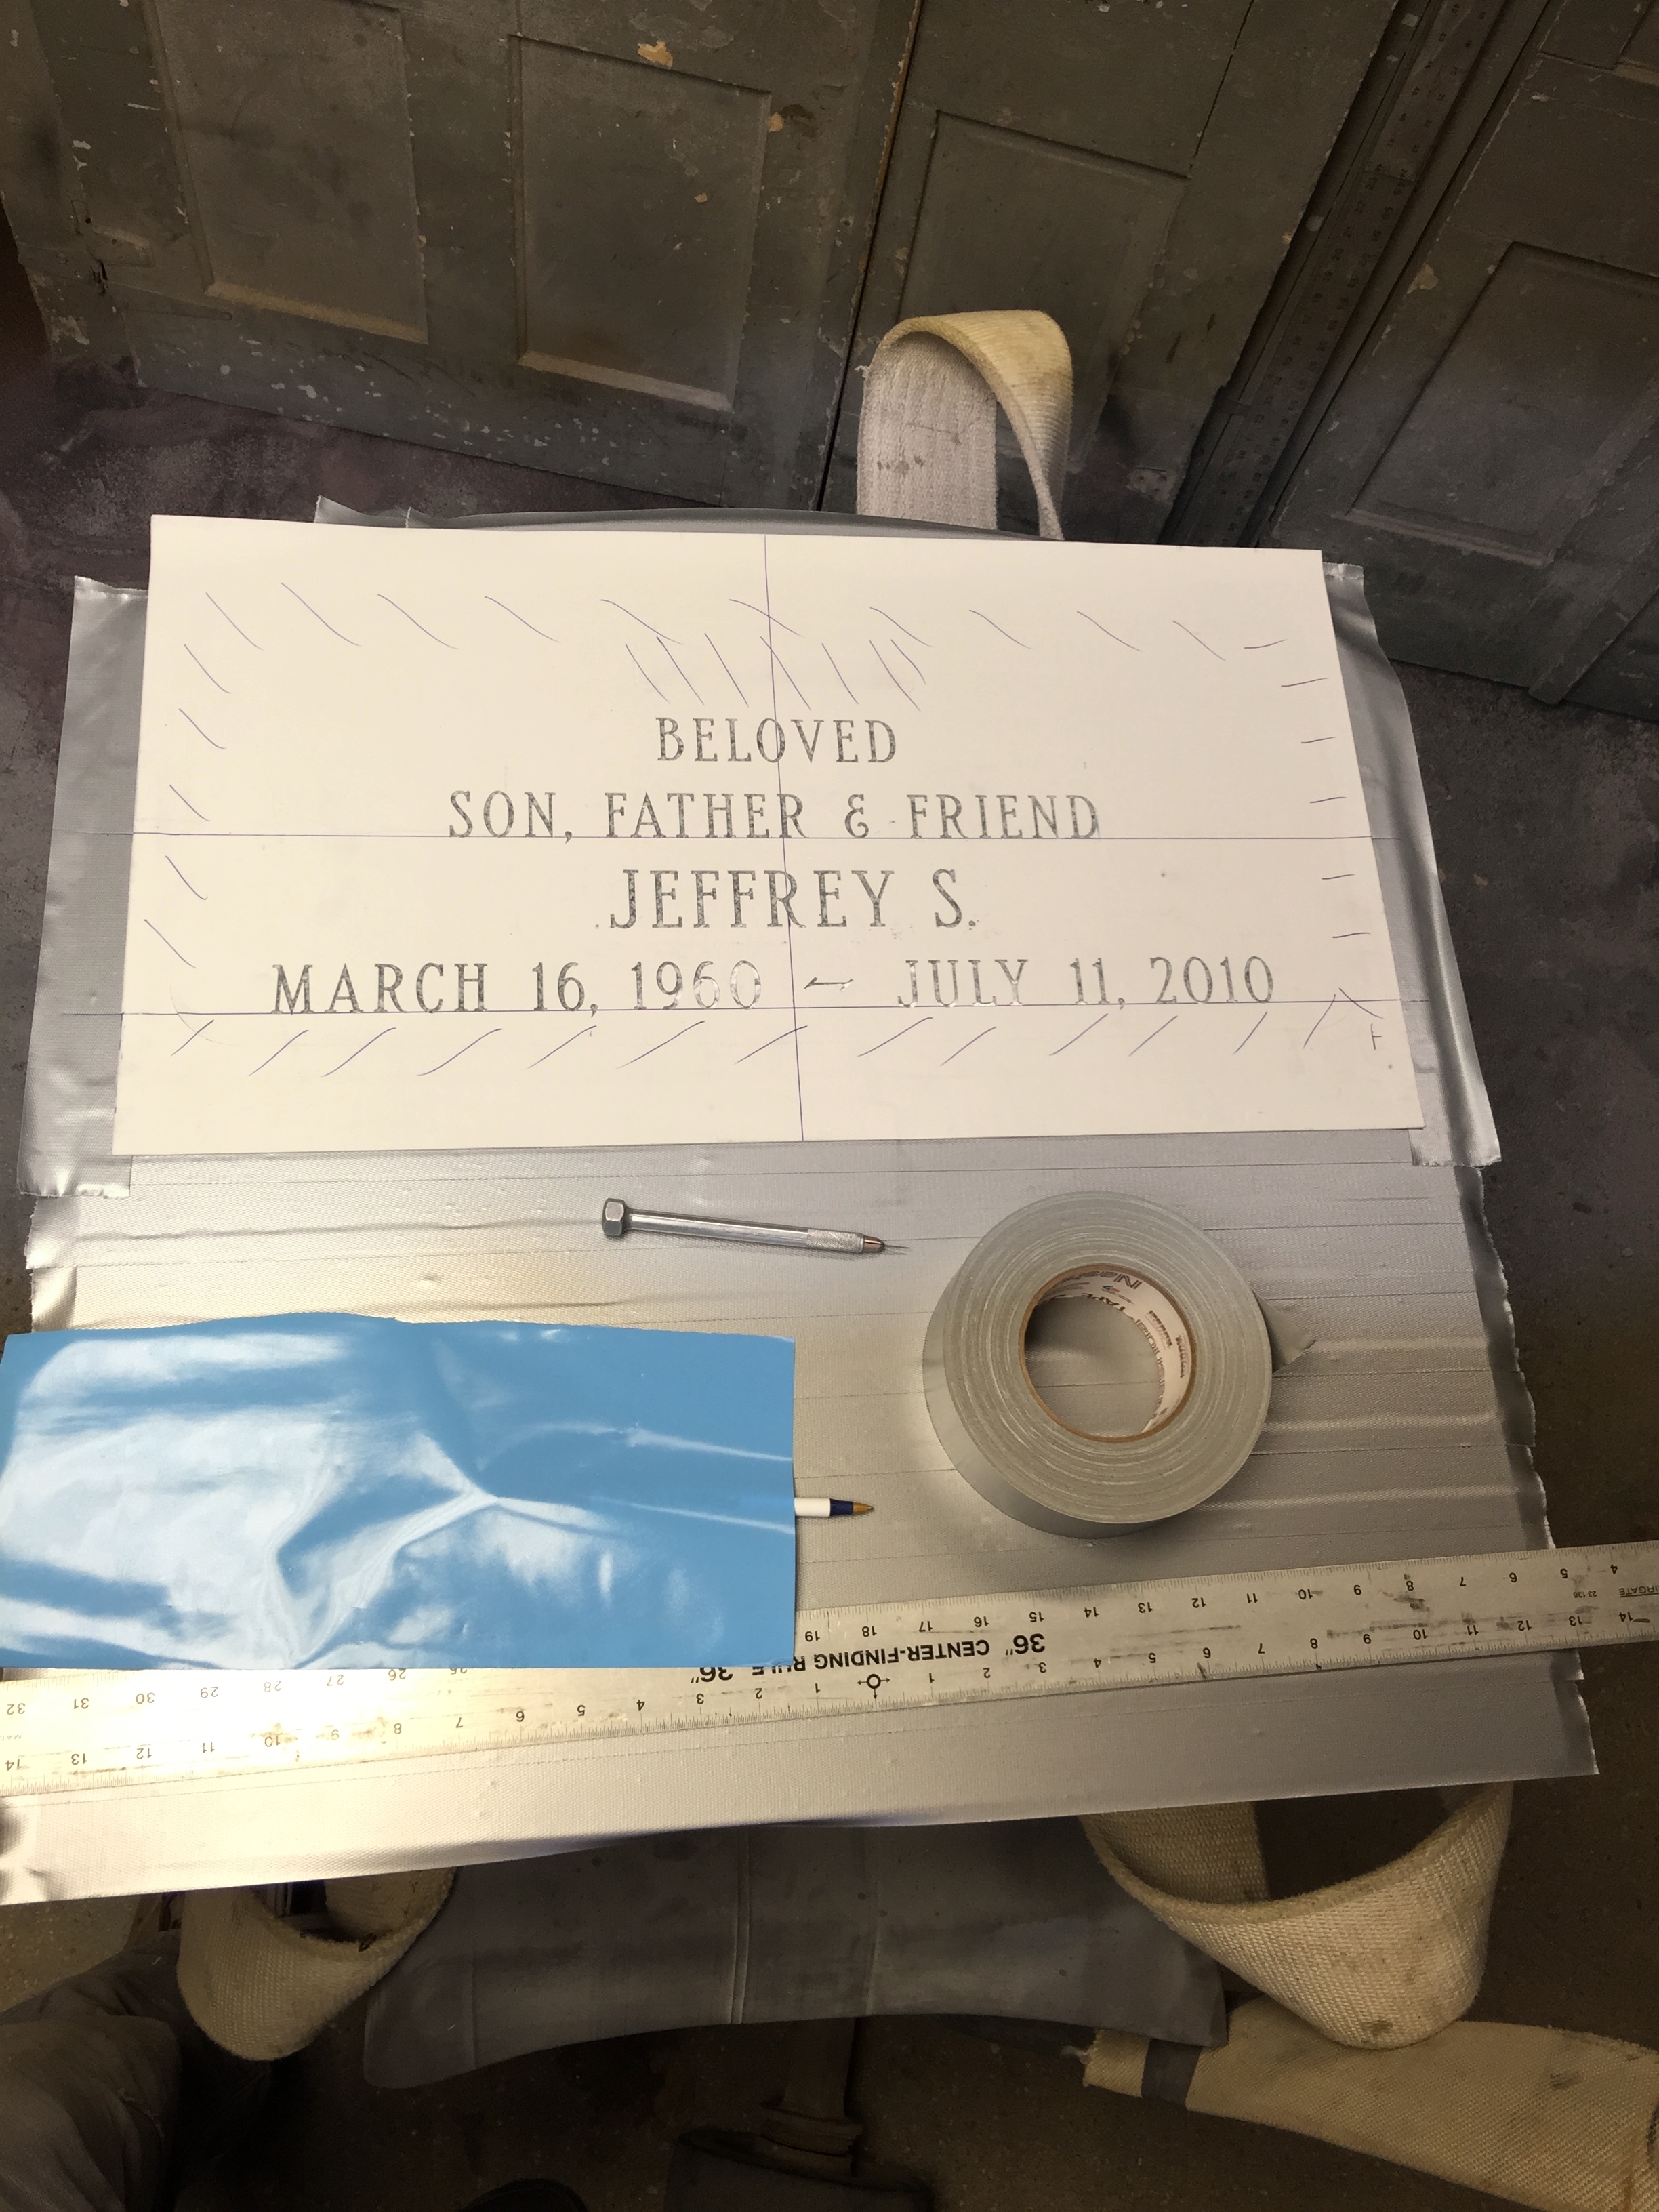
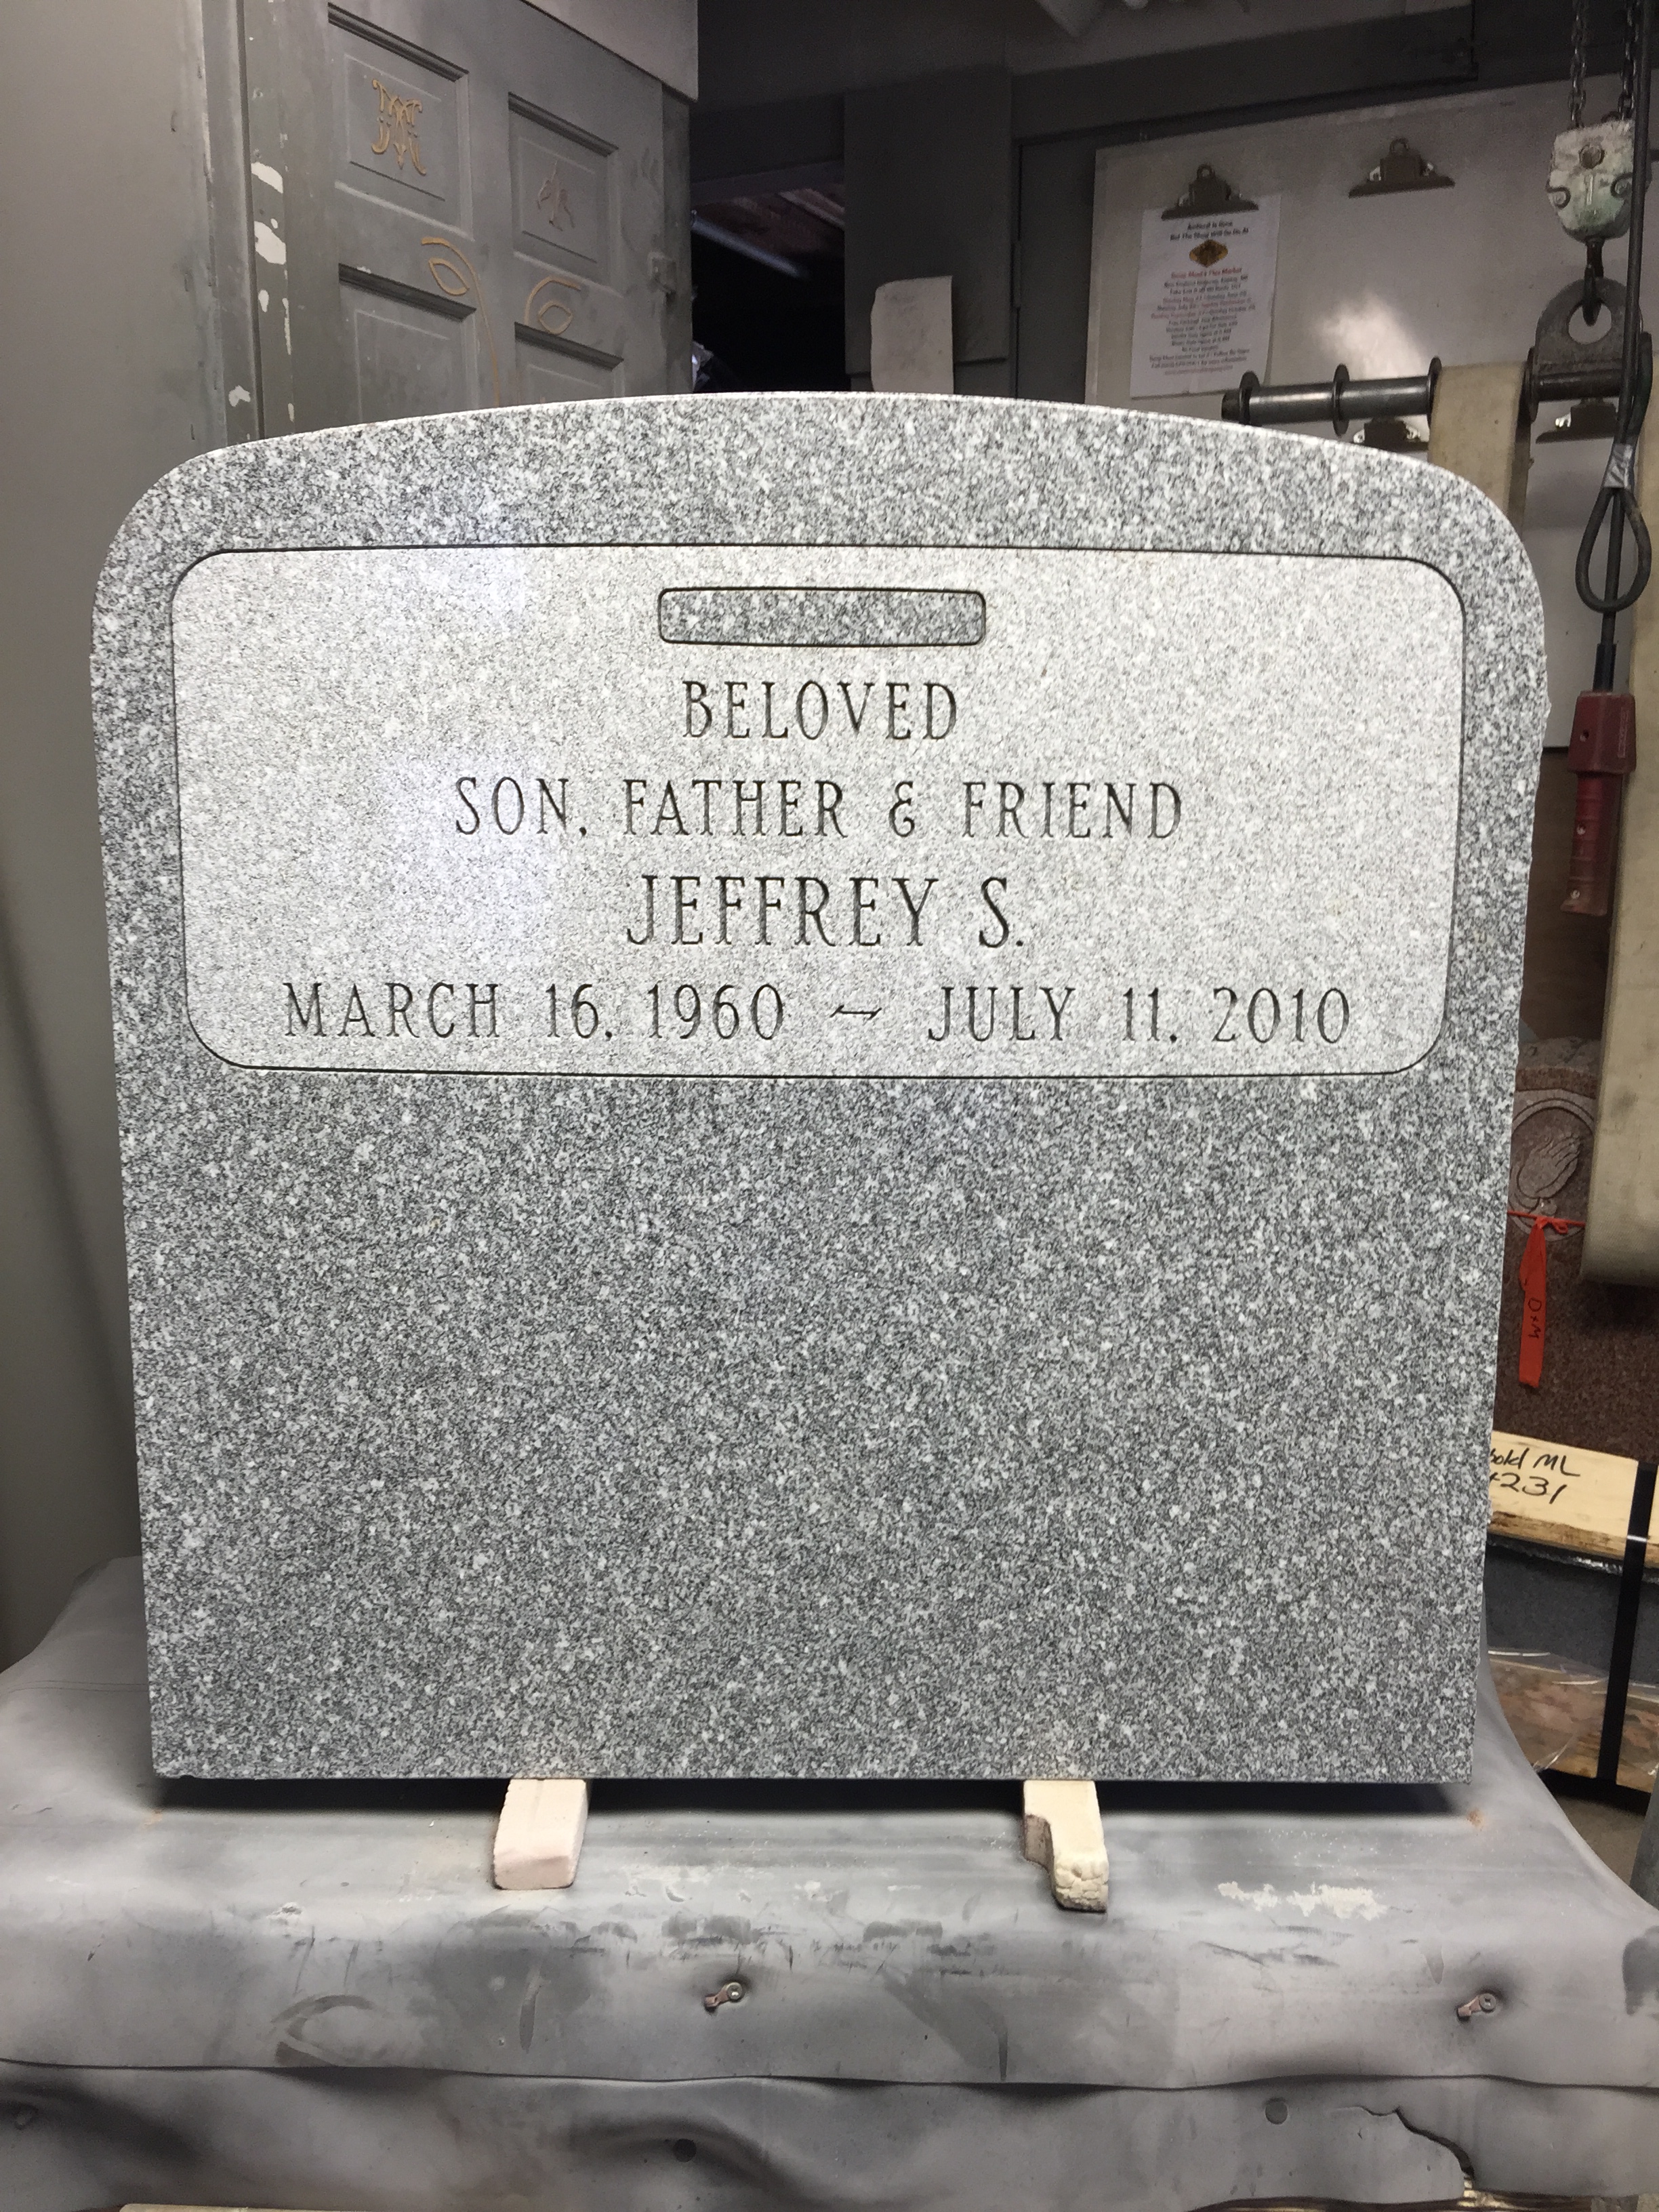
To the blank back of the stone the stencil for the lettering is laid out and stuck down with remaining area taped off for protection.
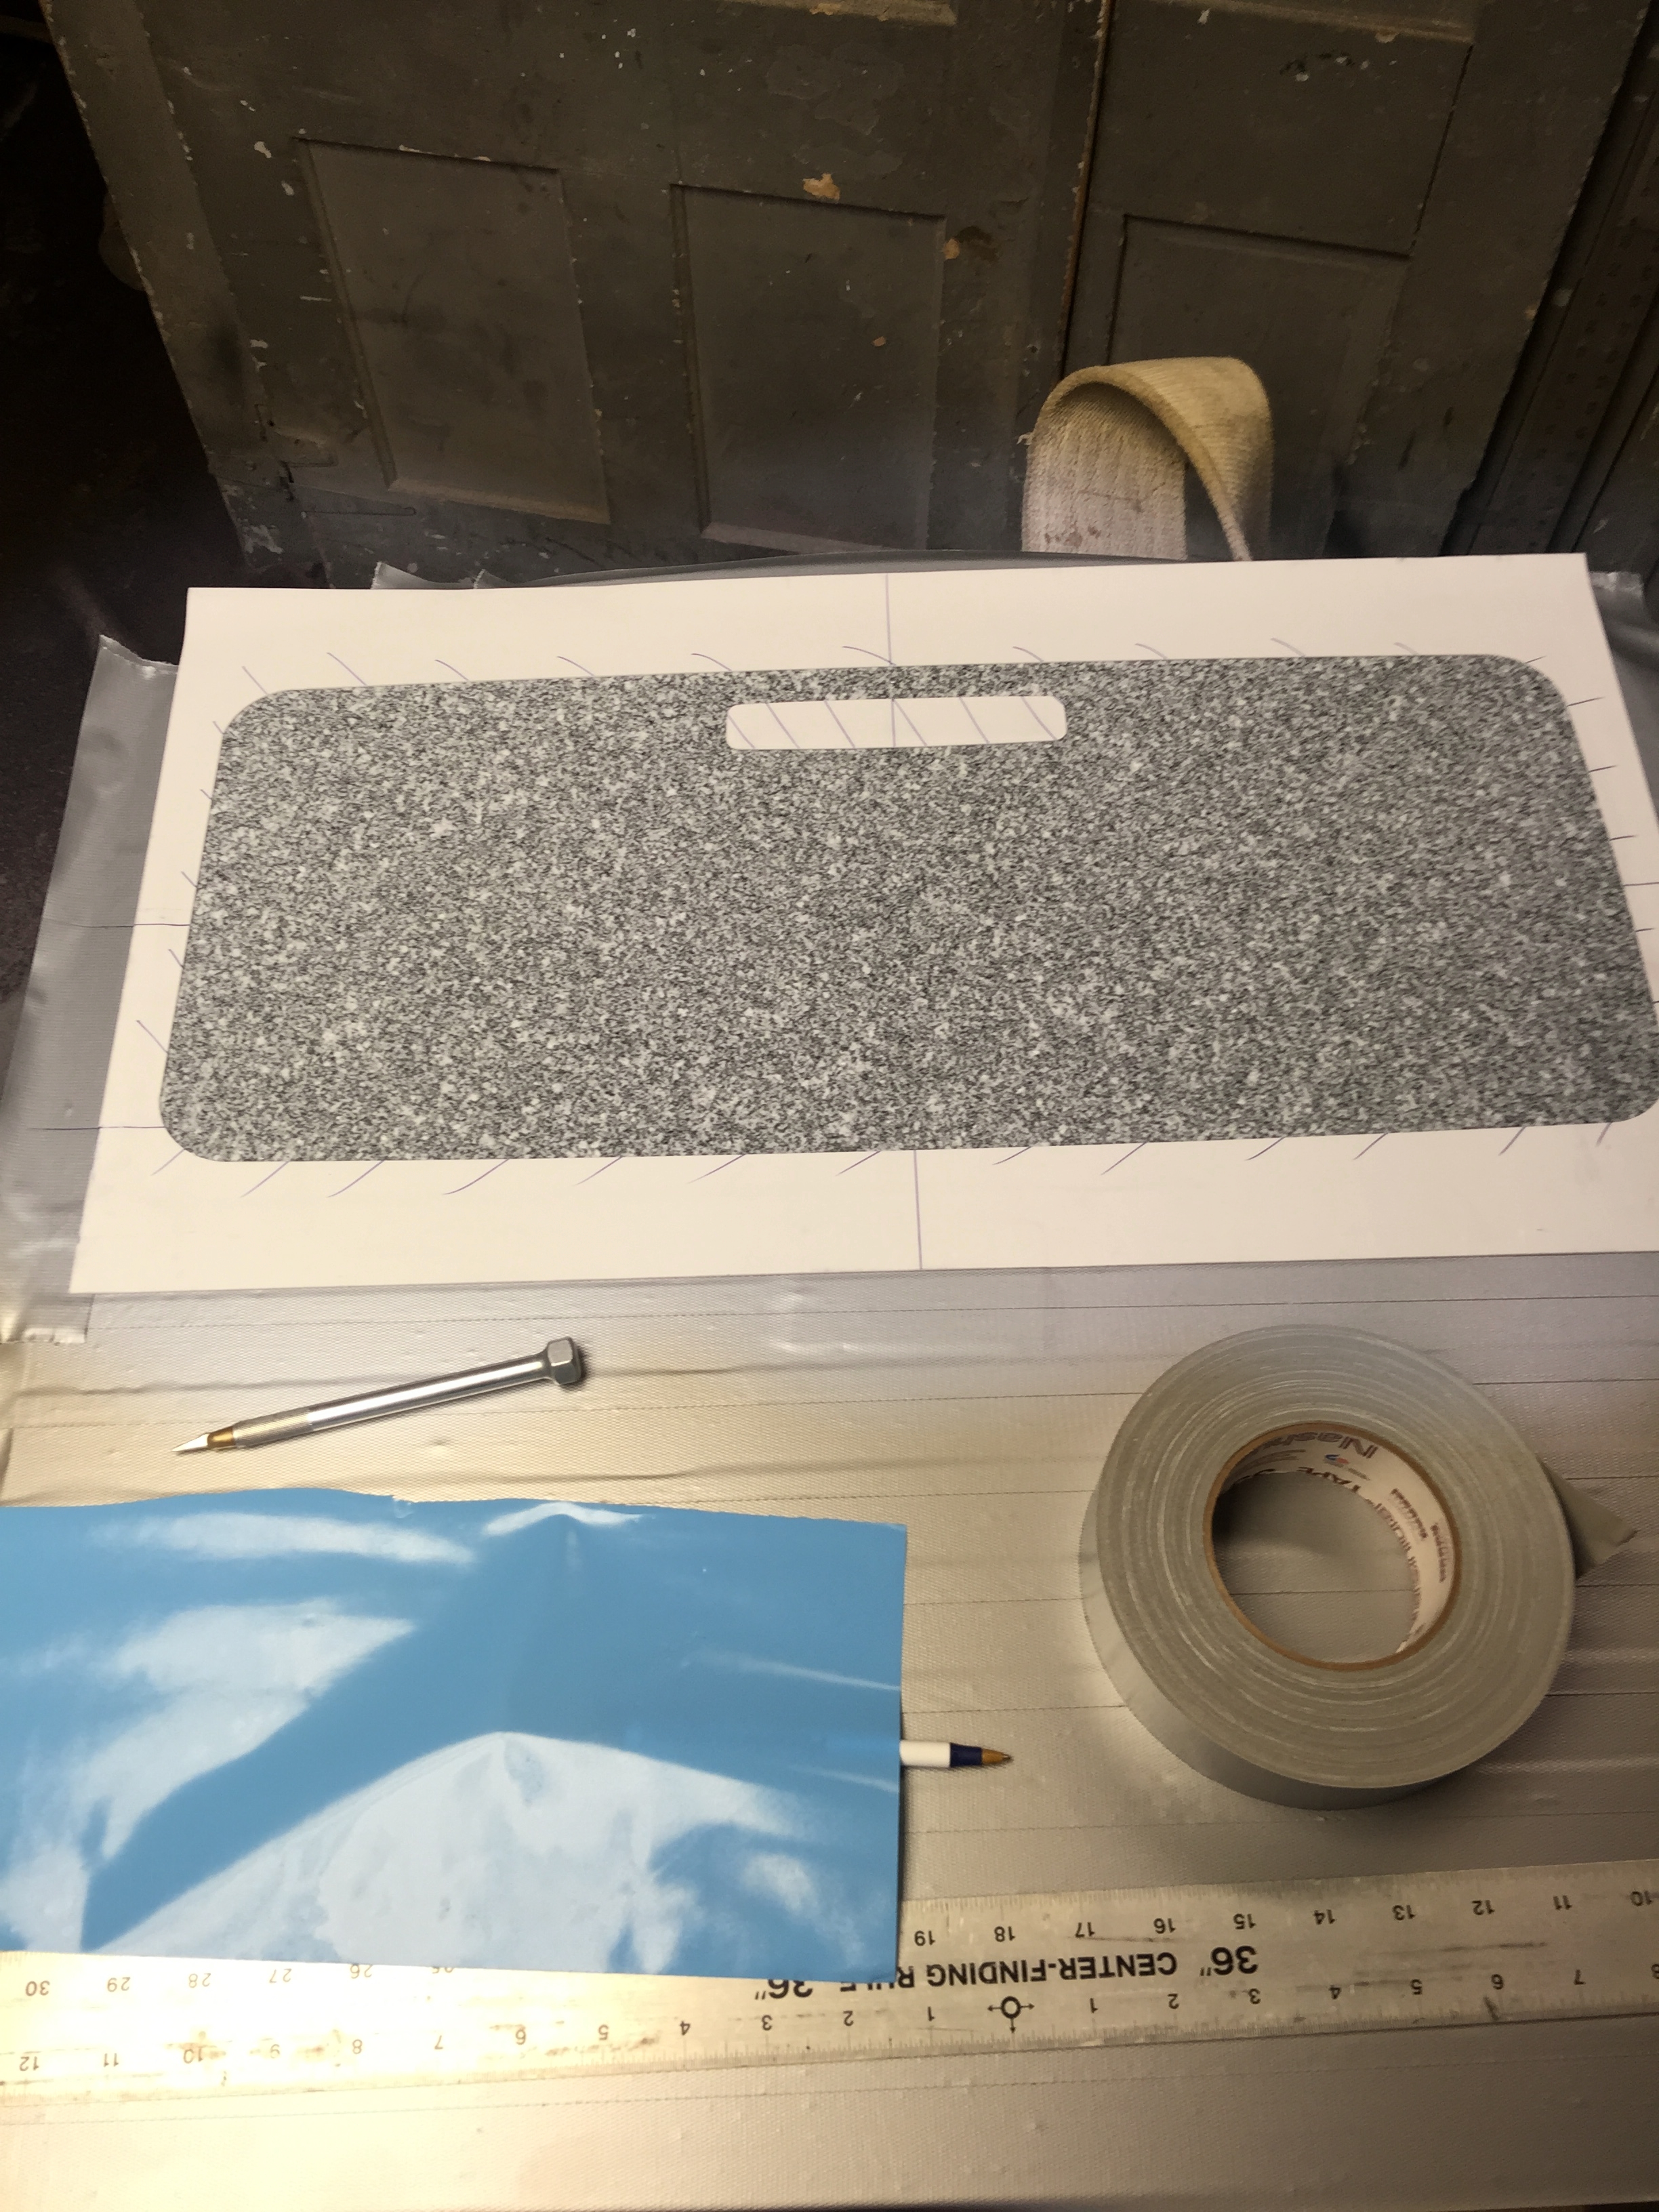
To create the Panels for the engraving the stencil is removed from the entire area that will become a Panel - sandblast and steel-shot are used to create the new finished texture.
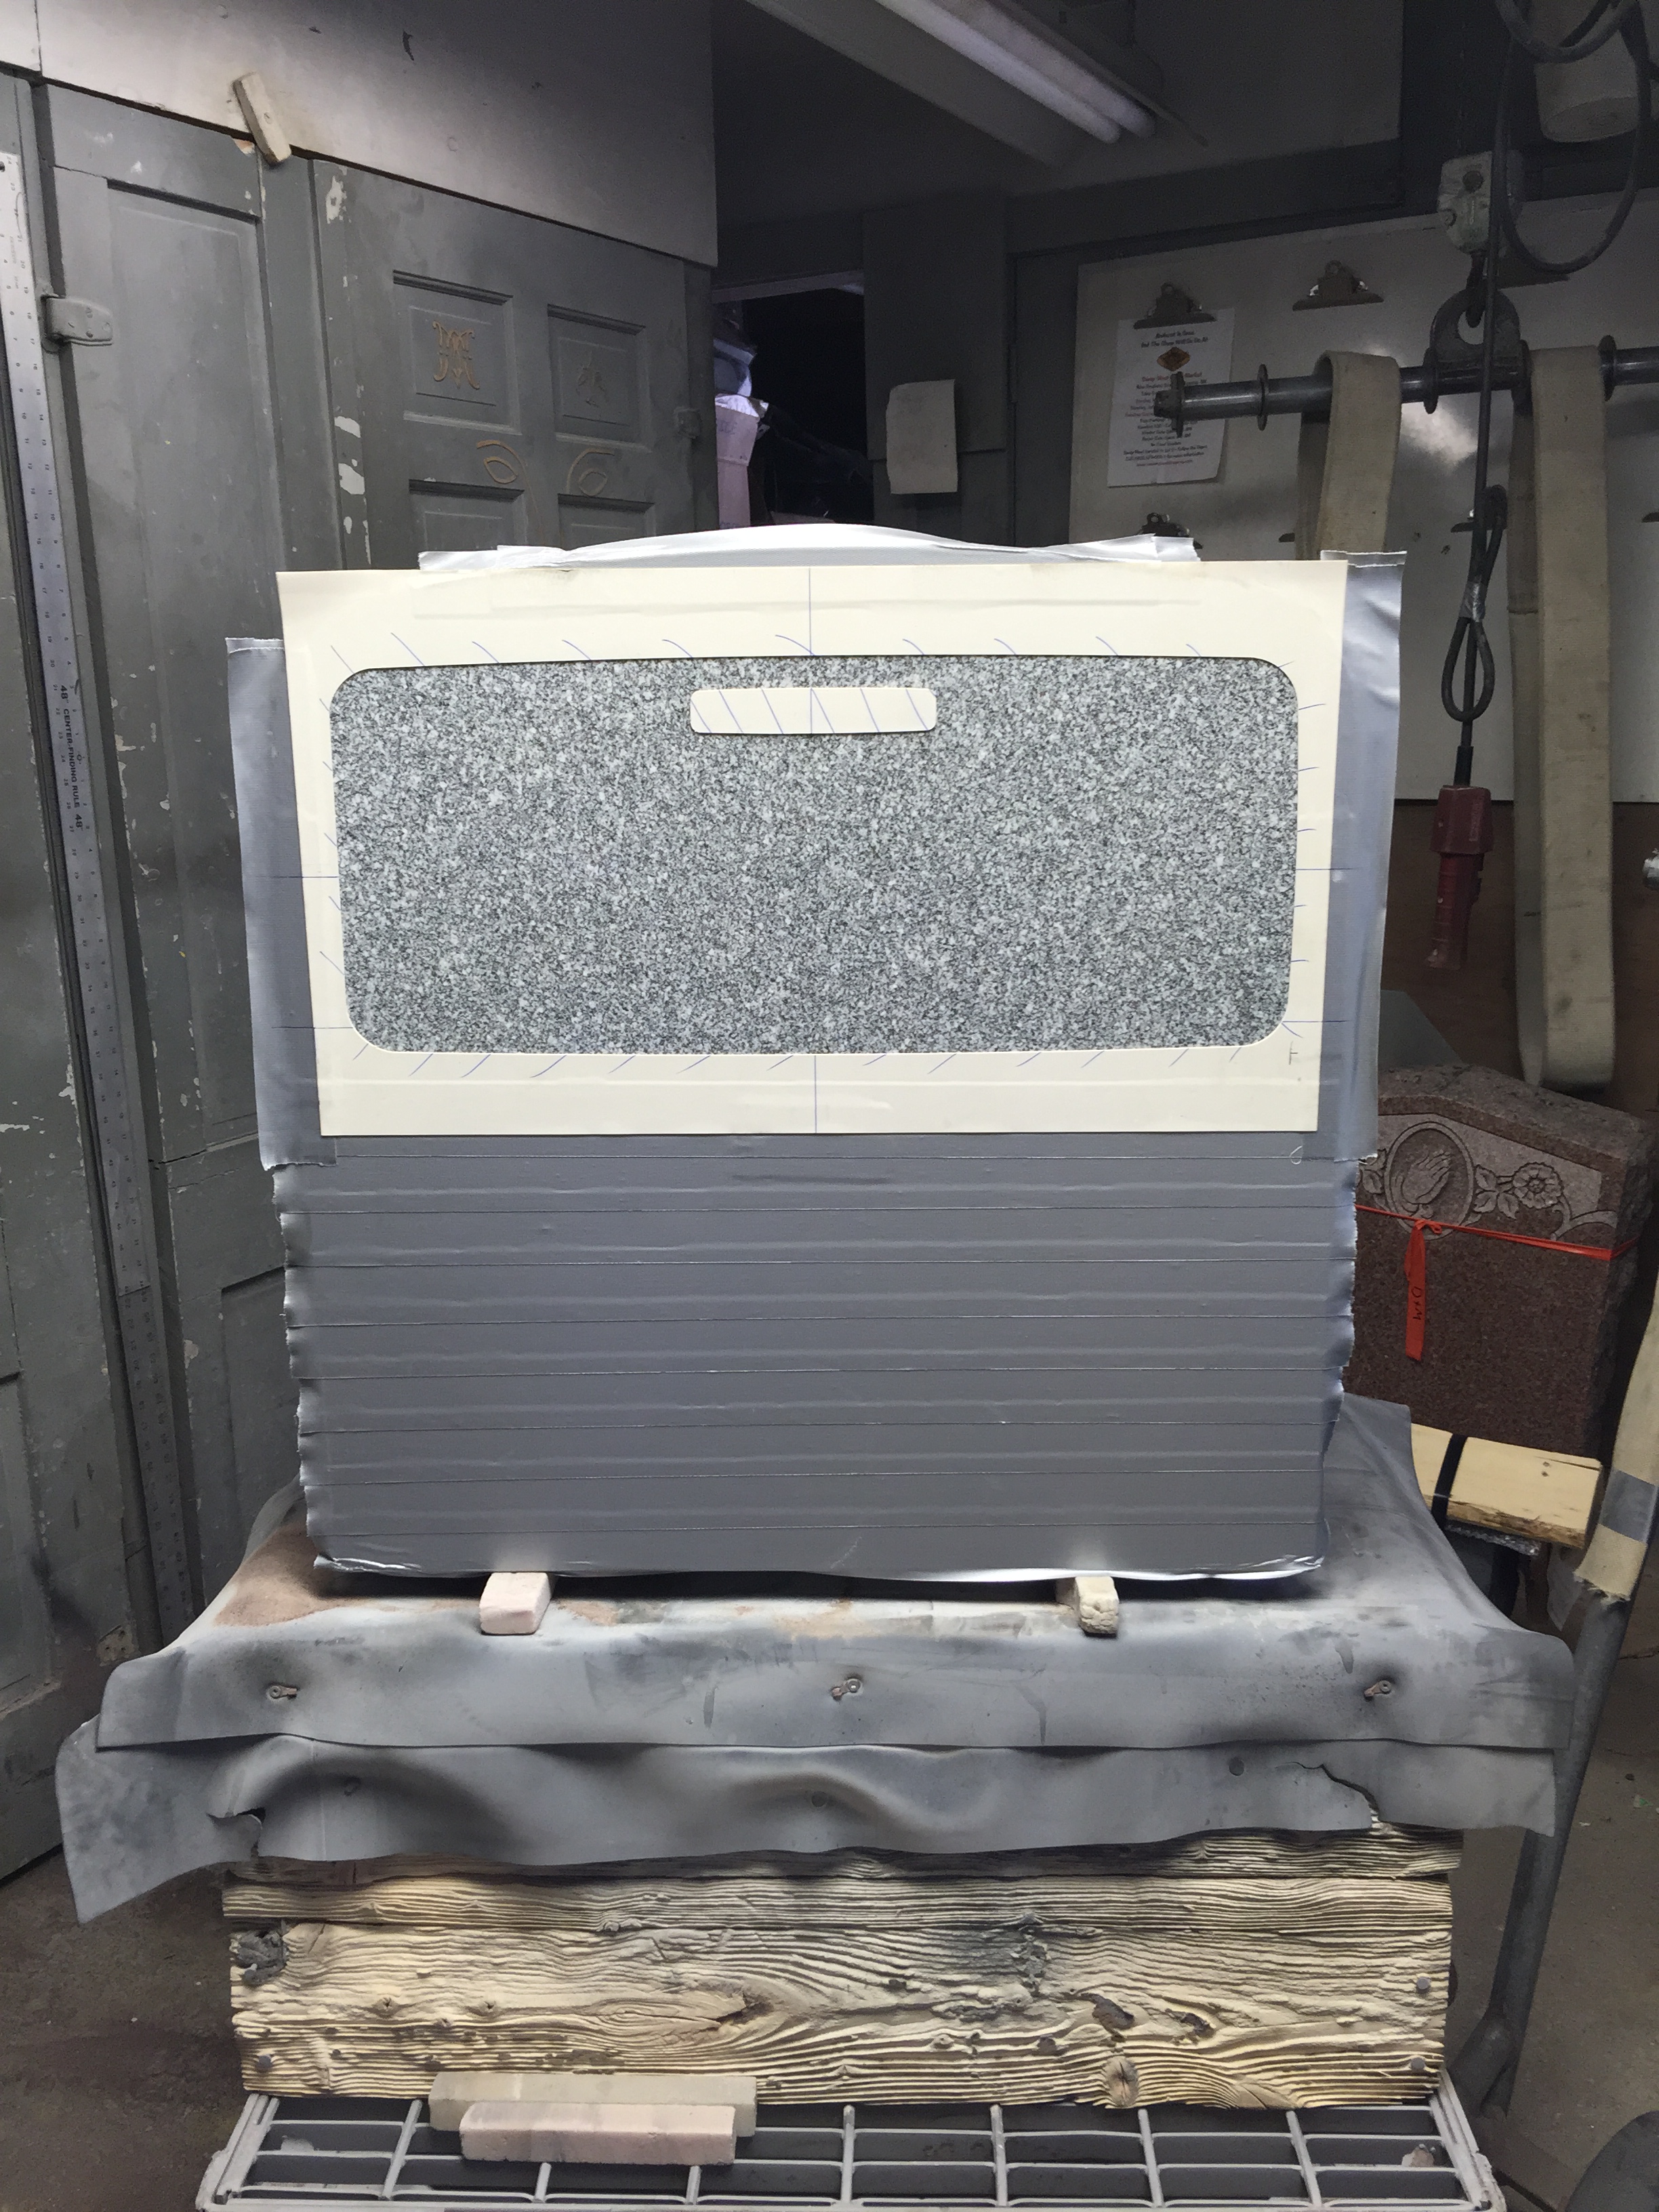
With the polish area shown ready to be made into a Panel the stone will go thru two sandblast rooms to create the finished steeled texture.
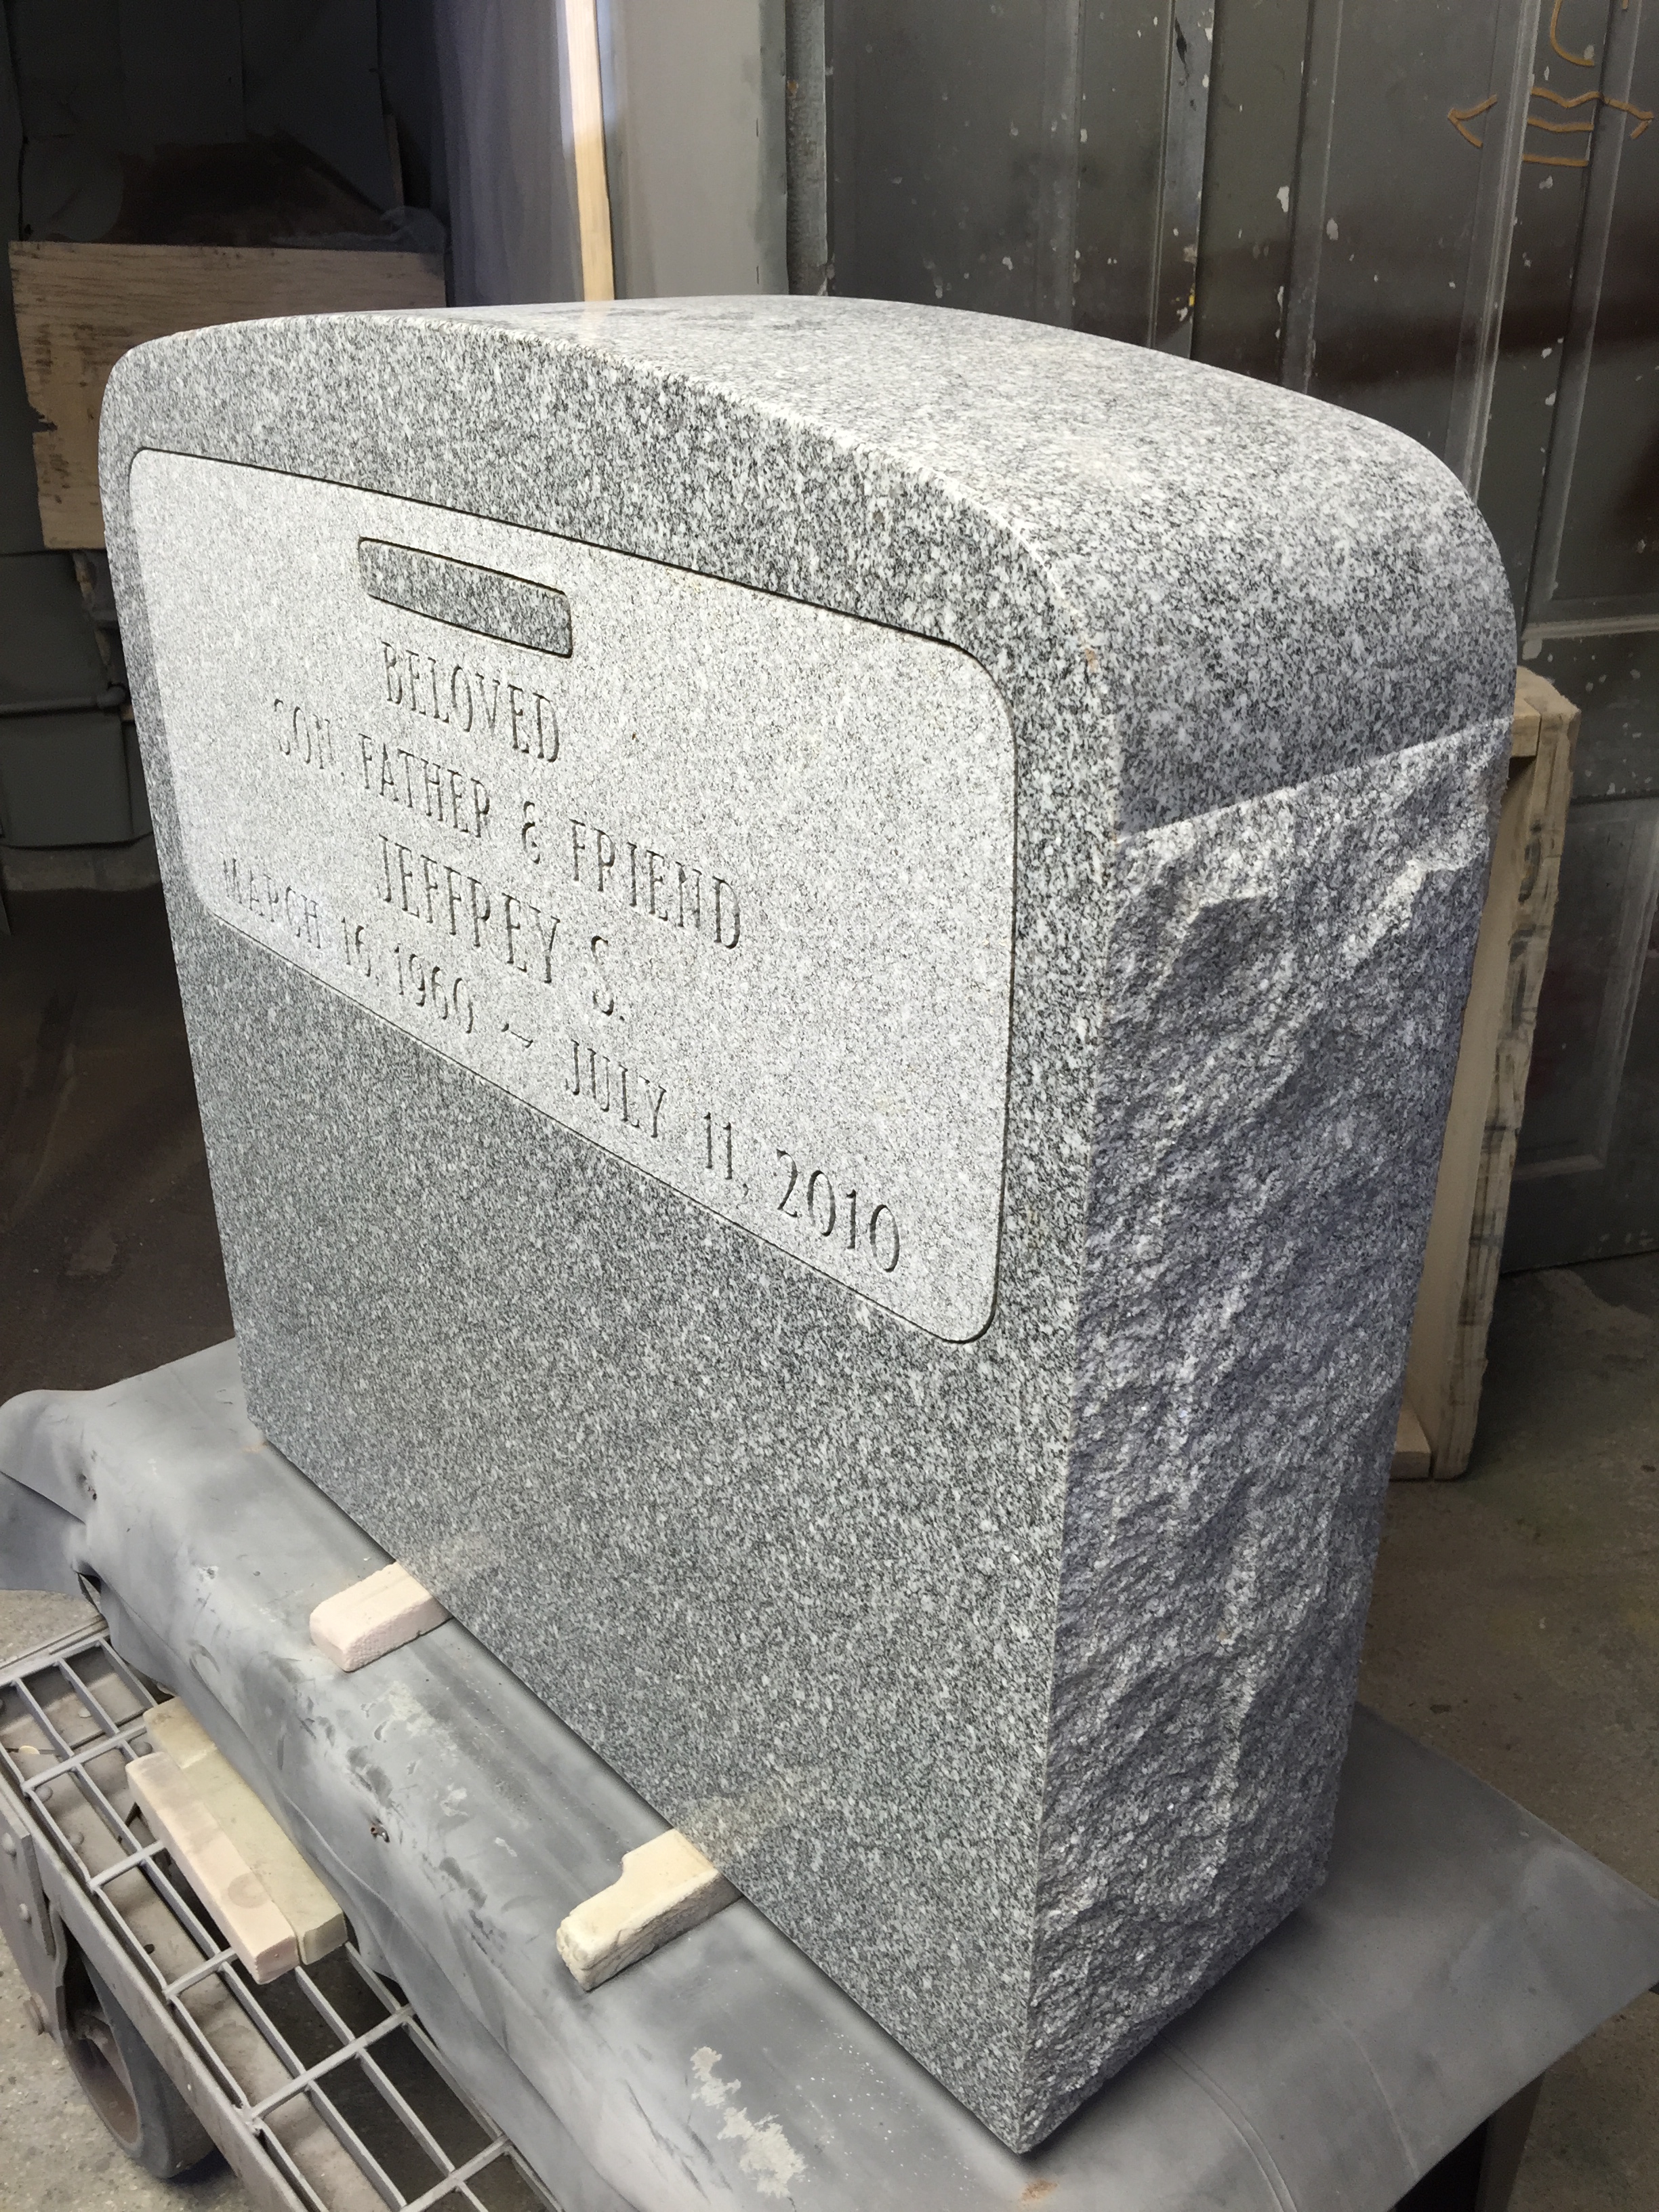
Following the same procedure as the front, sticking the stencil back on the stone and engraving, the lettering is seen finished and complete.
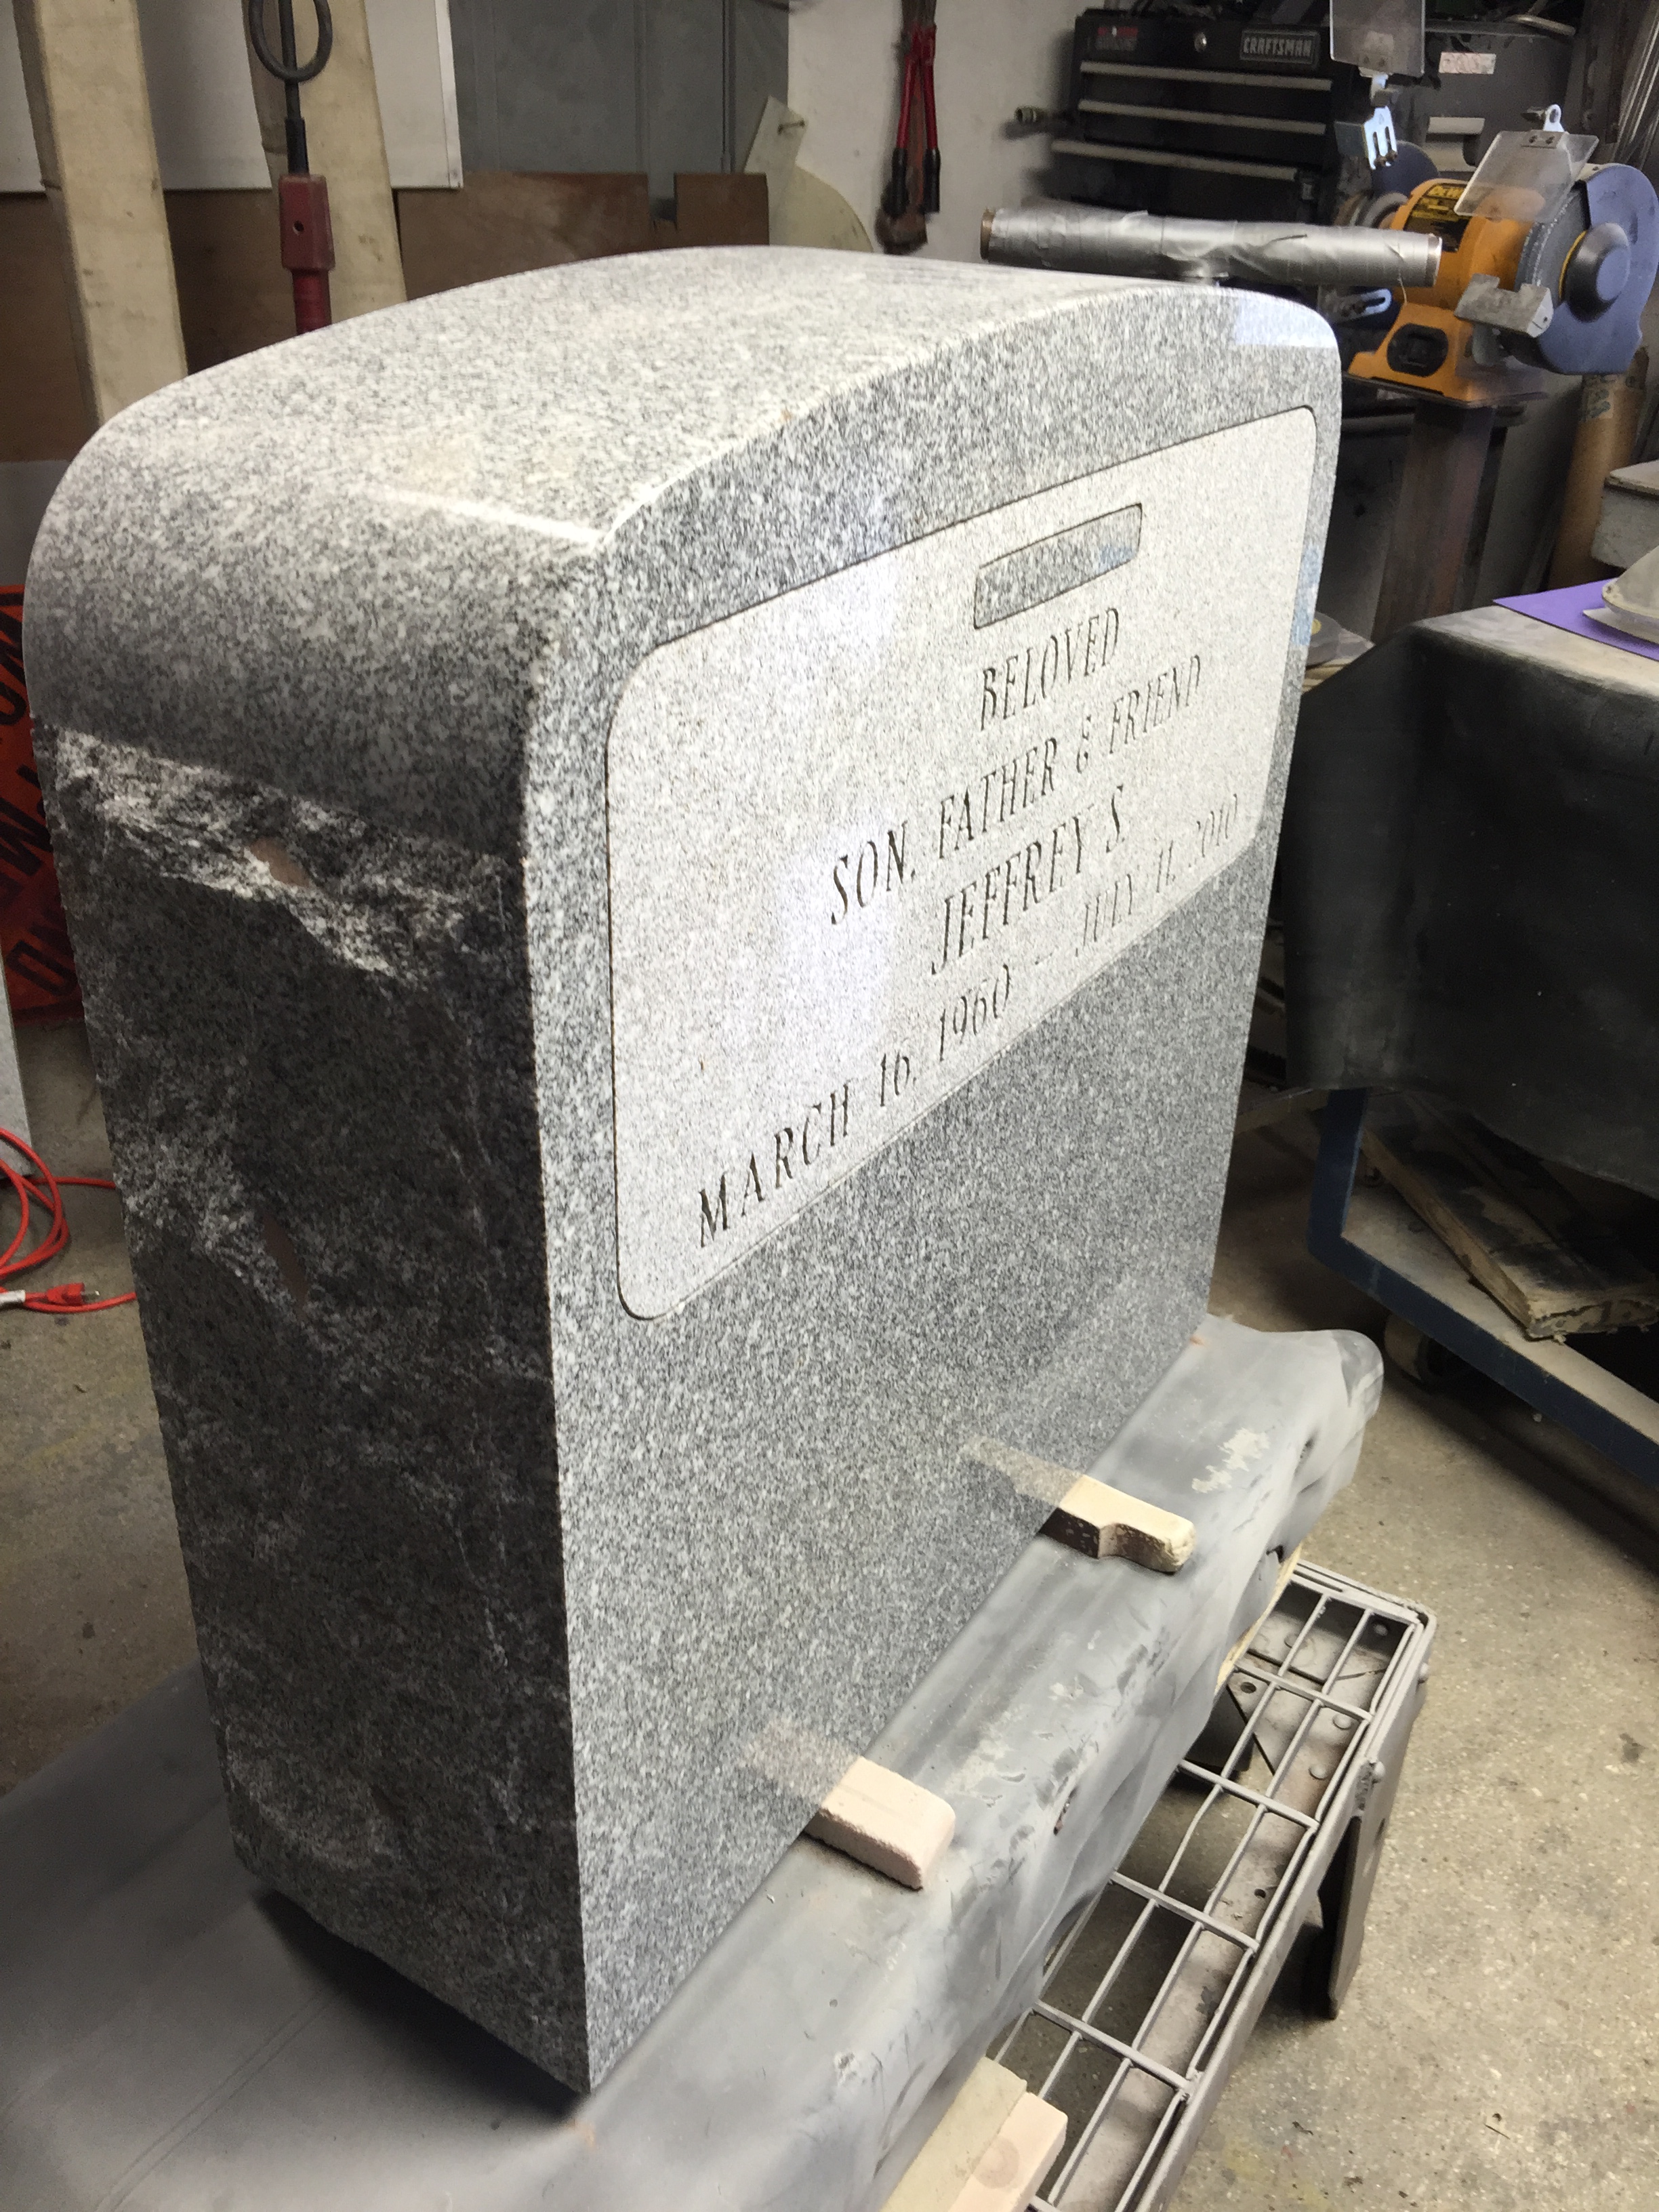


A portrait etching, personal lettering and a set of urns completes this beautifully unique family memorial.
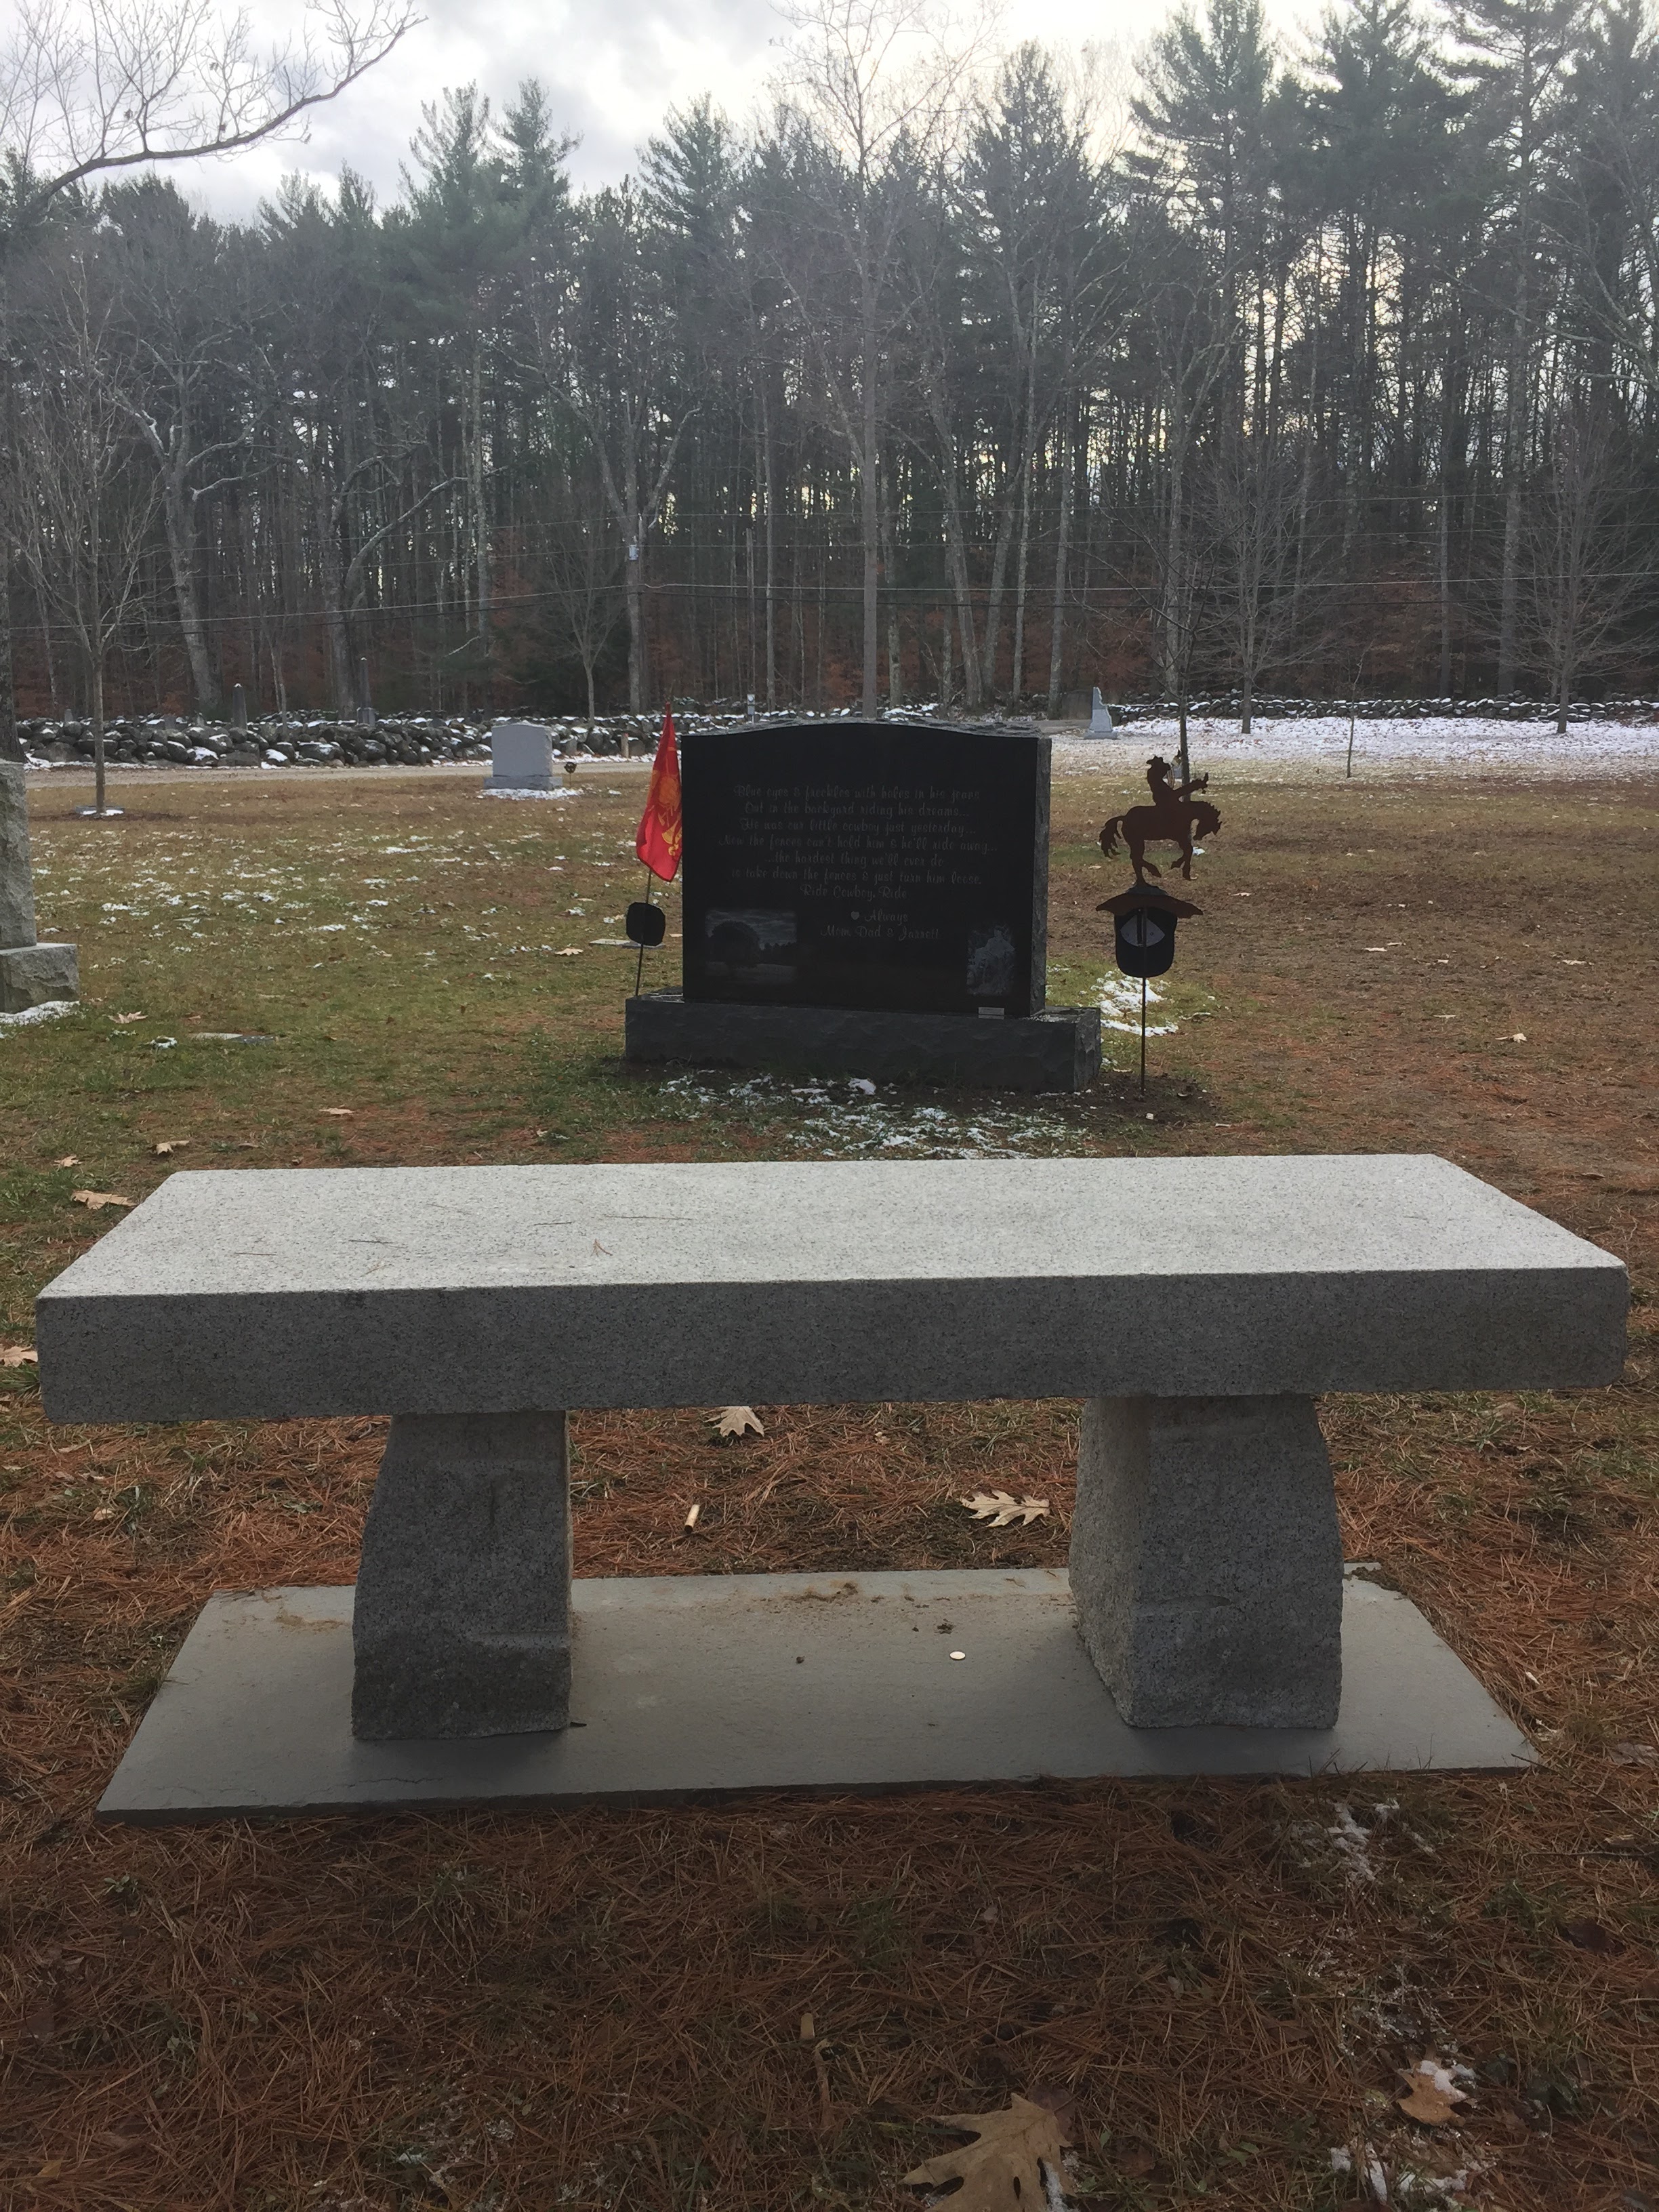
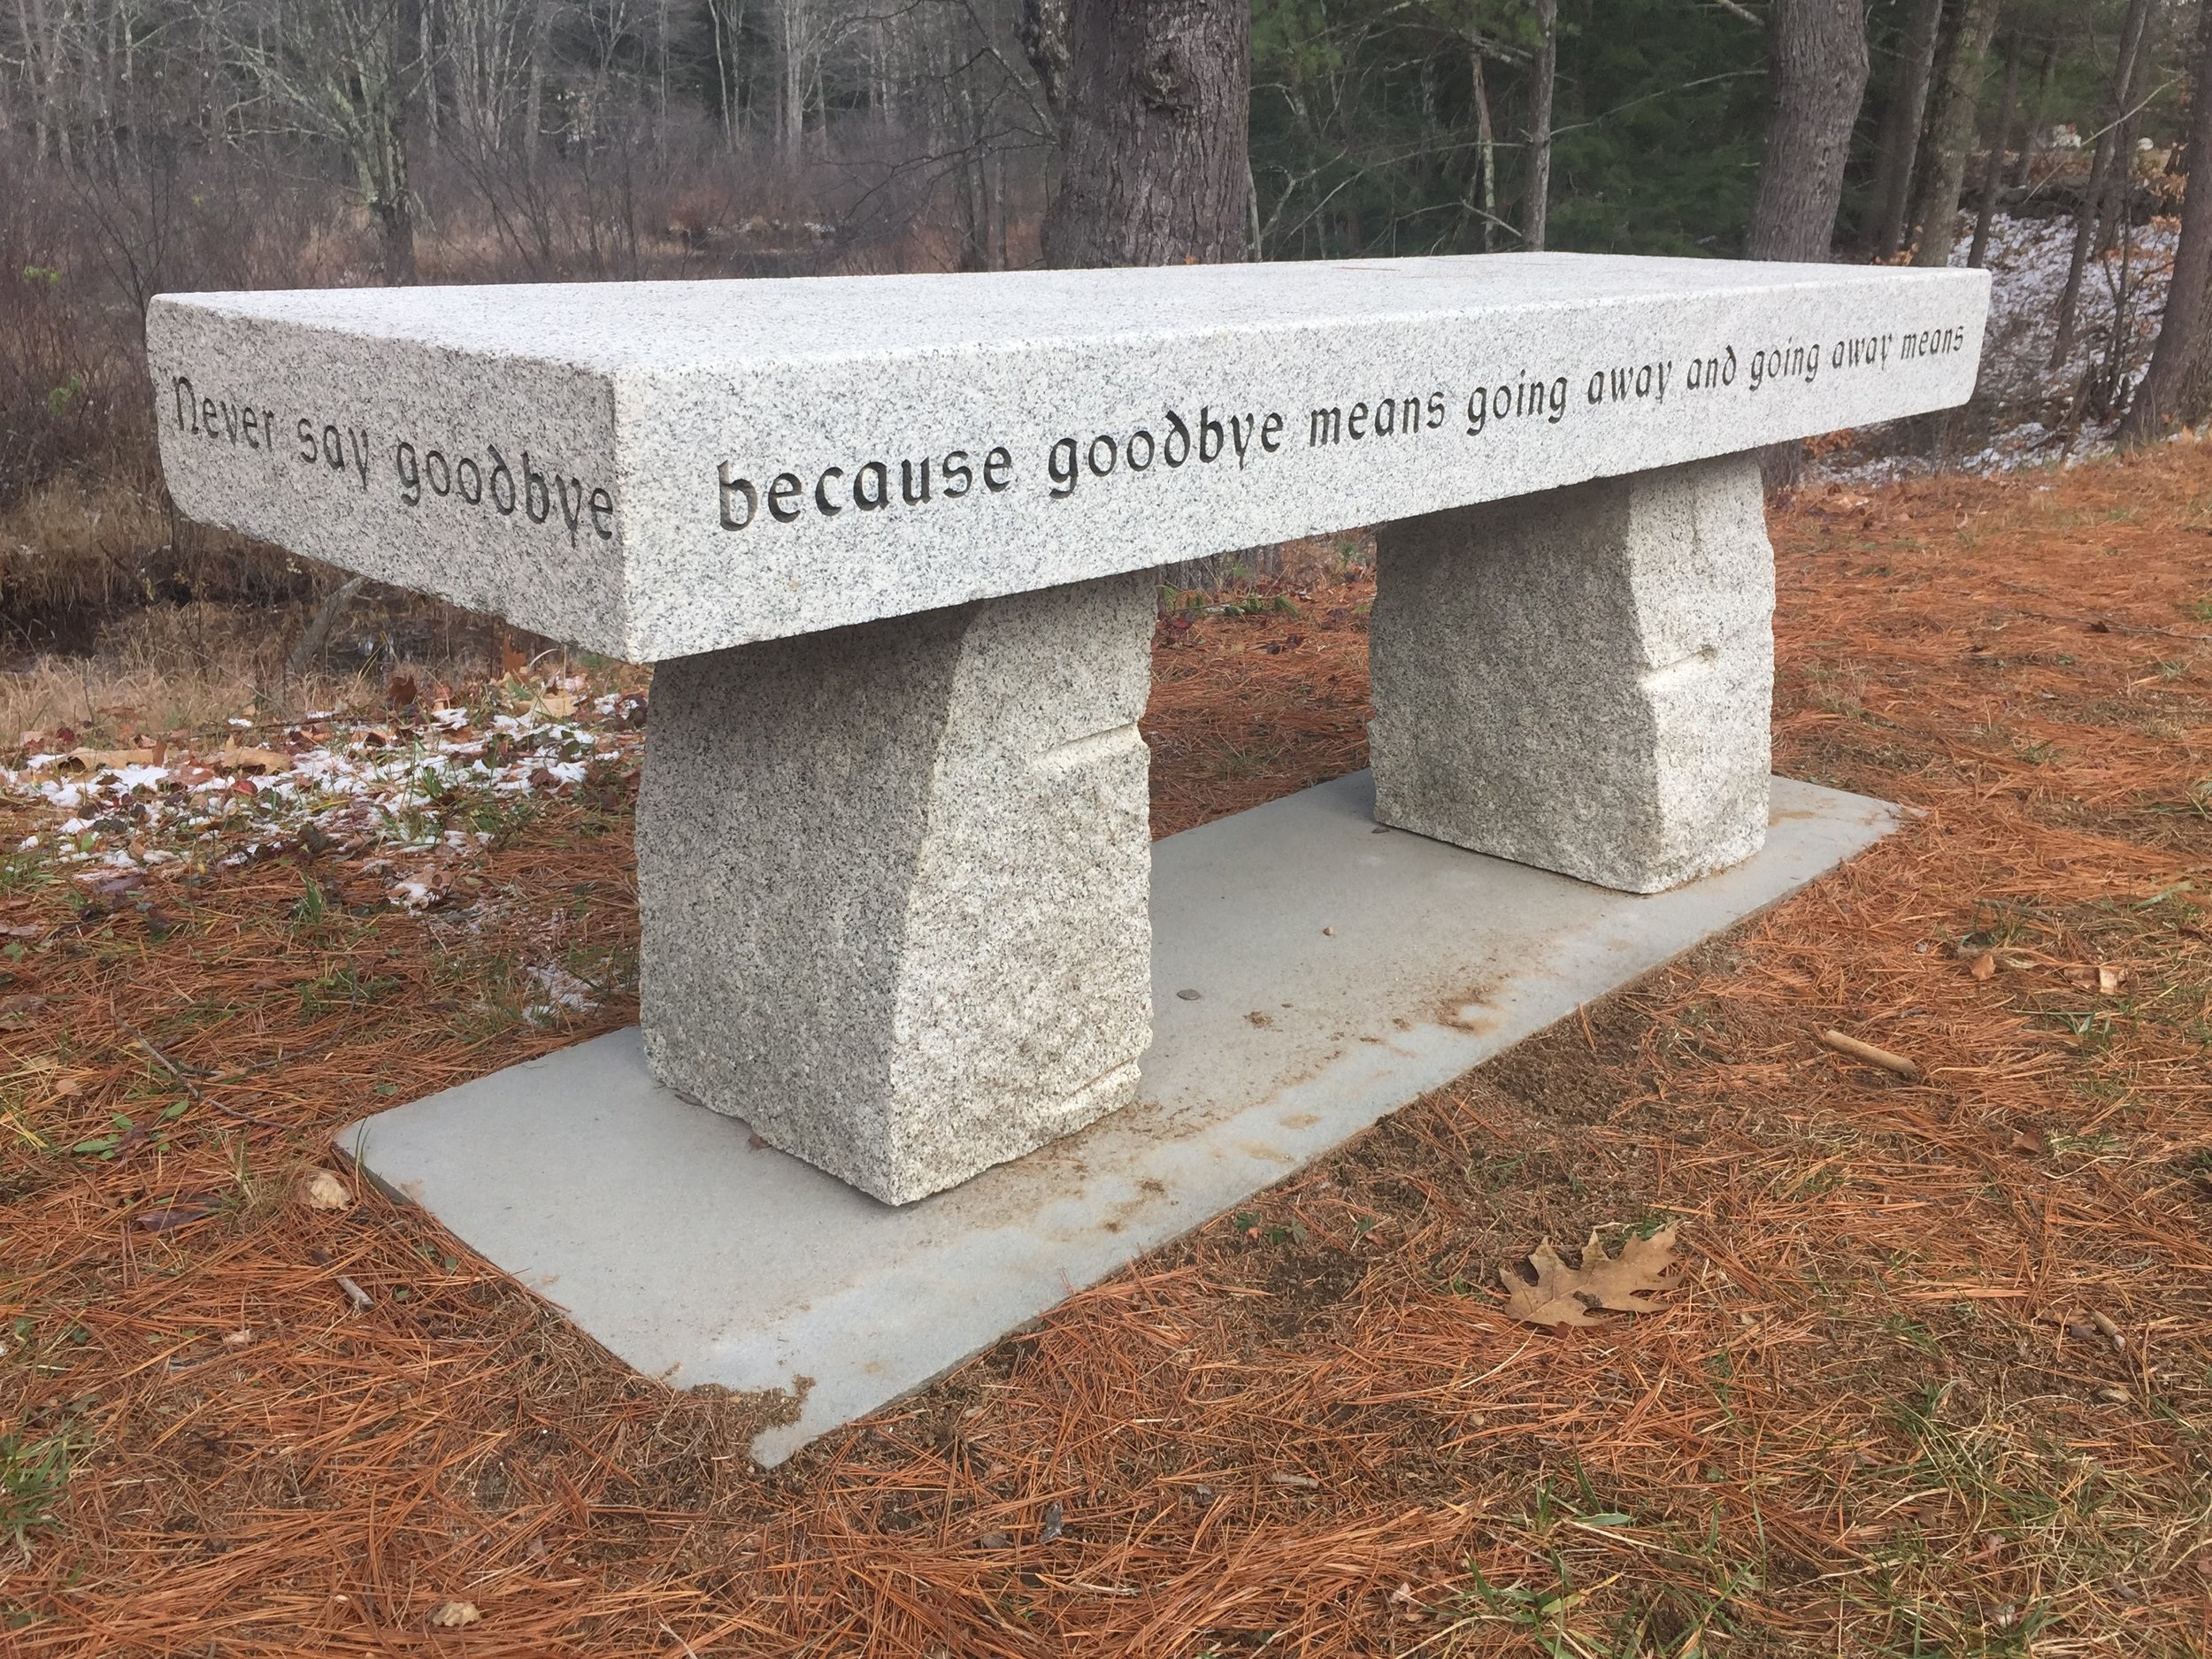
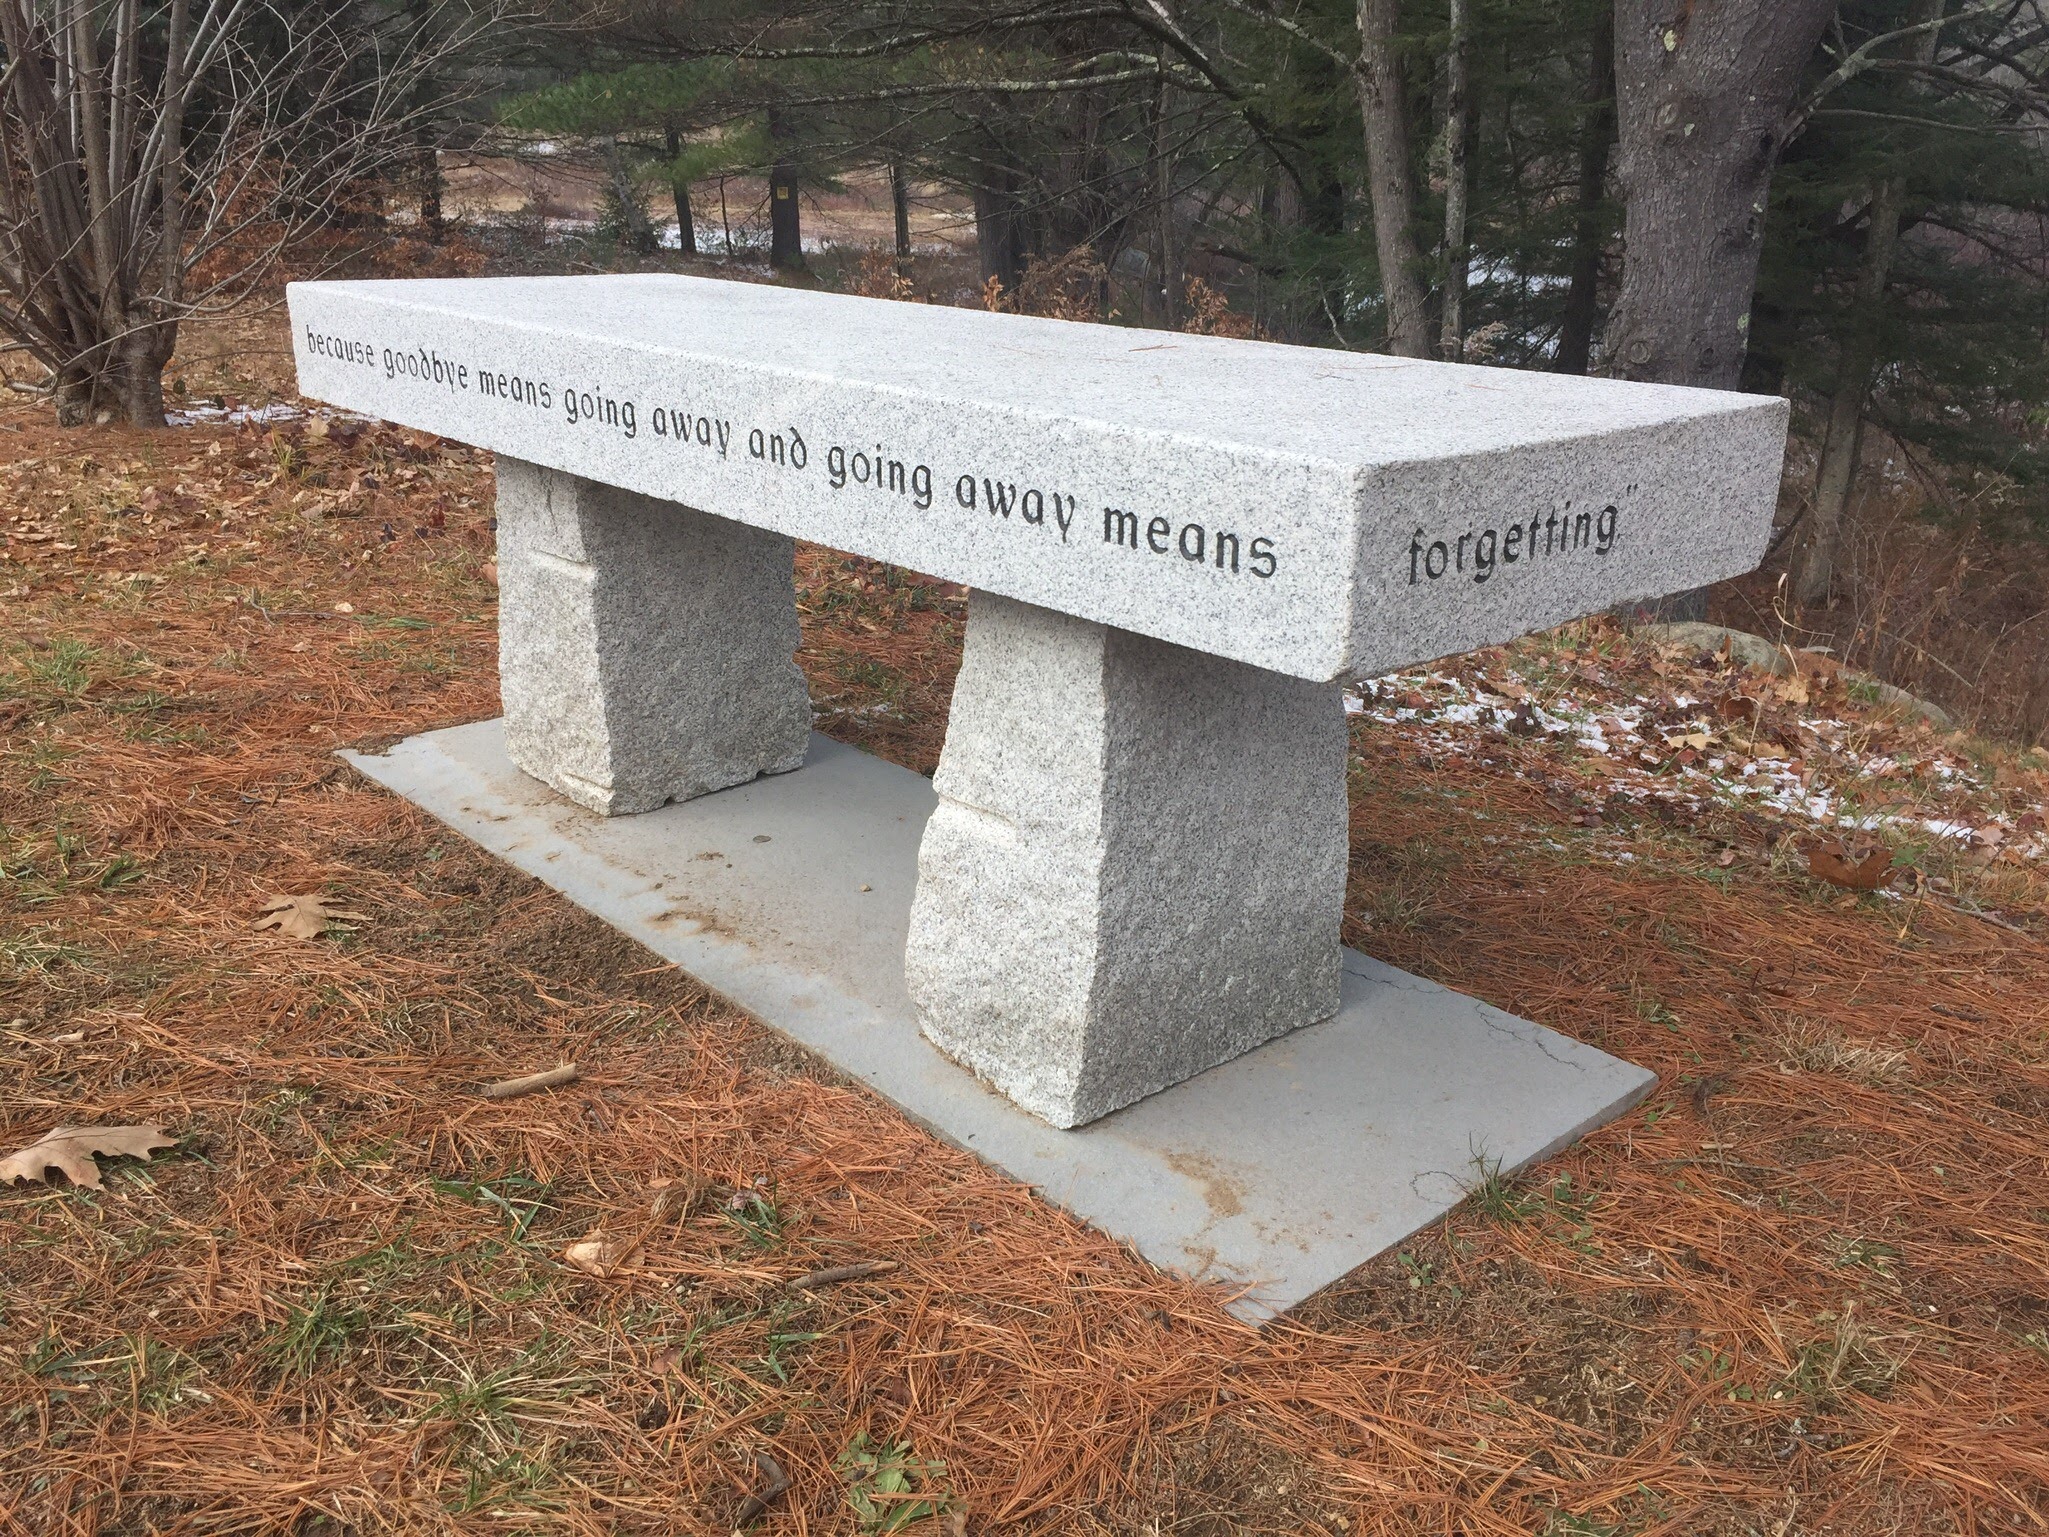
Other notable monuments in the area


